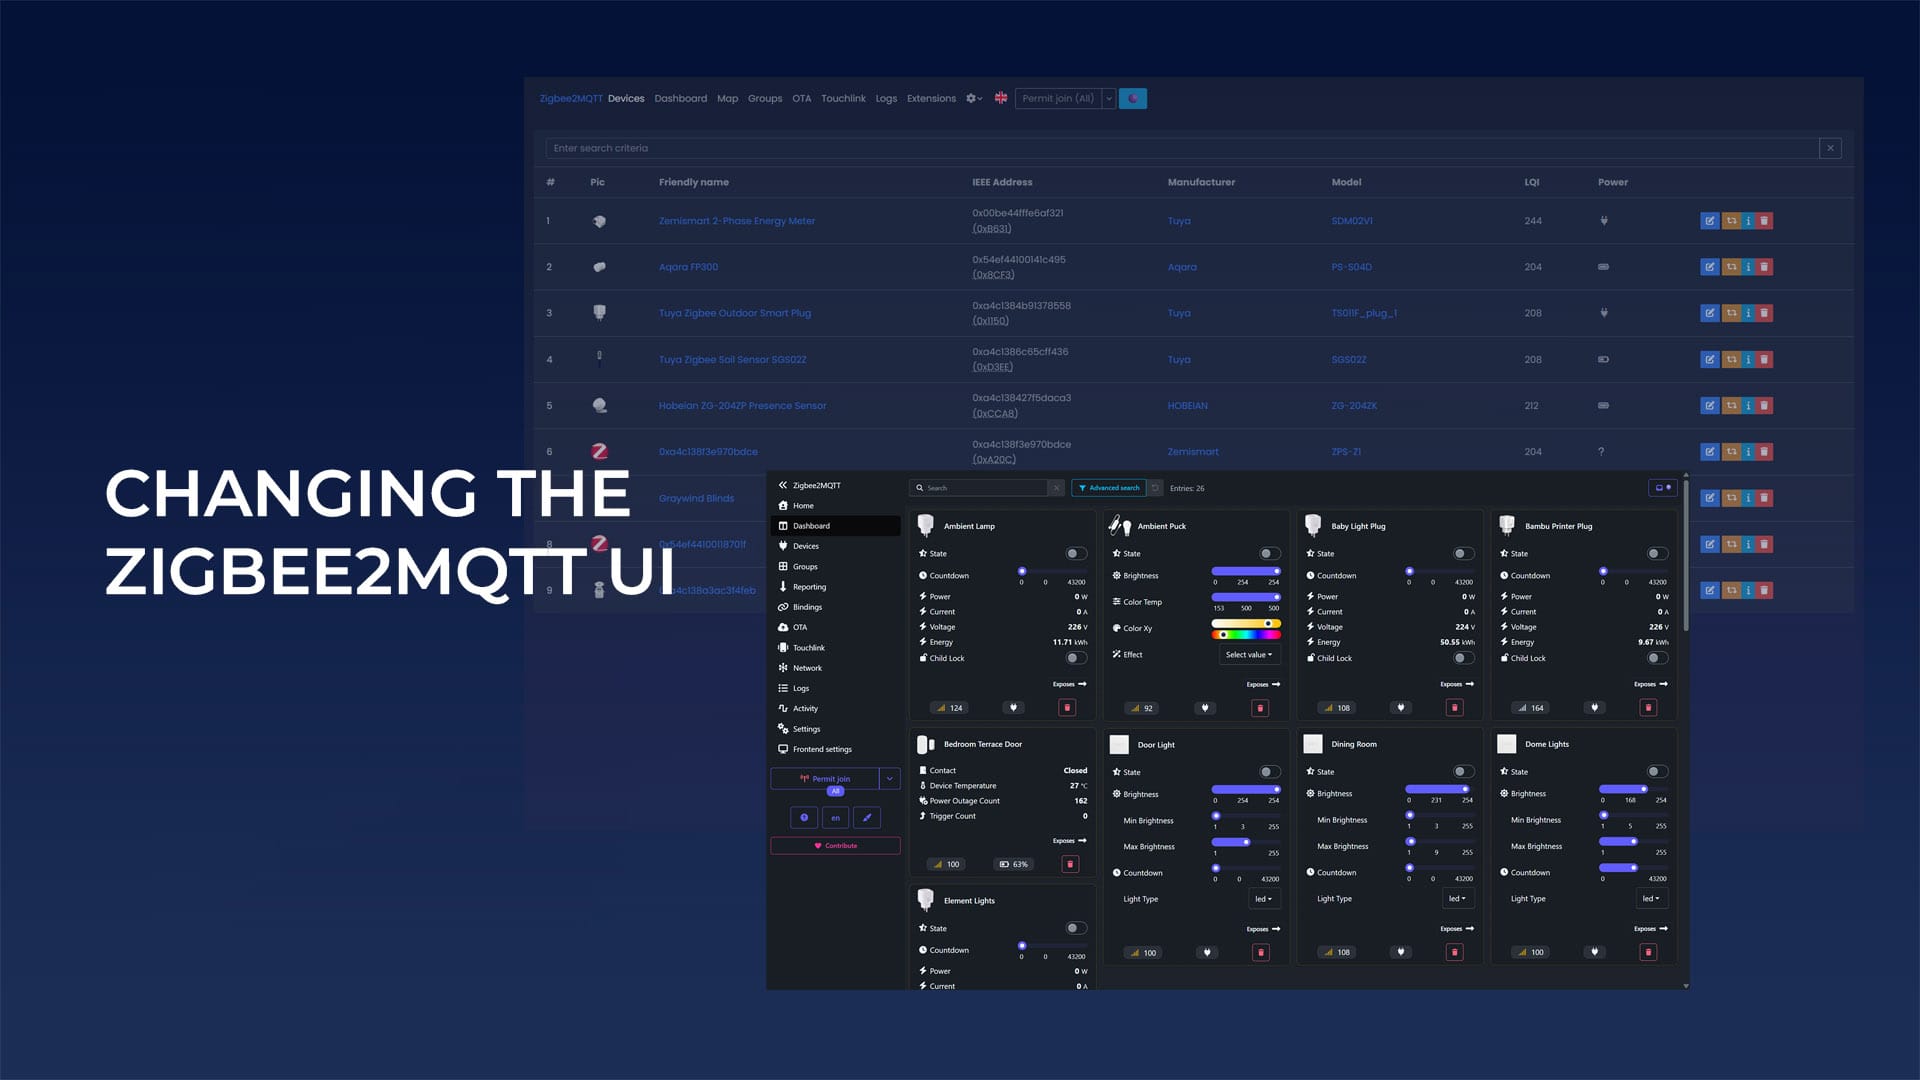
If you updated Zigbee2MQTT and suddenly found yourself looking at an unfamiliar interface, you are not alone. Windfront became the default frontend in late 2025, replacing the original UI that most users had been running for years. The good news is that switching back takes about 30 seconds.
Why Zigbee2MQTT Switched to Windfront
The change was not arbitrary. The original frontend was built on outdated libraries that had become increasingly difficult to update without risking new bugs, so Windfront was created from the ground up to modernize the codebase and optimize everything running under the hood.
The visual redesign was actually a secondary concern as far as I’m aware. As the developer put it, the UI overhaul was only a small part of the project, and the team has been actively adjusting it based on community feedback ever since.
The ability to choose between frontends was built in deliberately, so users are not forced to commit permanently to either one. Both options will continue to coexist for the foreseeable future, although I highly recommend you start getting used to Winfront.
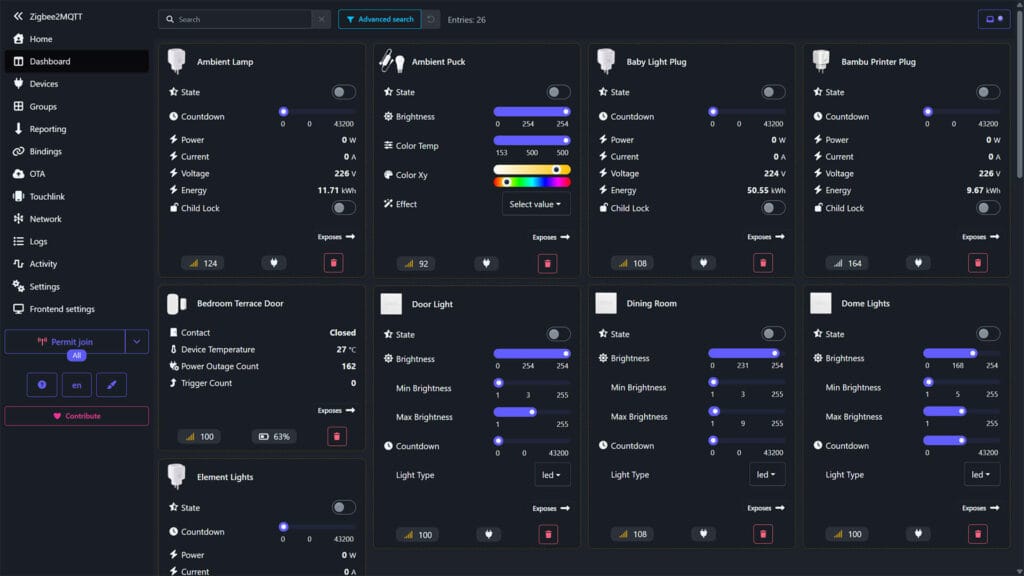
What Windfront Actually Does Better
If you are curious whether it is worth giving Windfront another look down the road, it does bring some genuine improvements. The network map is more capable, with multiple layout options including 3D views and better handling of large networks. The search system was rebuilt with an advanced drawer that lets you target specific fields and combine filters to refine results. Battery state handling is smarter too, pulling from both percentage and Boolean battery states rather than just one or the other.
The release cadence has also been fast. A lot of the early complaints from the community have already been addressed in updates, so the Windfront you would install today is meaningfully different from what landed as the default. Check out this thread if you want to read more.
How to Switch Back to the Old Zigbee2MQTT Frontend
There are two ways to do this depending on how you prefer to work.
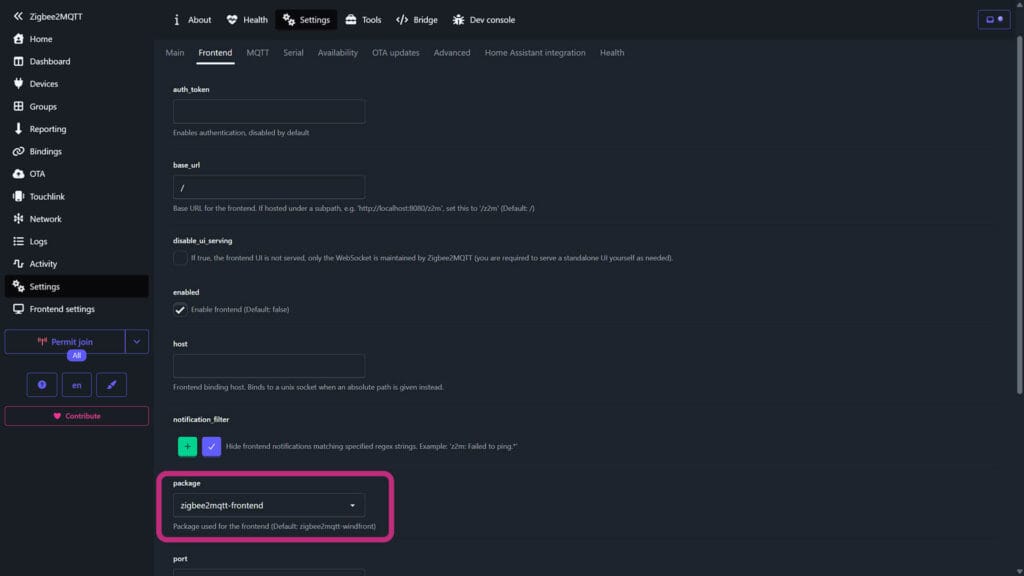
Option 1: Through the UI (easiest)
- Open Zigbee2MQTT and go to Settings in the left pane
- Click Settings along the top navigation
- Open the Frontend tab
- Scroll down to the Package field
- Select zigbee2mqtt-frontend
- Save and restart Zigbee2MQTT
- Done
Option 2: Edit configuration.yaml directly
Open your Zigbee2MQTT configuration.yaml and find or add the frontend block. Set it like this:
frontend:
  enabled: true
  package: zigbee2mqtt-frontend
Save the file and restart Zigbee2MQTT. If you are running the Home Assistant add-on, make sure you restart Zigbee2MQTT itself, not Home Assistant OS. To go back to Windfront at any point, change the value to zigbee2mqtt-windfront or simply remove the package line entirely, since Windfront is now the default when no package is explicitly set.
Will the Old Frontend Be Removed?
Yes, eventually, but not anytime soon. The developers have confirmed that the old frontend will eventually stop working properly due to its aging library dependencies, but the option to use either frontend will remain available for now. There is no deadline being communicated, and the team has been clear that user choice matters here.
If you want to stay on the old UI without worrying about it, you can. Just keep an eye on Zigbee2MQTT release notes for any future deprecation notices.


I switched back to old UI – I really wanted to like it but IMHO it is a step back (fow now). I appreciate the hard work of developers, but the new one is cluttered, slow and buggy. 🙁