

The popular Zigbee Fingerbot Plus that I reviewed a while back is a mechanical button pusher for automating physical buttons like those on coffee machines, kettles, computers and other hardware that can’t be automated otherwise. In this article I am sharing how to integrate a very similar device designed for capacitive touch surfaces: the Tuya Fingerbot Touch. Instead of physically pressing a button, it simulates a human finger tap on touchscreens and touch-sensitive panels, making it useful for smart displays, induction cooktops, elevator panels, or anything that responds to touch but has no smart integration of its own.
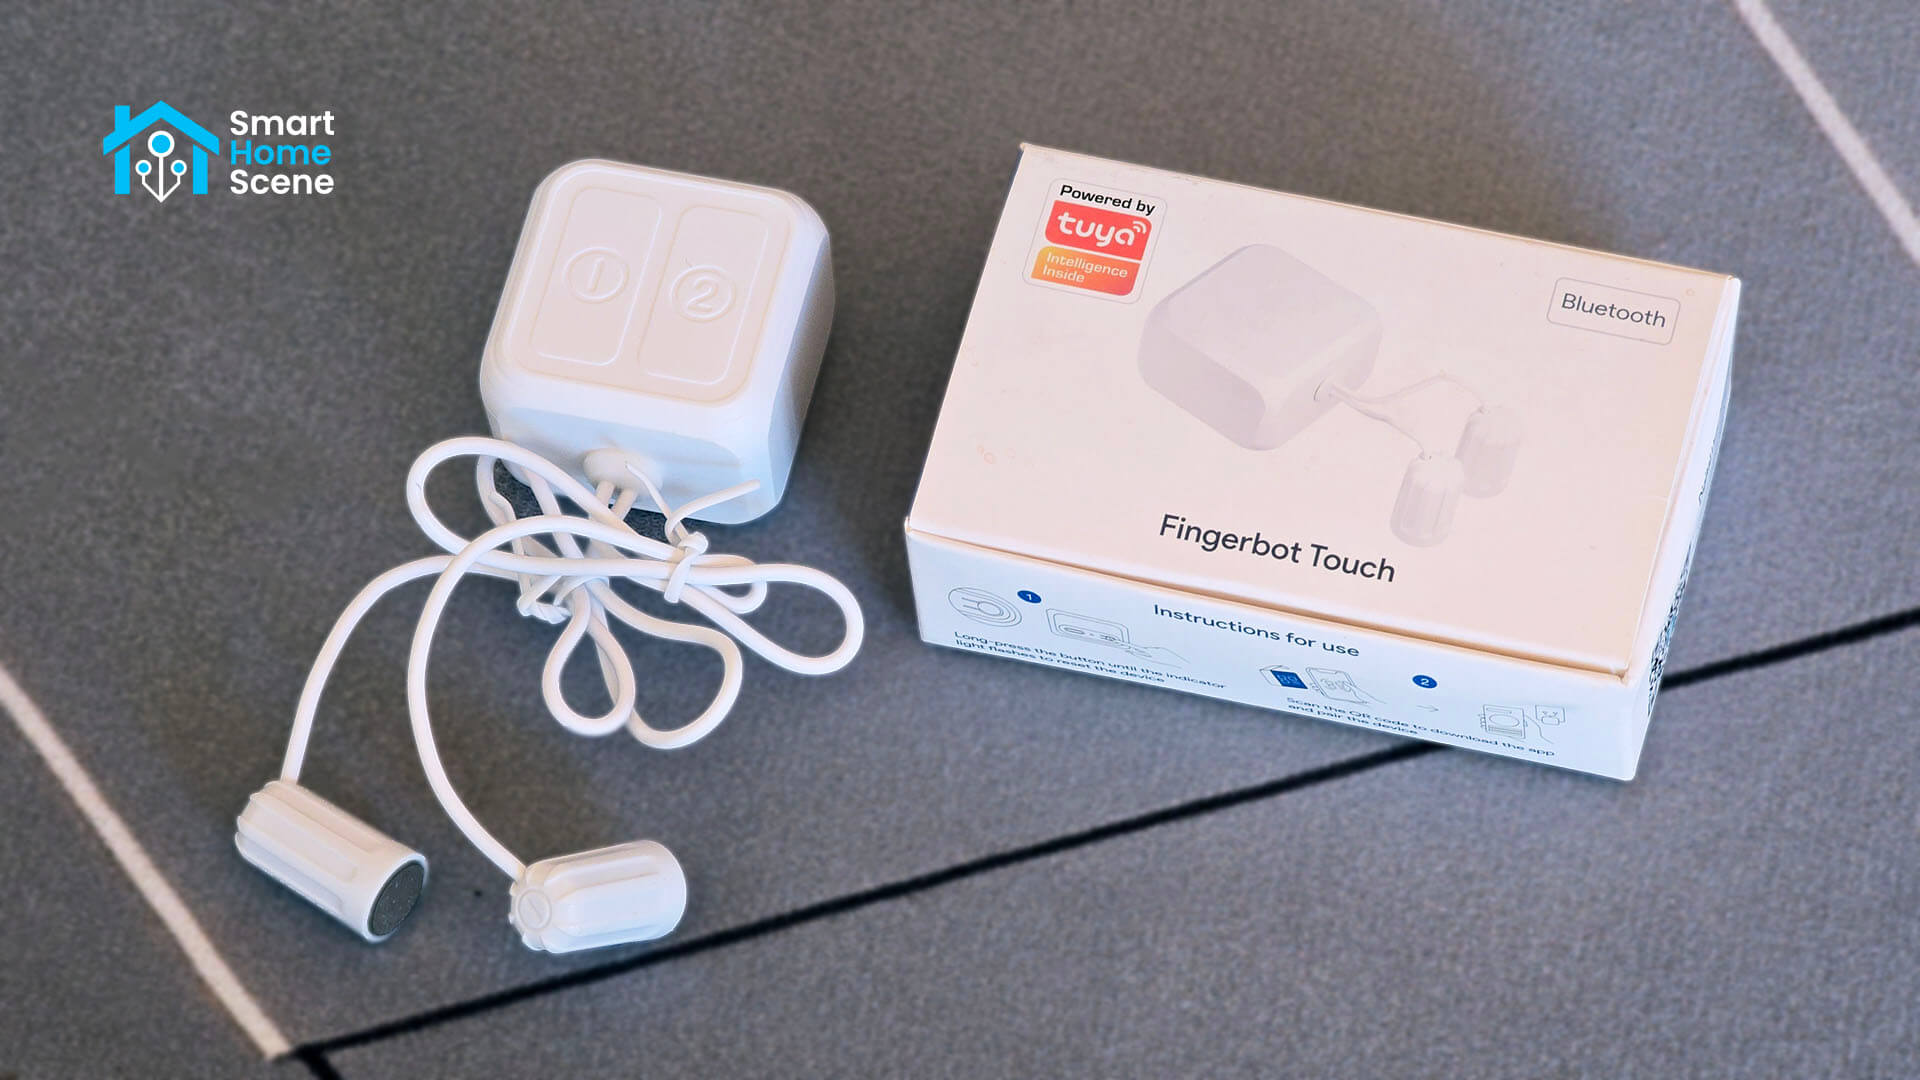
This guide covers integrating the Tuya Fingerbot Touch (bs3ubslo) into Home Assistant locally over Bluetooth using the ha_tuya_ble custom integration. Once set up, the device communicates directly with Home Assistant over BLE with no cloud latency and no Tuya gateway required.
The Fingerbot Touch exposes two independent touch channels, configurable press durations, modes, invert settings, and battery diagnostics, all as native Home Assistant entities. I got this device from AliExpress for about $15, although you can find it on Amazon US, Amazon DE, Amazon NL, Amazon UK or this alternative AliExpress listing.
How does it work
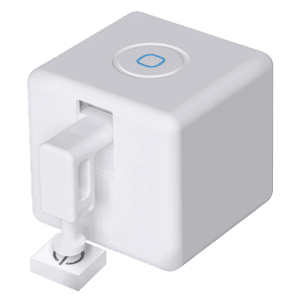
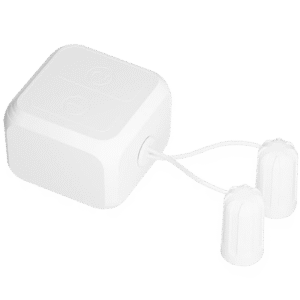
The Fingerbot Touch is a small 38 x 38 x 28mm device that sticks directly onto any surface using an adhesive sticker. It has two flexible conductive arms that extend from the body and rest on a touch surface. When triggered, the arms simulate a human finger tap using a conductive tip that capacitive screens respond to exactly as they would to your actual finger.
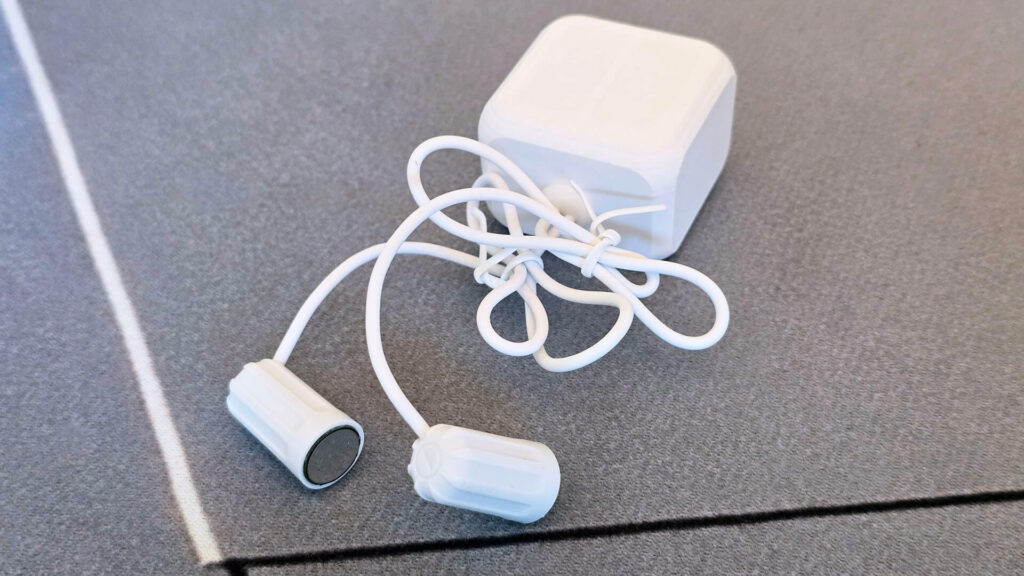
This means it works on any capacitive touch surface: smartphone screens, tablets, smart home wall panels, range hood controls, electric kettle touch buttons, induction cooktop surfaces, and anything else that uses capacitive sensing rather than physical pressure. It even works through screen protectors. The one thing it cannot do is press mechanical buttons, that is what the Fingerbot Plus is for.
You peel the adhesive, stick the device onto the surface near the buttons you want to automate, position the two conductive arms over the target touch points, and pair it in the Smart Life app and Home Assistant. No tools, no wiring, no modifications to the device you are automating.
The two channels are independent, so you can target two different buttons on the same panel with one device. Each arm can be configured separately with its own press duration, mode, and timing settings.
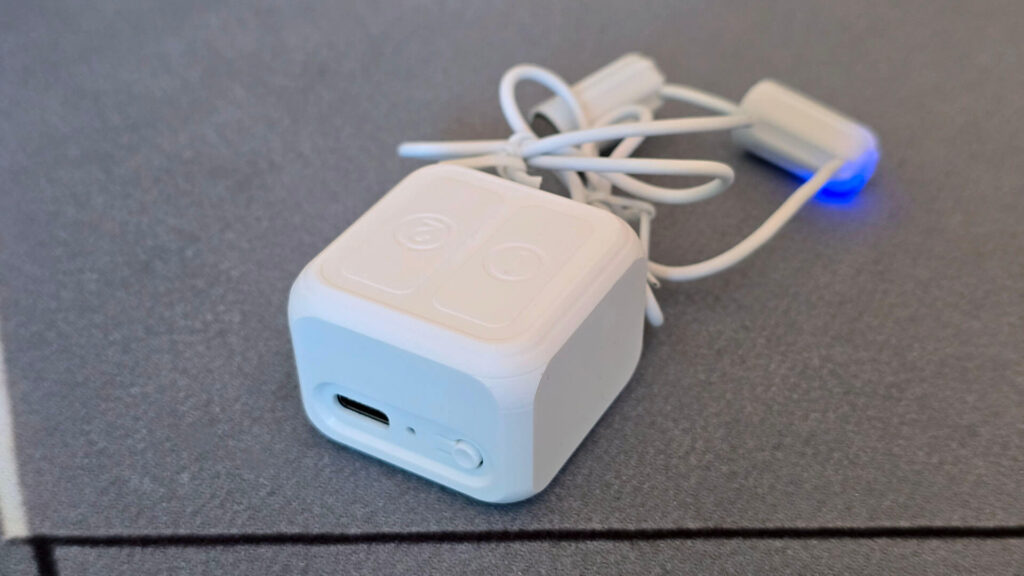
It runs on a 500mAh rechargeable lithium battery charged via USB-C, operates completely silently, and supports a maximum touch duration of 10 seconds per press. Bluetooth 5.0 handles the wireless communication.
What you need
The Tuya Fingerbot Touch does not exist as a Zigbee variant yet. I looked all over for one but simply could not find it. This version is a dual channel device and uses Bluetooth LE, which means you need a working Bluetooth adapter within range on your Home Assistant server. Here is what you need:
- Fingerbot Touch (
bs3ubslo) paired in the Smart Life or Tuya Smart app - Home Assistant with a working Bluetooth adapter (onboard, USB dongle, or ESP32 Bluetooth proxy)
- HACS installed in Home Assistant
- A free Tuya IoT Platform developer account
A note on Bluetooth range
Get this right before you do anything else. The Fingerbot needs to be within 3 to 4 meters of your Bluetooth adapter with no major obstructions or other radio interference. I found that at RSSI values of -70 or worse, connections will be unreliable and commands will fail repeatedly. At -50 or better, everything works perfectly fine.
If your adapter cannot be placed close to the device, use an ESP32 Bluetooth proxy running ESPHome firmware placed near the Fingerbot. This is the proper solution for difficult placements and costs around 5 euros. Since this is an active controllable device, it is not the same as passive scanning BLE packets capturing. You will have issues if you do not create a good connection.
Part 1: Tuya IoT Platform Setup
The integration requires a one-time cloud credential fetch to obtain the device’s local encryption key from the Tuya Cloud. After that, everything runs locally.
- Create a Tuya Cloud Platform Account.
Go to platform.tuya.com and sign up using the exact same account you use in the Smart Life or Tuya Smart app. Mismatched accounts mean your device will not appear in your project. - Create a new Tuya Cloud Project.
Navigate to Cloud > Development > Create Cloud Project. Set the industry and development method both to Smart Home. - Select the correct data center.
Data center selection is the most common failure point, especially for Europeans. If you pick the wrong one you will get a “Data centers inconsistency” error when linking your app account. Your app account is tied to a specific data center based on when you registered, not where you live. I found out the hard way that it works like this:- Account registered before November 25, 2025: select Central Europe
- Account registered after November 25, 2025: select Western Europe
- Click through the API subscription step and accept the defaults.
IoT Core, Authorization Token Management, and Smart Home Basic Service are all you need. - Copy your credentials.
From the project Overview page copy your Access ID and Access Secret. You will need both when configuring the integration in Part 4. - Done
Link your app account
This step links your actual Smart Life account to your Tuya Cloud developer project. The two accounts are separate by design: your Smart Life account is where your devices get paired and controlled, while the developer project is what gives you API access to pull credentials like the local encryption key. Without linking them, the platform has no way to see your devices or generate the keys the integration needs.
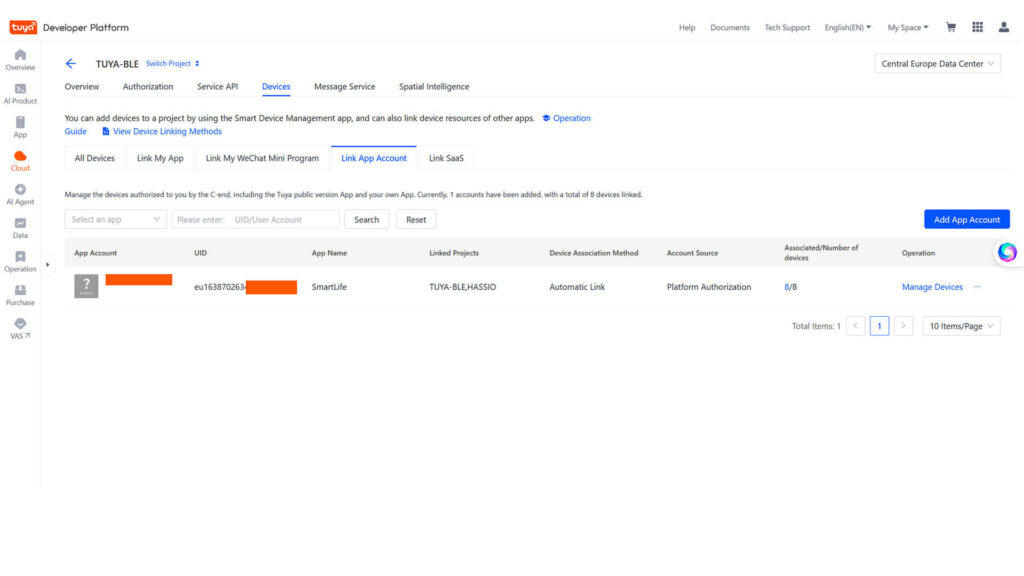
- Inside your project go to Devices > Link App Account > Add App Account
- Select Tuya App Account Authorization
- Open the Smart Life app, go to Me, and tap the QR icon in the top right
- Scan the code shown on the platform
- Your Fingerbot should now appear under the Devices tab along with any other paired devices
If it does not, the data center is still wrong.
Switch to DP Instruction mode
This step is critical and easy to miss. Without it, Mode 1 and Mode 2 will show as unavailable and several configuration entities will be broken in Home Assistant. I’ve had it happen to me and it took me hours to figure out why.
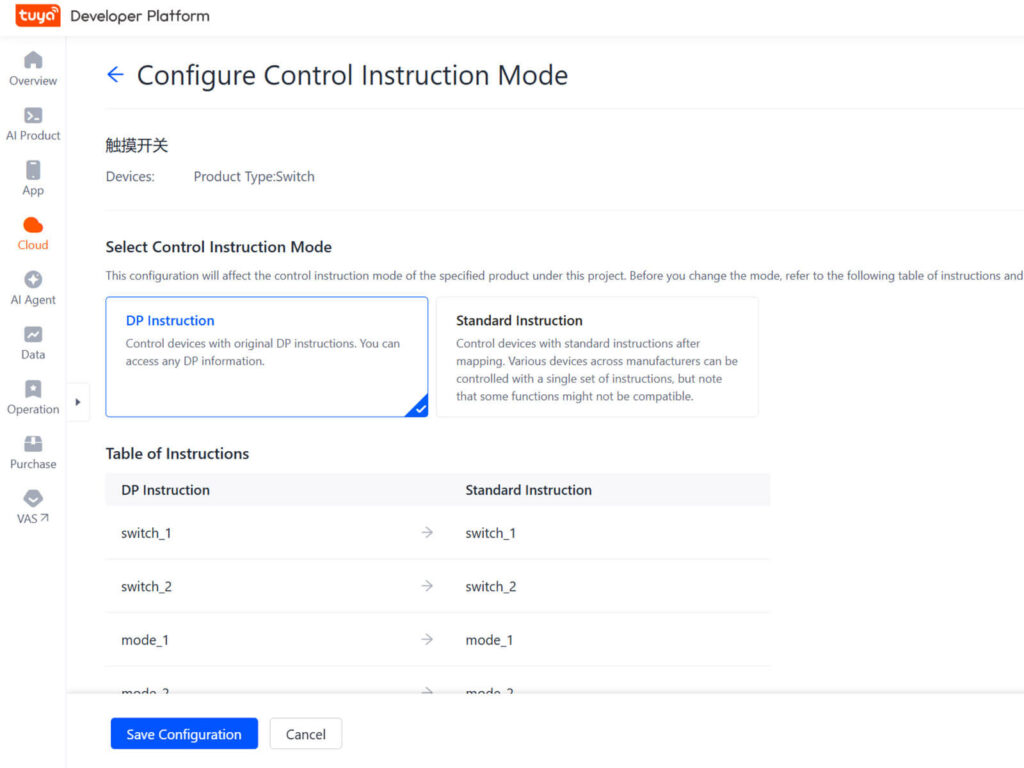
- In your project go to the Devices tab
- Click your Fingerbot and click the small pencil
- In the Change Control Instruction Mode, switch it to DP Instruction
- Save
Part 2: Configure Bluetooth and Enable Active Scanning
Before testing and using this touch fingerbot, it is worth understanding how this fork manages connections, because the default state may look broken. It’s not, it is intentional.
The Fingerbot is battery-powered and enters sleep mode after inactivity. The original integration would reconnect automatically every time the connection dropped, which happened every 30 seconds. This created a constant reconnect loop that hammered the battery and flooded Bluetooth with unnecessary traffic.
The new fork fixes this by disabling automatic reconnection entirely. The integration only connects when you trigger an action. The device executes the command, stays awake briefly, then sleeps and the connection drops. This is normal.
In practice, there is a delay when executing actions. When you press Action 1 or any control, the integration connects, completes the BLE handshake, sends the command, and the Fingerbot activates within 1 to 3 seconds. The Diagnostic section also includes a Reconnect button if you want to manually pre-warm the connection through an automation before actually sending a command.
To ensure you have a stable connection to this device, go to Settings > Devices and Services > Bluetooth, click your adapter, and enable Active scanning. Without it the integration cannot reliably connect to the Fingerbot.
Part 3: Install and Setup the Tuya BLE Integration
In this guide, I’m using the pascalgoedeke/ha_tuya_ble fork, as I found it is the only version that supports the Fingerbot Touch (bs3ubslo) under the kg device category. It is forked from the original PlusPlus-ua/ha_tuya_ble integration and adds both device support and an improved connection handling approach that avoids the constant reconnect loop. Credit goes to pascalgoedeke for taking the time to make this!
To install it, go to HACS, click the three dot menu, select Custom repositories, and add https://github.com/pascalgoedeke/ha_tuya_ble with category Integration. Once added, search for Tuya BLE, download it, and restart Home Assistant.
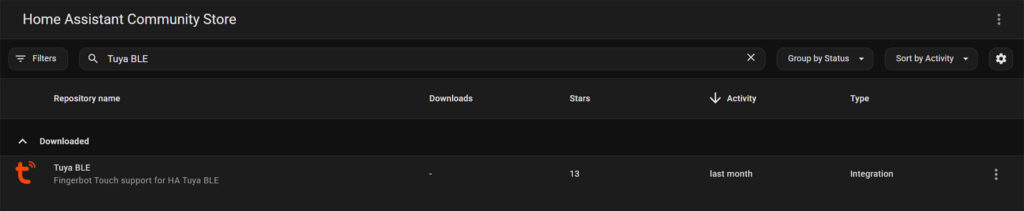
Once Home Assistant reboots, go to Settings > Devices and Services and the Fingerbot touch should be automatically discovered, which prompts you to set up the integration. If not, click Add Integration, search for Tuya BLE, and enter your credentials.
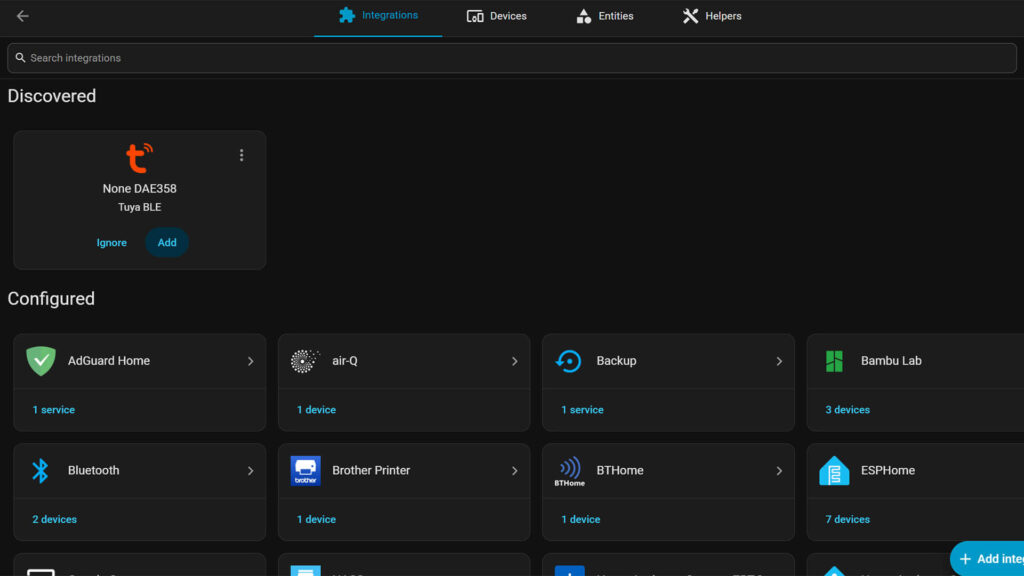
Click Submit. You may see a “device not registered” error on the first attempt. Click Submit again immediately as this is a known quirk where the token initializes on the first try and succeeds on the second.
The integration authenticates with Tuya cloud, pulls the local encryption key, and stores it locally. From this point on all communication with the Fingerbot happens over BLE with no cloud involvement.
Part 4: Home Assistant Entities and Control
Once the device is properly set up and your Bluetooth connection is working, you get the following entities in Home Assistant:
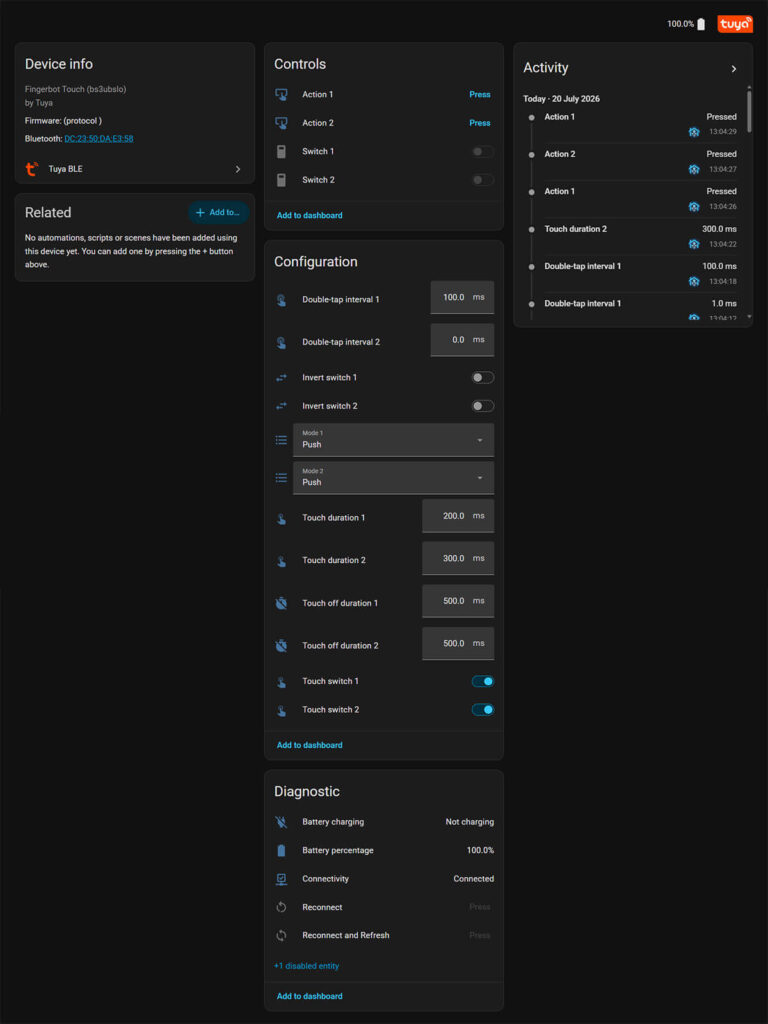
Action 1 and Action 2 fire an immediate touch on their respective channels. These are what you will use in most automations, like tapping a coffee machine button at a set time.
Switch 1 and Switch 2 work as toggles that hold state. Useful when you want the Fingerbot to track whether something is on or off rather than just fire a one-shot press.
Touch duration 1 and 2 control how long the touch press lasts in milliseconds. If your surface is not registering the tap, increasing this is the first thing to try. Touch off duration 1 and 2 set how long the release holds before the next press is allowed.
Connectivity shows the current connection state. Now, this will show disconnected most of the time. The device sleeps between commands to preserve battery and reconnects automatically when you trigger an action.
Reconnect lets you manually initiate a connection without firing an action, useful for pre-connecting before an automation can be fired. The Connectivity entity shows the status of the connection, which is great for adding a condition to your automations. For example, before triggering a press action, add a condition that checks whether the Connectivity entity is “Connected”, ensuring the command only fires when the device is actually reachable.
Where to Buy
The Tuya Fingerbot Touch is a decent device that does exactly what it is designed to do. It can toggle buttons on any touch surface, including smartphones with screen protectors, and supports two independent channels. When it works, it’s quite impressive. When it doesn’t, it’s quite irritating.
The catch is Bluetooth. In an active connection, Bluetooth requires solid signal and ideally one or more Bluetooth proxies placed close to the device to be a reliable option. It works, but it takes more effort to get right than a Zigbee equivalent would.
The problem is there is no Zigbee version of the touch variant. If you need touch simulation specifically, this is your only option right now. If you just need a mechanical button pusher though, the classic Tuya Fingerbot Plus is a much easier experience. It works flawlessly over Zigbee, pairs with both ZHA and Zigbee2MQTT out of the box, and integrates into Home Assistant without any of the Bluetooth headaches. Here is where you can get both:


here very interesting device to test, I just order that tuya ZigBee RF.
First non WiFi RF signal cloner, been waiting for it forever.
https://www.aliexpress.com/item/1005012653773868.html
Very interesting indeed, bought one too for testing.
Thanks for sharing!
My Zigbee version arrived a few days ago; you can program 8 buttons, which is a limit. I’m using the Tuya app; all autmations are local.
If you are using the Tuya Matter Hub, you can create scenes and expose them through Matter integration.
The lux meter is working fine.
Really good piece of equipment; didn’t check it with Home Assistant.
Thanks for writing this up! I managed to get it added into HA but all the controls show up as Unavailable. Any advice? I definitely have it down as DP Instruction in the settings.
Can you see the device MAC advertising when you press a button in the Bluetooth adapter settings in HA? I’d start there
Stuck at the same point as you. Spend hours to fix but nothing worked. All controls show up as unavailable. Did you solve the problem?
Nope, I couldn’t get it to work so I gave up.
I just hope a ZigBee version gets released soon.
What a groovy little gizmo, especially the dual contact aspect and battery power. (And the price. Don’t get me wrong, I do like SwitchBot kit and the like but you do pay a premium.)
I’ve recently changed from a gas hob to a touch-control induction so it’s definitely worth considering, especially if they ever bring out one with four or six contactors.
It would be nice if someone could create mechanical fingerbots with the same sort of flying-lead multiple actuator desigm as things like the SwitchBox & Tuya ones are rather bulky. Of course the attachment is more of an issue to handle the mechanical force required for some switches but I’m sure it could be done. My dishwasher would be an ideal candidate as it has multiple SMT switches on the control panel and no smart connectivity.
It’s a neat little touchbot, but I’d honestly prefer a Zigbee version.
Bluetooth is fine for passive sensors, but it is very flaky for active control.
Even with a great connection. I dug through the pits of the internet to find a Zigbee version, but couldn’t.
So if you (or someone else who reads this) must use it, keep in mind it requires excellent Bluetooth coverage.
You’re probably right. All my Bluetooth/BLE kit is sensor orientated (mostly via ESPHome proxies) so if I miss an announcement it’s not a big deal.
I bought a Zigbee coordinator, a smart plug, an environmental sensor & a no-neutral patress switch more out of curiosity than because I needed them. Used to work on proprietary Zigbee based stuff back in the day – leisure marine course computer remotes and the like.
Totally off-topic but one thing that annoys me is that UK smart meters use proprietary Zigbee for the connection to in-home displays and gizmos like my Octopus Home Mini. Without the mesh it makes them very flaky if your electricity meter is outside or in a shared apartment block cabinet. Given that the meter by definition has an electricity supply, something with a bit more point-to-point range would have made more sense. Now I think about it, I worked for an outfit years ago that was developing bolt-on 433MHz spread-spectrum reporting from domestic meters to DSP kit in the local substations – never amounted to much but was fun at the time! 🙂
I’m stuck on the page in home assistant where it ask for credentials, country, access ID, Secret, Account, password. I keep getting ‘login error (2009) clientid is invalid.
When it comes to account I have tried the account number the developer platform gives me like AE45F2, my email address for the app and the one I registered with the tuya developer. Which one should I use in this field?
Country, access ID, Secret seem self explanatory.
I have also tried filling the password field with the account password and the Tuya developer password, but still getting the error. It would be nice if you could tell me what information goes where.
Thanks
You are likely using the wrong clientID. This is not your email, you need to fetch it from the cloud dev portal.
AccessID=ClientID.
I figured it out, thanks. Wow speedy reply from you though!
I still had the wrong password though.
All well that ends well. Brilliant walk through, thanks for posting the details.
Have a good one my guy. Cheers!
OK I got it. For anyone else : you enter the email address for the app in the account ID and the password of the app in the password field.
The actual error above is down to the secret/Access ID being wrong. I forgot that because I had the wrong data center selected and it would not let me change it I had to delete the project and start again which gave me different credentials.
And if you find the ‘DP Instruction’ is greyed out and you cannot select it in my case it was down to the fact that the fingerbot had gone to sleep. Just pressing one of the button wakes it up and then you can select ‘DP Instruction’ just fine.