In a previous article, I talked about the Meross Matter Smart Plug MSS315 with energy metering and It’s Home Assistant Integration. I was quite happy with the quality of the product and even though I did not get the chance to test it’s energy measuring features (Matter specification doesn’t support it yet), it worked great as is.
Since the release of that article, Meross has asked me to test some of their other products, starting with their MS200H Door and Window Sensor. I agreed and asked them for an exclusive discount of the device I’m testing for SmartHomeScene’s readers.
They agreed and sent me code smarthomescene20, which you can use to get a 20% discount on the Meross MS200H Door and Window Sensor Kit on their Official Webstore. The device is also sold on Amazon, although I highly suggest you read my review first before making a buying decision.
Technical Specification
- Battery: CR2450 Battery
- Dimensions:
- 57×31×15mm (2.24×1.22×0.59in.)
- 28×15.5×11mm (1.10×0.61×0.43in.)
- Hub Dimensions: 59×41×21mm (2.3 × 1.6 × 0.8 in.)
- Wireless Standard: 802.11 b/g/n 2.4GHz Wi-Fi (smart hub)
- Wireless Standard: 433MHz (between smart hub and alarm)
- Operating Temperature: 0°C~40°C (32°F~104°F)
- Storage Temperature: -20°C~50°C (-4°F~-58°F)
- Operating Humidity: 10%~90% non-condensing
- Storage Humidity: 5%~90% non-condensing
- Package Contents:
- 1 × Smart Sensor
- 1 × User Manual
- 1 × Key Pin
- 1 × Power Adapter
- 1 × USB Cable
- 1 × Smart Hub (Optional)
Teardown
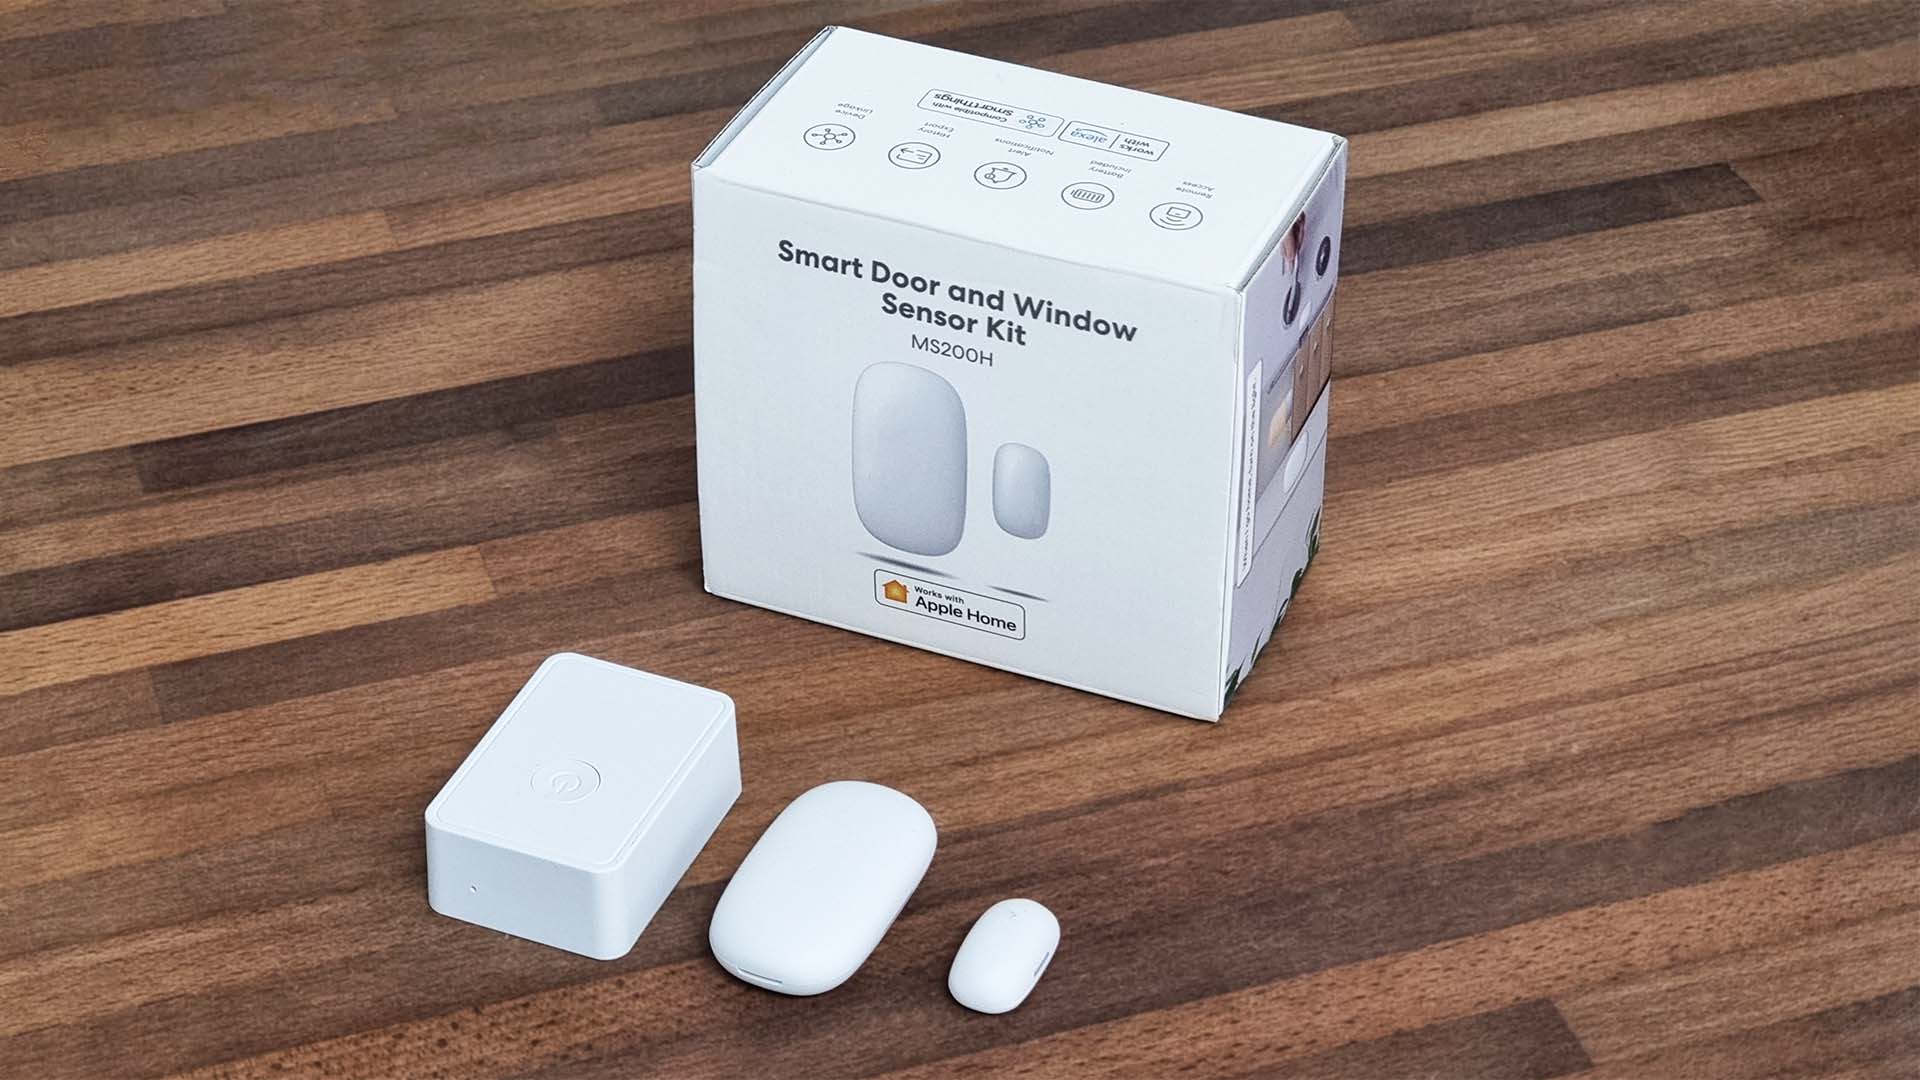
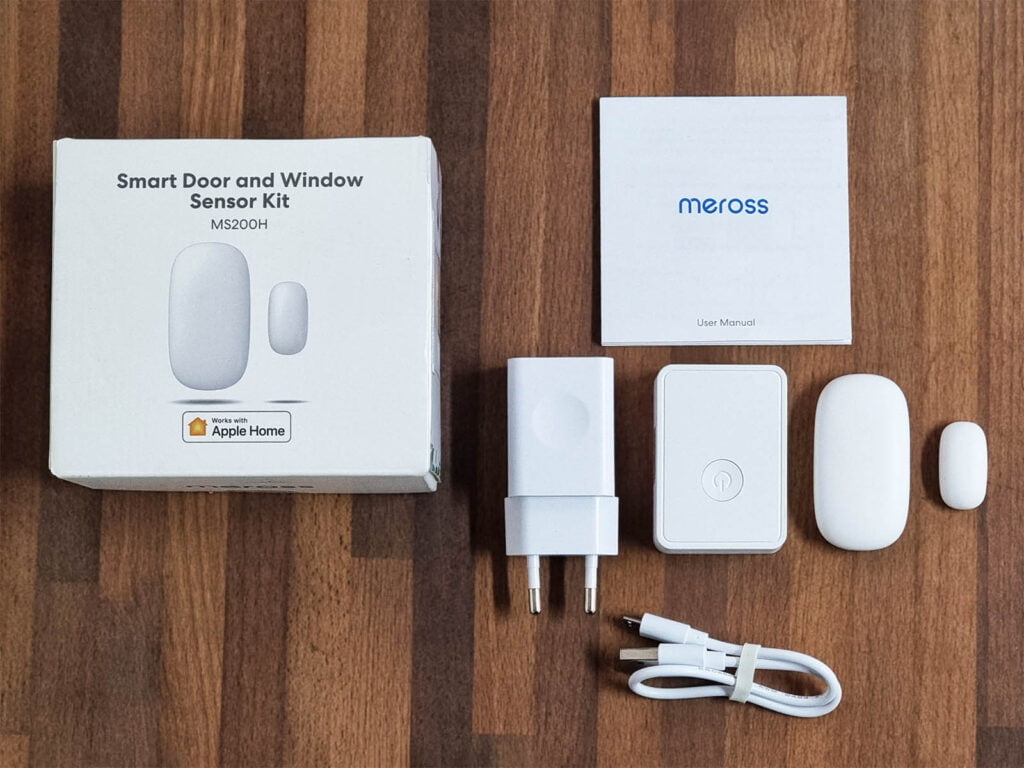
The Meross MS200H Door and Window Sensor ships in a package containing the sensor itself, a Wi-Fi hub with an USB Cable, a power adapter and a user manual for onboarding the device. Everything is neatly packaged and cushioned inside, to prevent shipping damage.
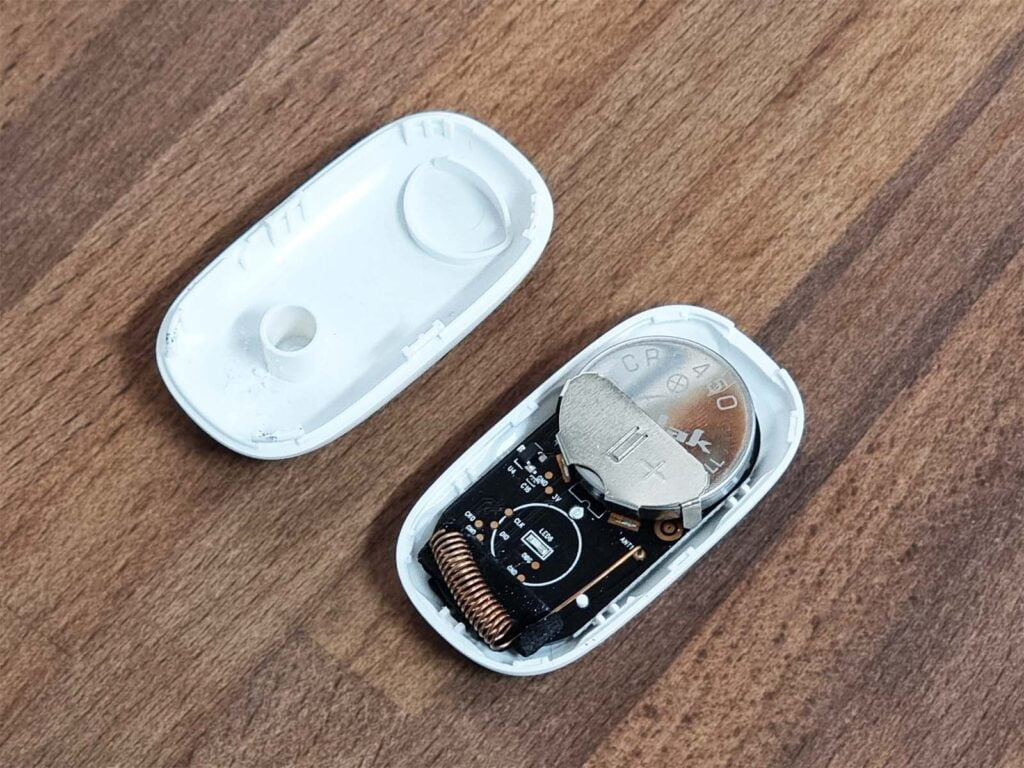
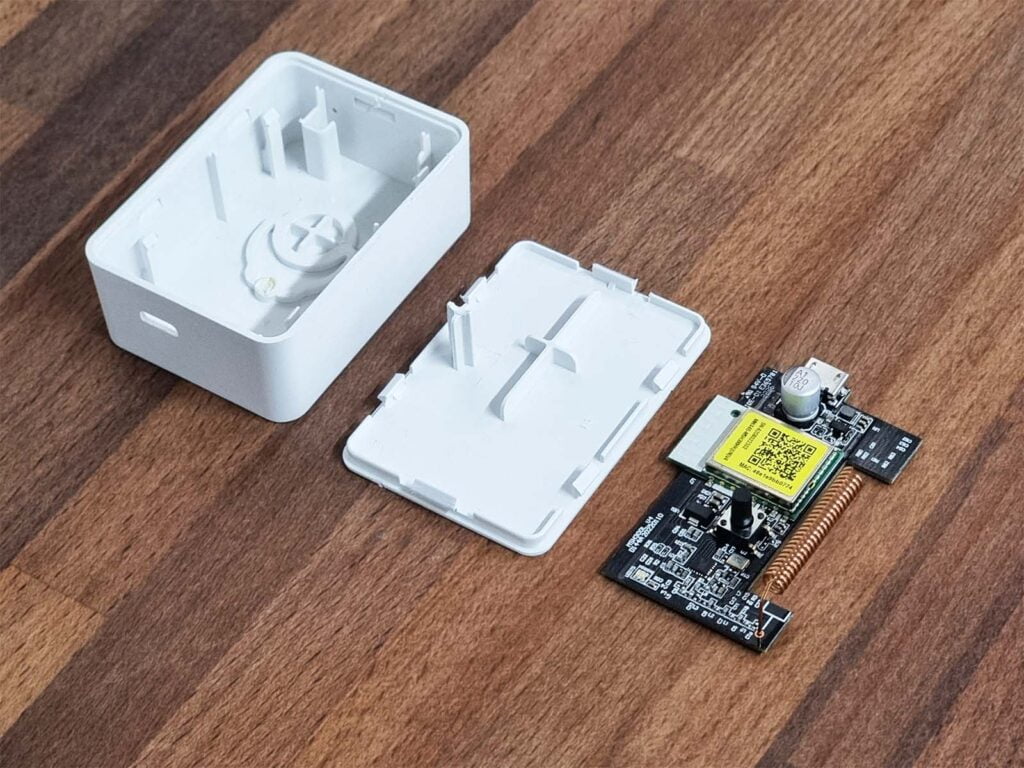
Opening up the sensor and you meet the simplicity of these devices. A small PCB powered by a single button-cell CR2450 battery, which takes about 50% of the space inside the small case. A copper alloy spring is used as an antenna, boosting the signal range of the 433MHz RF protocol this device uses.
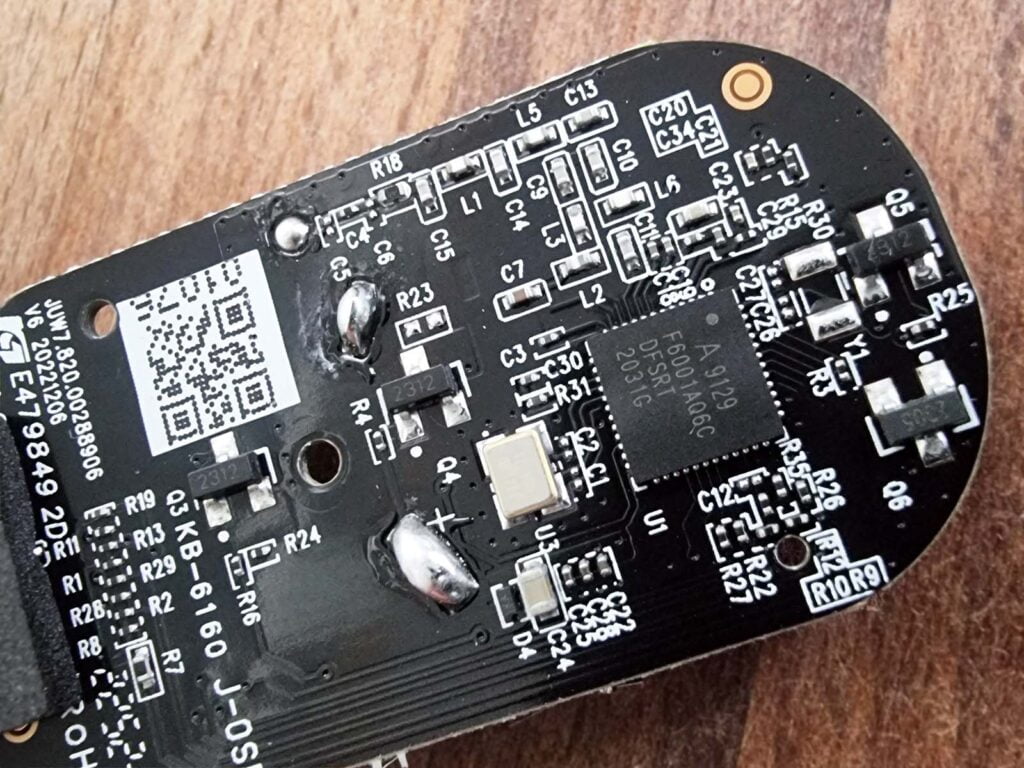
The Meross MH200H appear to use A9129 [Datasheet] RF chip for communicating with the small hub, which is sub-1GHz ISM band system-on-chip (SoC) wireless transceiver. 433MHz falls under the low-power communications protocols (RF), so it’s perfectly suitable for a sensor of this type.
I also dismantled the hub to take a peak of it’s insides. Just like the sensor, there’s a huge antenna used for RF communications between the two devices. The Hub is actually very small, you can install it anywhere with the included 5V1A power supply.
Interestingly, Wi-Fi communication seems to be handled by a module of their own making. It’s labelled as model MWA6S which leads me to the FCC website containing some data about the chip. It appears to be based on the MT7686DN [Datasheet] SoC by Mediatek, a highly-integrated single chip with an ARM Cortex-M4 CPU and a low-power 1T1R 802.11 b/g/n Wi-Fi antenna.
Meross App Onboarding Process
Since the Meross MS200H communicates over RF at 433MHz, it needs a hub to translate what the device is saying. The small Wi-Fi hub (MSH300HK) included in the kit talks with the MS200H and relays the messages to whatever controller you are using.
Before you get started, you need to download the Meross app from the store and create an account. Than you need to add the Wi-Fi hub to your account and finally add the sensor. Up to 16 devices can be added to a single hub, so you do not need a hub for each one. The process is seamless and easy, and here’s how it looks once I paired everything:
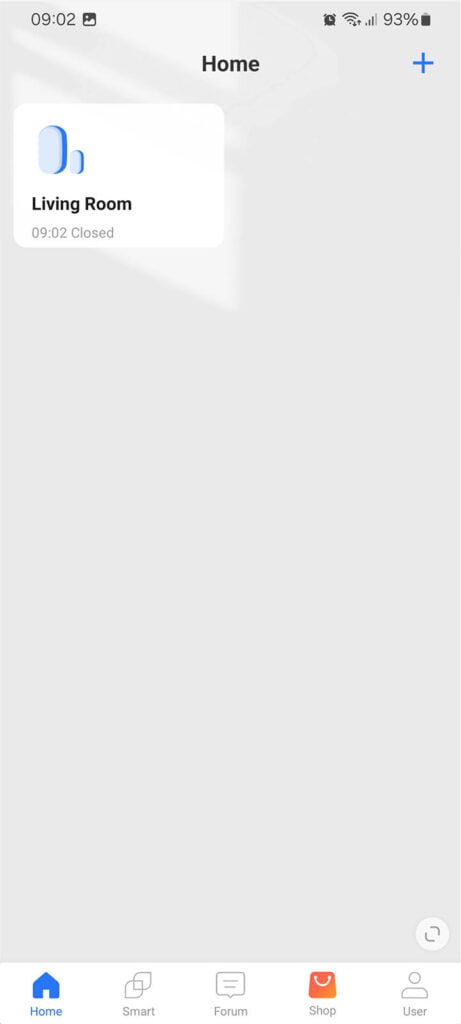
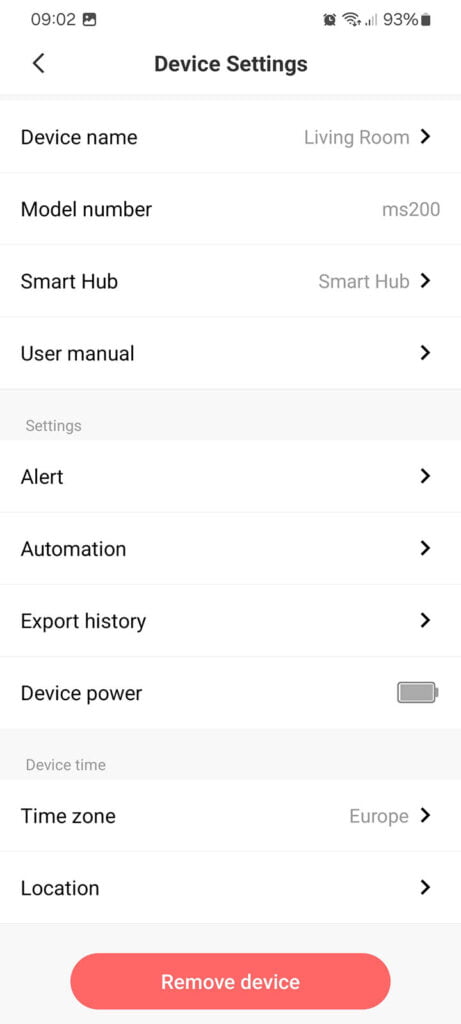
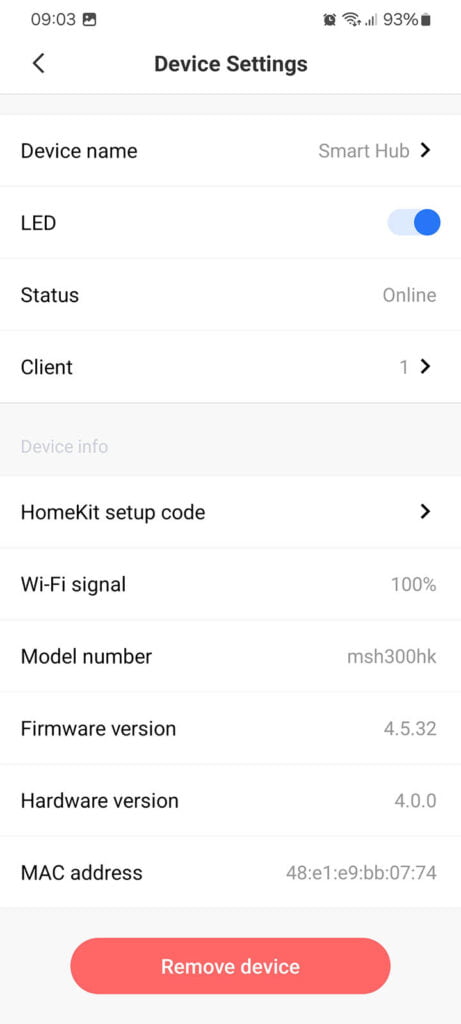
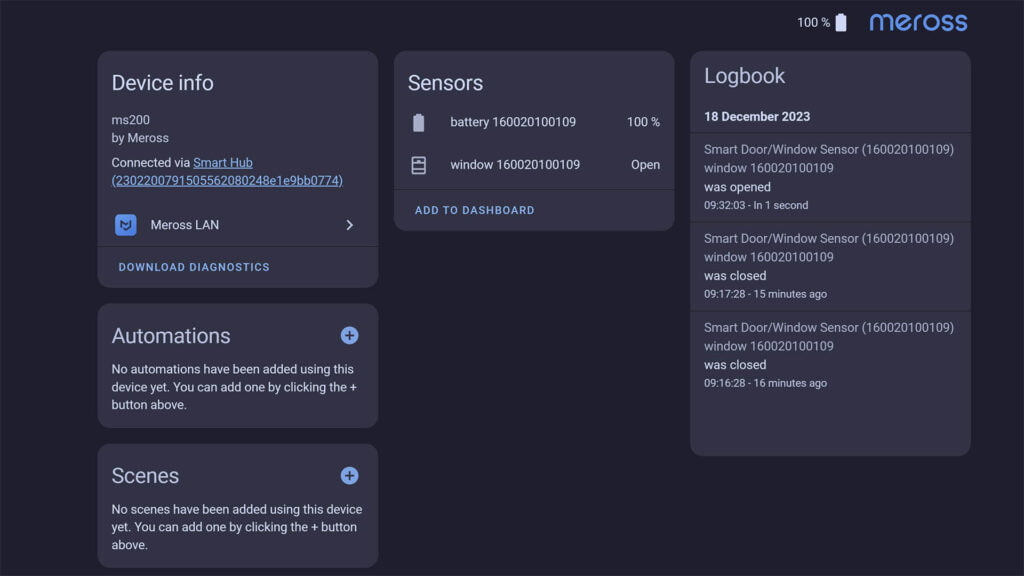
Whenever the sensor is open/closed, the app keeps a log with a timestamp of the event. The settings page for the sensor and hub can be used to control things like automations, alerts, firmware upgrades, HomeKit setup codes and get a general overview of the status of each device. Pretty basic, although I will commend Meross for making their app easy and simple to use.
Home Assistant Integration
There are a couple of ways you could integrate Meross devices in Home Assistant. The first and most obvious one is by using the HomeKit Controller Integration, now called HomeKit Device. This one works locally by integrating the hub, which automatically adds whatever devices were paired to it.
HomeKit Device Integration
After you’ve onboarded the MS200H and Hub in the app, it will get automatically discovered in Home Assistant. You can simply click configure and the integration will ask you for your HomeKit Pairing Key. You have this on a small sticker on the side of the hub, or you can go to settings in the app and click HomeKit Setup Code to reveal it.
Meross LAN Custom Component
Another method to control Meross devices is to use the Meross LAN custom component from the community store (HACS). Despite it’s name, this integration allows you to control Meross devices in three different ways:
- Direct HTTP connection (in LAN) for any reachable device
- Local MQTT broker (the one configured in HA)
- Meross cloud MQTT brokers
A direct connection allows you to keep the devices in the Meross App and cloud infrastructure and communicate to the them via HTTP. This basically allows for communicating to Meross devices in a parallel link to their services, which means less configuration and easier setup.
Navigate to HACS > Integrations > + Explore and Download Repositories and install the Meross LAN components. Restart Home Assistant and the Meross Hub will get auto-discovered in Home Assistant with this custom component.
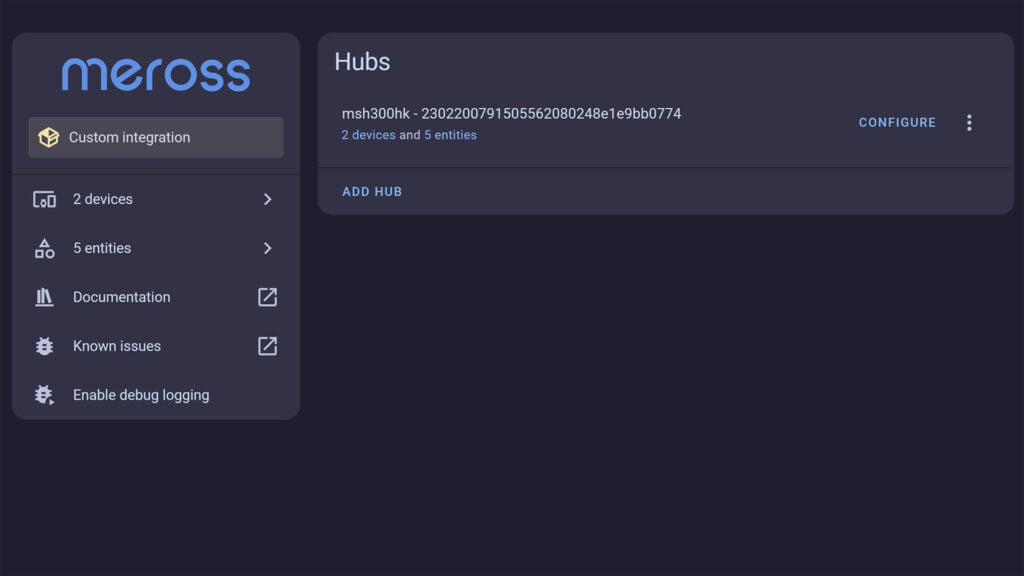
When you click configure, you may be asked to input the IP address of the hub that it obtained via DHCP. It’s also a good idea to set a static IP, so it’s always available at the same address. It will automatically add any devices you have paired under the hub in the Meross App:
Alternatively, you can integrate devices that have been privately MQTT binded via this custom component. The procedure for MQTT binding is wonky and not worth the effort in my opinion, since devices can be controlled locally via the HomeKit Device Integration.
Meross Local Broker Add-on and Integration
Another custom component I tested is the Meross Local Broker Add-on, which enables LAN-only mode for Meross devices, completely eliminating the cloud. This Integration and Add-on combo is well developed, including a Mobile app used to onboard Meross devices to the Add-on server directly.
First and foremost, you need to install the Meross Local Broker Add-on in Home Assistant by adding the custom repo. Navigate to Settings > Add-ons > Add-on Store > Three Dots > Repositories and add the following repo:
https://github.com/albertogeniola/ha-meross-local-brokerNow find the Add-on at the bottom of the store and install it. Click Start and toggle the Watchdog, Start on boot and Show in sidebar toggles. The Add-on server should now be up and running, check the logs for any issues. Open the Web UI of the add-on and follow the setup wizard.
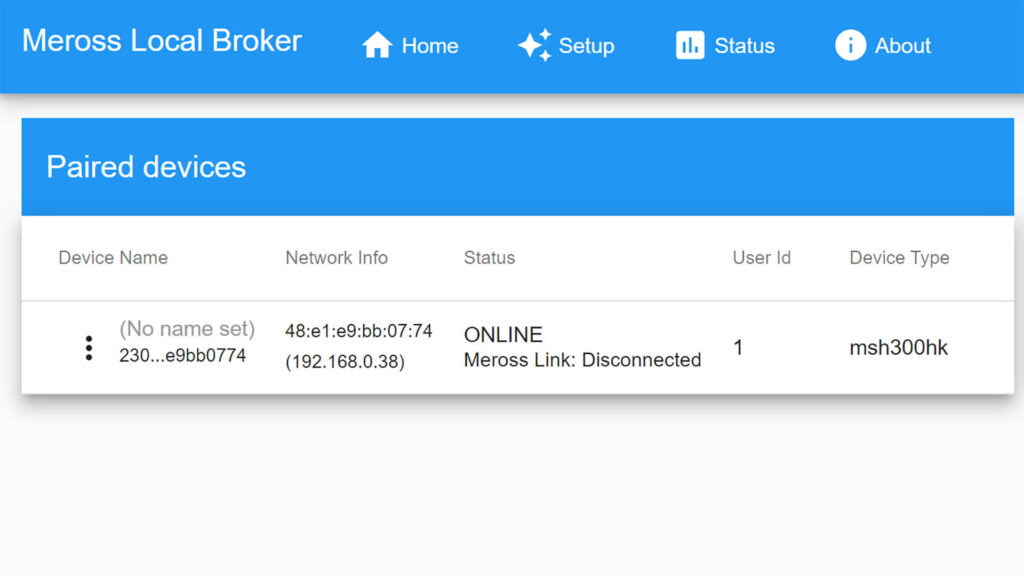
This basically involved creating local credentials (you need to check Meross Link if you want to use Meross app simultaneously), logging in with the app and pairing devices directly to the server created by the Add-on. After I paired the Hub, it was added to the Add-on:
Next, navigate to HACS and Install the Meross LAN custom component, labelled as Meross Cloud iOT (NOT Meross LAN from above). Restart Home Assistant. Navigate to Settings > Devices & Services > + Add Integration and add the Meross Cloud IoT component, which will connect to the Add-on server and add all paired devices to Home Assistant. That’s it!
Final Thoughts
If you already have Meross devices, the MS200H door sensor is a great addition to the ecosystem. It integrated well in HomeKit and that button cell battery will last ages, since it communicates over 433MHz. It’s a perfectly fine door and window sensor with no apparent flaws.
You can get the MS200H on their Official Webstore or Amazon for $21.99 without the Hub. If you get the kit (Sensor + Hub), it will cost you $32.99. Get 20% off with code smarthomescene20 in the store.
If you are an exclusive Home Assistant user, you are probably wondering which Add-on should you use to integrate Meross devices such as this MS200H sensor. My honest opinion – neither one.
I get that you need to bridge that communications gap somehow, I get it. But, a Wi-Fi hub for integrating a simple door sensor? Come. On. Even though you can integrate up to 16 devices under a single hub, it’s still a hub. What’s the purpose of running a local smart home if you get every brand’s hub/bridge to control their devices?
Just get an Aqara Zigbee Door and Window Sensor and be done with it.


