Ever since I installed the SwitchBot Outdoor Spotlight Camera, I’ve been using it as a hybrid doorbell. Whenever someone’s at the door, I get a notification in the SwitchBot app. The cam supports two-way audio, so I use it to talk to whoever’s at the door. It’s great little camera for it’s price tag, but unfortunately, it does not integrate with Home Assistant and it needs to go.
I decided to install a real doorbell instead, which obviously led me to Reolink. In this article, I’m testing, reviewing and setting up the Reolink PoE Video Doorbell with Frigate in Home Assistant. There are two versions of this doorbell:
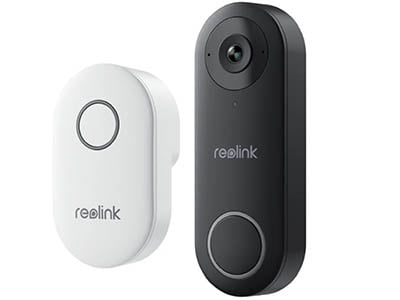
- Wi-Fi version [Amazon, AliExpress]
- PoE version [Amazon, AliExpress]
The Reolink PoE doorbell is also available in two colors (black and white) and it includes a chime, sold with various plug types for different markets: EU, US, AU, and UK.
Technical Specification
 Reolink Video Doorbell WiFi | 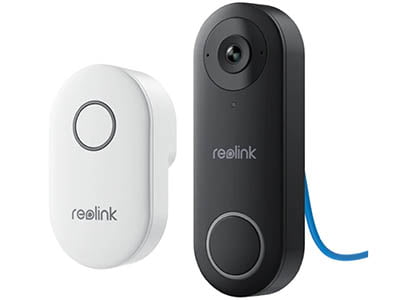 Reolink Video Doorbell PoE | |
|---|---|---|
| Image Sensor | 1/2.7″ CMOSSensor | |
| Video Resolution | Default: 2560X1920 (5 megapixels) @20FPS | |
| Lens | f=2.26mm F=2.0, with IR cut | |
| Video Format | H.264 | |
| Field of View | Horizontal: 134° | |
| Vertical: 97° | ||
| Diagnal: 180° | ||
| Pre-Motion Recording | Support | |
| Audio | Two-way audio, Noise reduction, Echo Suppression | |
| Quick Replies | Yes | |
| Hardwired | 12-24VAC 50/60Hz, DC 24V | |
| PoE | x | IEEE 802.3af, 48V Active; |
| Power | Power port | |
| System | Reset button | |
| Ethernet | RJ45, 10M/100Mbps | |
| Storage | Micro SD card slot (Max. 256GB), Reolink NVR | |
| Audio | Built-in 2 Microphones & Speaker | |
| Wireless Standard | IEEE 802.11a/b/g/n | x |
| Operating Frequency | 2.4GHz/5GHz | x |
| Wireless Security | WPA-PSK/WPA2-PSK | x |
| Frame Rate | Mainstream: 2fps – 20fps (default: 20fps) | |
| Substream: 4fps – 15fps (default: 10fps) | ||
| Code Rate | Mainstream: 1024Kbps – 6144Kbps (default: 4096Kbps) | |
| Substream: 64Kbps – 512Kbps (default: 256Kbps) | ||
| Browsers Supported | Edge, Chrome, Firefox, Safari | |
| OS Supported | PC: Windows, Mac OS; Smartphone: iOS, Android | |
| Smart Alarm | Motion detection/Person detection/Visitor detection | |
| Recording Modes | Motion recording (default)/scheduled recording | |
| Protocols & Standards | HTTPS, IPv4, UPNP, RTSP, RTMP, ONVIF, SMTP, NTP, DHCP, DNS, DDNS, FTP, P2P | |
| Rich Notification | Yes | No |
| Temperature | Operating temperature: -10°C~+55°C (14°F~131°F) | |
| Humidity | Operating humidity: 10% ~ 90% | |
| Waterproof | Yes | |
| Dimension | 133mm(H)x48mm(W)x23mm(T) | |
| Weight | 96g | |
Overview and Package Contents
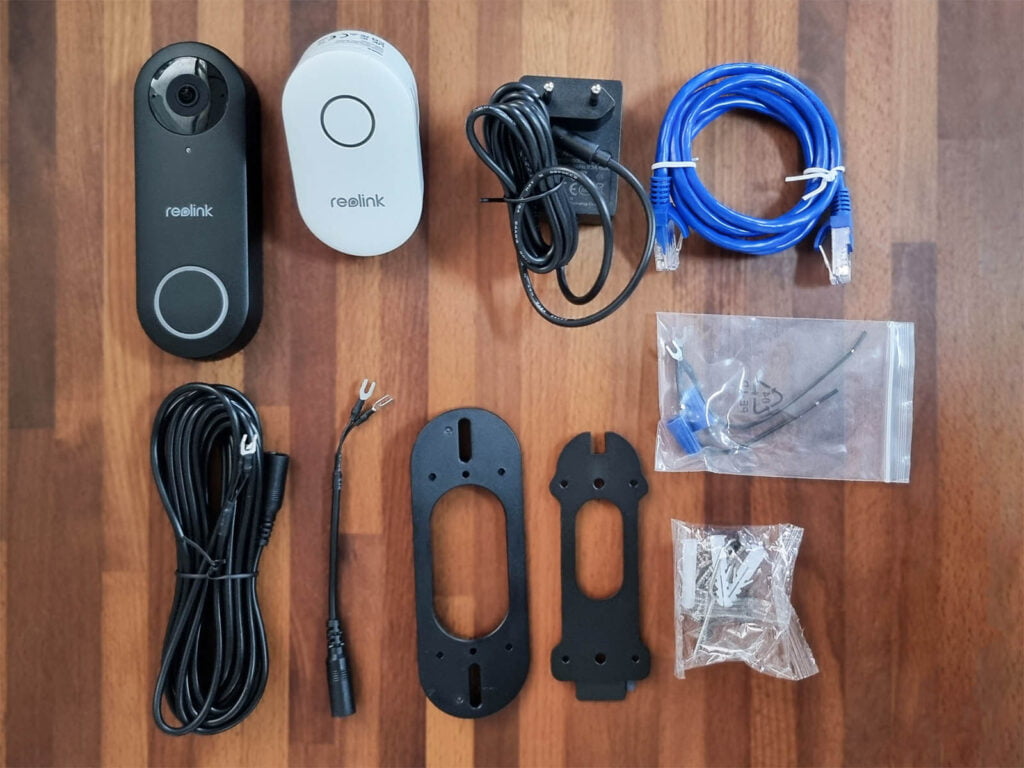
Reolink Video Doorbell WiFi version includes the doorbell unit, plug-in chime, power adapter, mounting plate, screws, mounting wedge, LAN cable, power extension cable, jumper cables, and a user manual, all well-packed.
The user manual is quite handy and explains the installation and setup process in detail. The mounting bracket is installed with a set of screws and the doorbell simply slides onto it. The adapter cable is quite long, so you have some flexibility in choosing a mounting position.
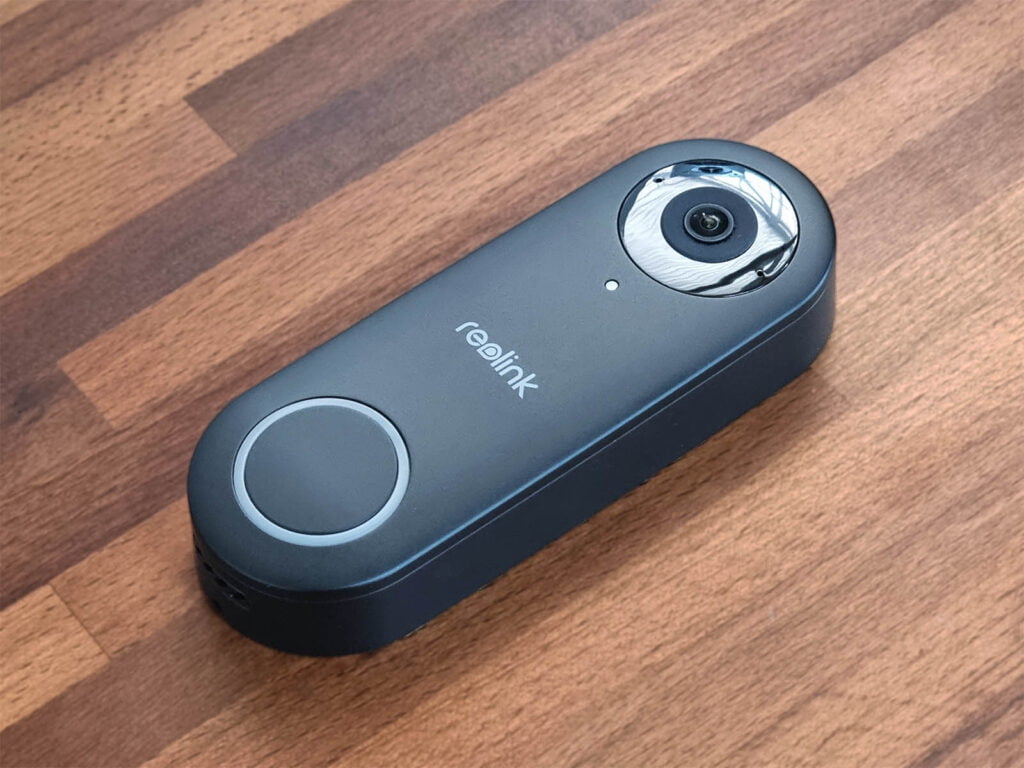
Regardless of which color you choose (white/black), the plastic is matte-finished. Build quality is very good, with the device feeling very compact when handled.
The doorbell features a front camera, call button, motion detector, two microphones, and a speaker. The camera lens is located on the top half of the case, while the ring button is positioned at the bottom. A status LED surrounds the doorbell that briefly lights up white and turns blue whenever the device detects motion.
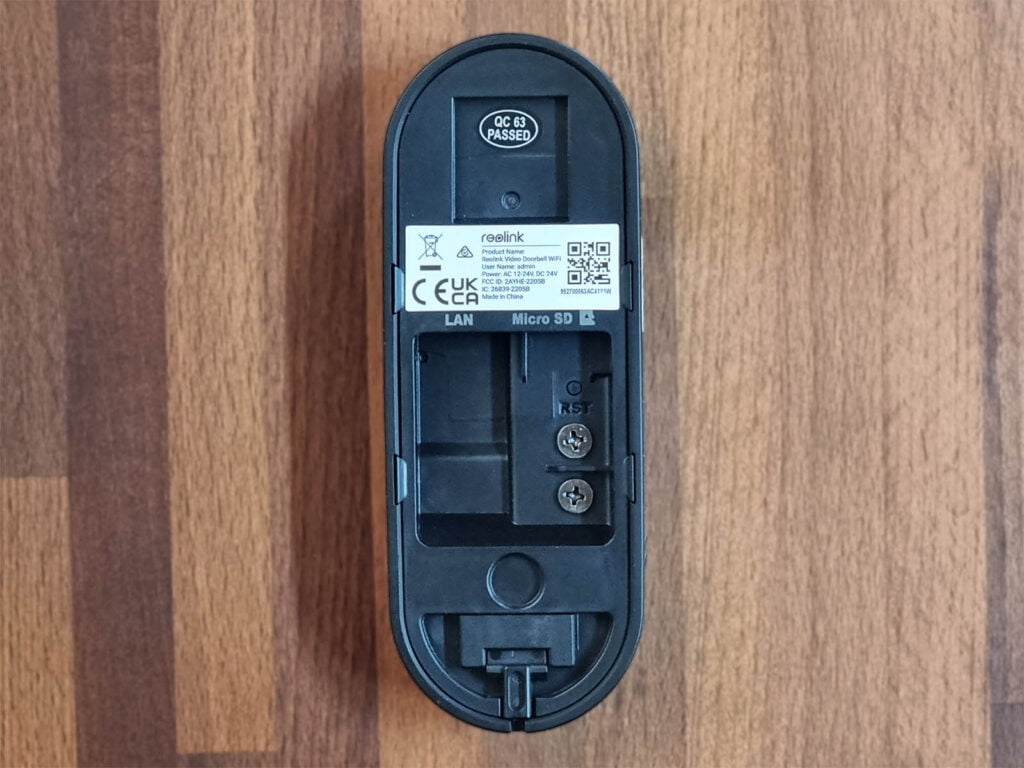
The power input, micro-SD slot, RJ45 ethernet connection, and a reset button are all found at the back of the device. It’s worth mentioning here that the LAN port of the Wi-Fi version, obviously does not support POE and you would need to connect it to a 12-24VAC power source.
Since I currently don’t have a PoE line to my front door, I decided to get the Wi-Fi version. I can always use an ethernet connection later if I need to.
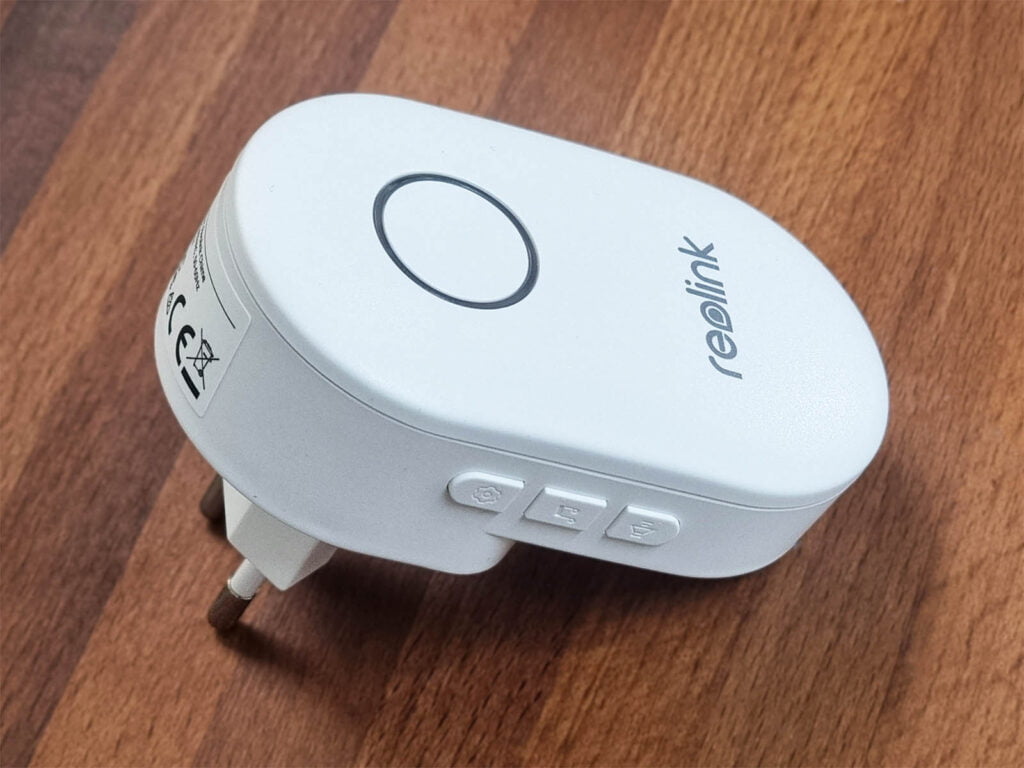
The chime is made of white plastic with a circular blue LED status light, a speaker and three control buttons. The first one is used for pairing, the second one for volume control (5 levels) while the third button cycles through 10 different ringtones.
The EU version of the chime measures at 86.5x29x66mm.
Reolink Doorbell Installation and Setup
Installing the Reolink Doorbell was pretty straightforward. All I had to do was pull the adapter cable from a nearby power box and connect it to the screw terminals. There is also an option to use the pre-existing doorbell wiring by using jumper cables but in my case this was not an option.
The user manual comes pretty handy here, explaining each available installation method step by step. Alternatively, the Reolink app can visually guide you through the installation process by showing you a step by step guide you can follow on your phone. Once the doorbell is initialized, there several settings you can tweak within the app:
Since Reolink is a company that makes cameras, their app is tailored to match that experience. To test my doorbell, I pressed the ring button on the camera and received a notification on my phone. When I tapped the notification, the Reolink app popped up, providing video stream and the option to communicate with my visitor via the doorbell and the phone. Neat and simple.
When you open the app, you’ll find three buttons at the bottom of the screen: Playback, Quick Reply, and Tap to Talk. Playback is for viewing events and recordings, while Quick Reply allows you to create or select responses for visitors. Tap to Talk enables direct communication with someone at your doorbell.
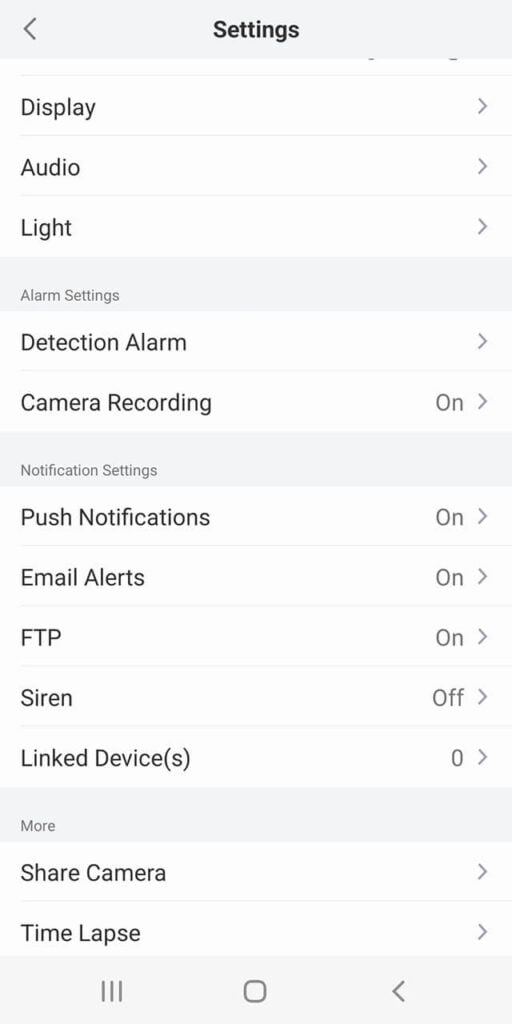
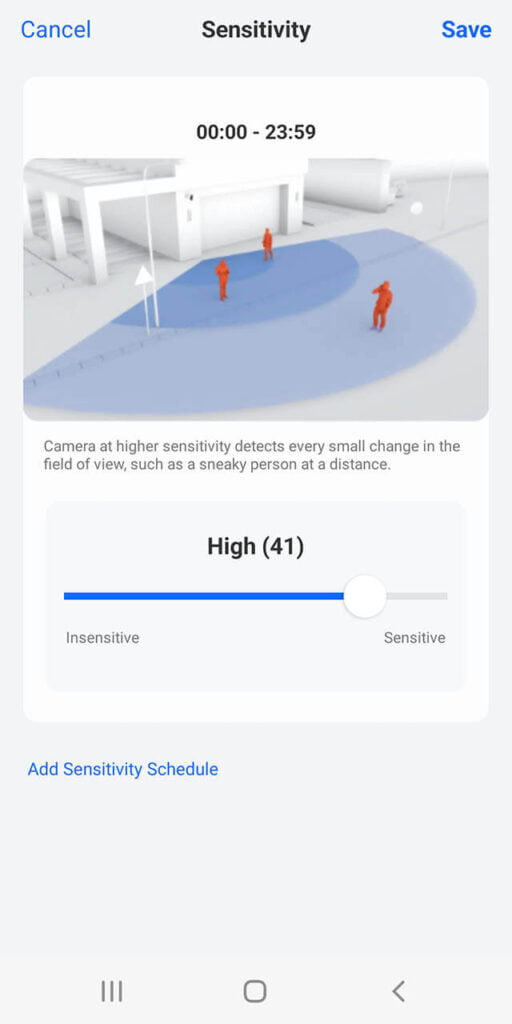
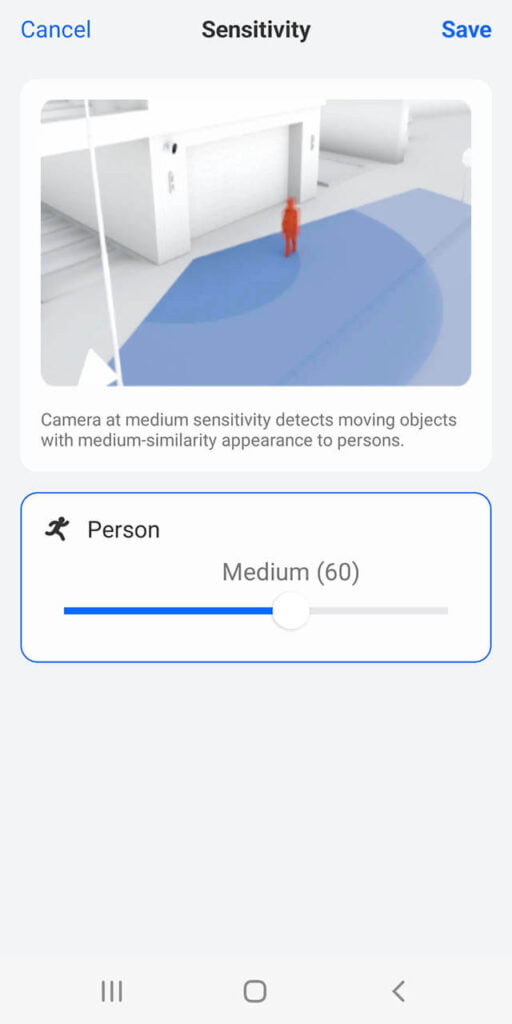
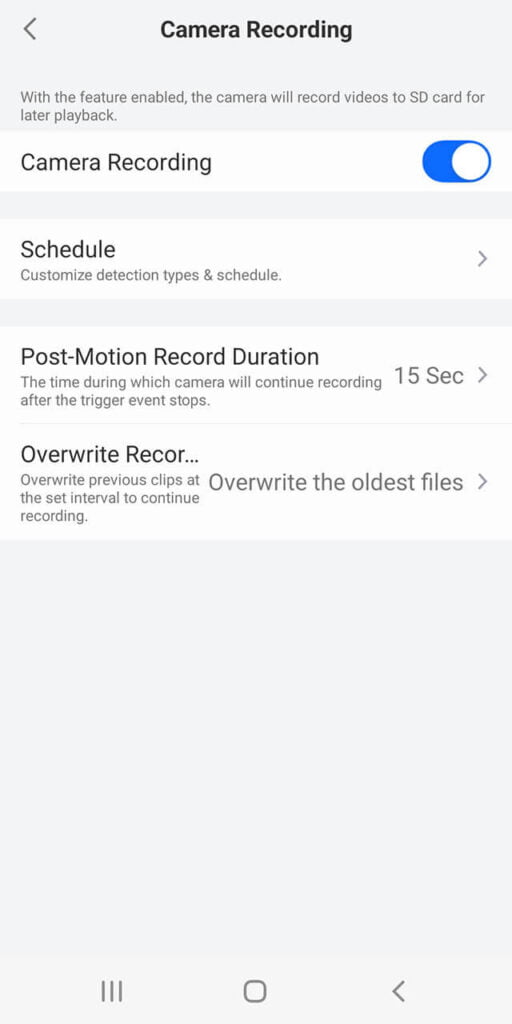
Additionally, there’s a siren activation option located in the top right corner of the app, and a gear icon that opens device settings offering a variety of customizable options for both the doorbell and camera. Here, you can check the remaining SD card storage space, toggle the LED light ring, and adjust display and audio settings, as well as set motion zones and detector sensitivity. Notifications can be enabled, recording schedules can be created, and settings for timelapse recording can be configured.
This is all I needed the app for, my goal was always to integrate and use the Reolink Doorbell with Home Assistant. It’s worth mentioning that since my house is quite large and the device is not close to my access point, there was about 0.5 to 1sec delay. My next project is to pull an ethernet line to my front door and reduce this delay, hopefully to milliseconds.
Reolink Doorbell Home Assistant Integration
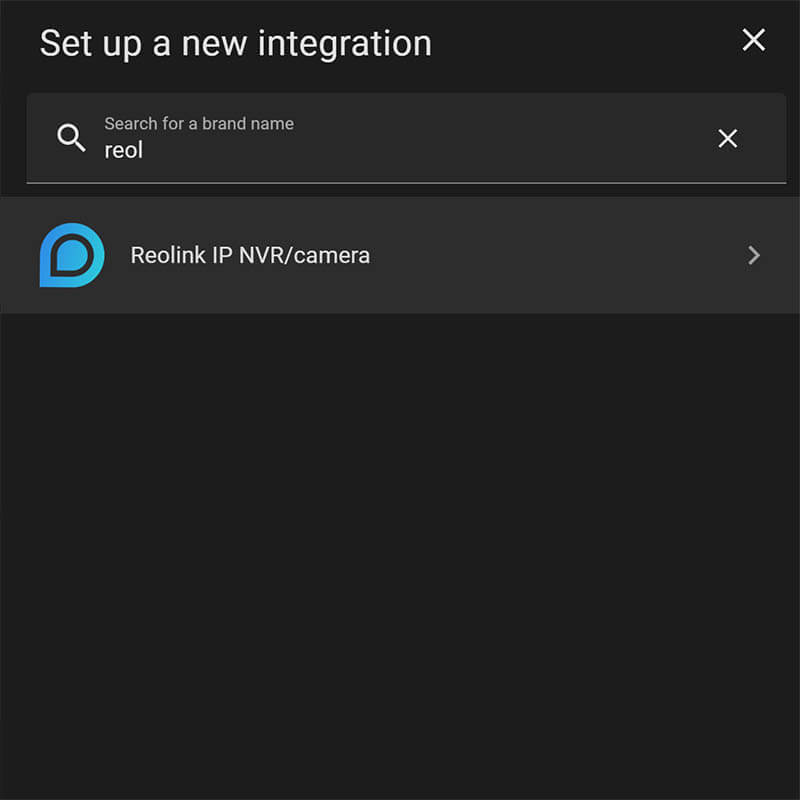
The Reolink Doorbell has an official Home Assistant integration that can be used to add the device in HA. Navigate to Settings > Devices & Services > Add Integration button and search for Reolink. Enter the device’s username and password you created during onboarding and add the IP address of the camera.

To avoid connectivity issues, it’s good practice to set a static IP address to the doorbell in your router’s DHCP settings. This will allows the integration to always find the device at the same IP, avoiding issues while loading or during network restarts.
Once integrated, the doorbell exposes a bunch of entities in Home Assistant from various domains. It’s heavily configurable and perfectly usable from HA, making the Reolink app completely obsolete. Here’s a screenshot from all the entities the integration provides:
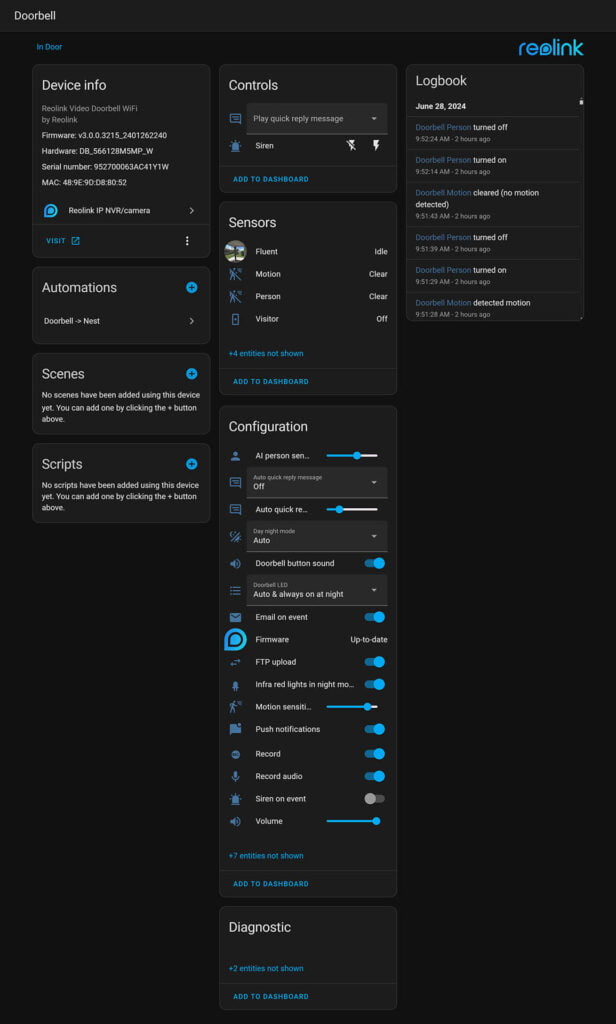
The most important thing you need to know about the Reolink integration is that while most of it’s entities and configuration variables are available and usable, the two-way audio stream is not. It gives you preview of the main view, sub view, doorbell presses, motion sensors, person detection sensors, light control as well control toggles like record and email on motion event.
Reolink Frigate Setup
The Reolink feed can be used with Frigate as a security camera, utilizing its 2k stream for detecting people, pets, cars and anything else you configure within Frigate. The two-way audio stream can also be used with Frigate, enabled through the go2rtc integration.
For optimal video and audio streaming performance, you need to use http-flv for stable video streaming and rtsp for enabling two-way audio. go2rtc seamlessly integrates these inputs to deliver a unified and reliable output stream. Setting up Frigate and go2rtc is beyond the scope of this review, I highly suggest you follow the official guide.
Once Frigate with go2rtc is up and running, add these lines to the Frigate config:
go2rtc:
  streams:
    reolink:
      - rtsp://username:password@192.168.0.54:554/h264Preview_01_sub
      - ffmpeg:rtsp://username:password@192.168.0.54:554/h264Preview_01_sub#audio=pcm#audio=volume

  ffmpeg:
    bin: ffmpeg
    volume: "-af \"volume=30dB\""

##########################################################################

cameras:
  reolink:
    ffmpeg:
      inputs:
        - path: rtsp://username:password@192.168.0.54:554/h264Preview_01_sub
          roles:
            - detect
            - record
      output_args:
        record: preset-record-generic-audio-copy

ui:
  live_mode: webrtc #Add at the end of config
This setup configures the proper streams for the Reolink Doorbell in Home Assistant. You need to change the username, password and IP address of your doorbell. The volume at 30dB setting prevents voice muffling, and provides a better quality audio stream.
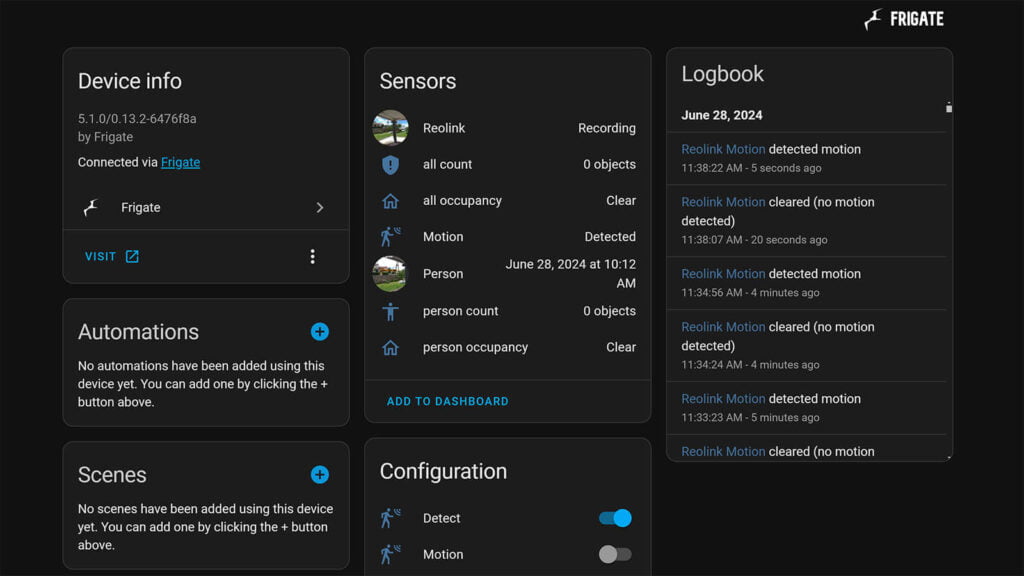
Frigate will detect, record and save recordings and snapshots of any object you’ve configured to your storage media. If you are unfamiliar with Frigate, it’s worth mentioning that it’s a very powerful piece of video detection and management software with AI capabilities. I highly suggest going through it’s documentation for any additional info.
The last step is to add a Frigate card to Home Assistant for easy control of the Reolink doorbell. You can find the card in HACS. Once installed, copy paste this code and adjust the button size if you need to:
Reolink Frigate Card (click to expand code)
type: custom:frigate-card
cameras:
  - camera_entity: camera.reolink       #Use frigate cam entity
    live_provider: go2rtc
    go2rtc:
      modes:
        - webrtc
menu:
  buttons:
    microphone:
      enabled: true
      alignment: opposing
    timeline:
      enabled: false
    cameras:
      enabled: false
    frigate:
      enabled: false
    download:
      enabled: false
    media_player:
      enabled: false
    mute:
      enabled: true
      alignment: opposing
    camera_ui:
      enabled: false
  style: overlay
  position: left
  button_size: 80           #Adjust Button Size
live:
  controls:
    thumbnails:
      mode: none
  auto_mute: all
  preload: false
dimensions: {}
media_gallery:
  controls:
    thumbnails:
      size: 140
      show_favorite_control: false
      show_timeline_control: false
      show_download_control: false
    filter:
      mode: none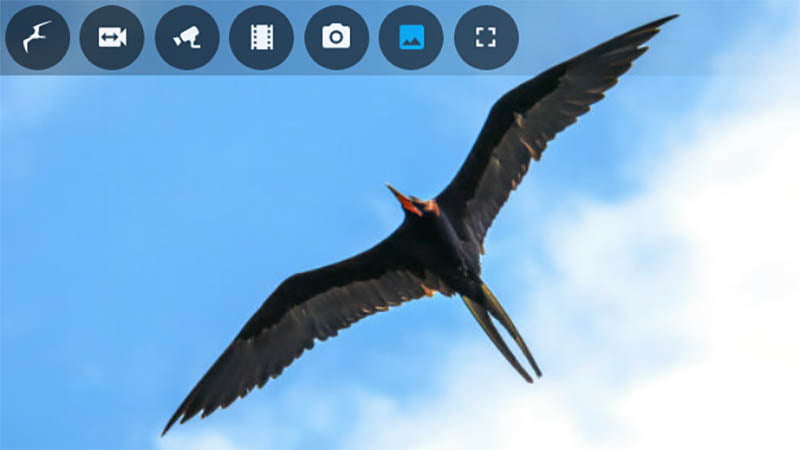
Final Thoughts
The Reolink Wi-Fi/PoE Video Doorbell is an excellent quality doorbell, controlled and used completely locally with Home Assistant and Frigate. Setting it up requires a bit more effort than usual, but if you’ve previously installed any type of camera in Home Assistant or Frigate, the process will feel quite similar.
Even though using the built-in motion detection of the doorbell through the Home Assistant integration is good enough for most people, Frigate’s detection capability is on steroids. It’s miles ahead in accuracy, speed, reliability and actual usefulness – especially if you have a Google Coral TPU.
In terms of video quality, the 2K resolution of the Reolink feed provides video and snapshots of excellent quality, especially during the day. The night feed is very solid too, although it largely depends on the surrounding lighting. I have a 6W LED night light installed at my front door, which gives me really great quality of the Reolink feed.
In terms of audio quality, the microphone and speaker combo provide clear and solid audio quality for greeting your visitors. I never experienced issues with it, except for the occasional garbling, which can be attributed to the way you talk into your mic.
Ultimately, the Reolink PoE/Wi-Fi doorbell is an excellent choice for a video doorbell, especially if you are a Home Assistant user. Recordings can be saved on an SD card or any local storage media you setup, always remaining within your control instead of on some cloud somewhere.
What’s more important, it does not have any hidden subscription fees and you just use the device completely locally. If you are on the market for a doorbell, don’t bother comparing the Reolink to subscription-based trash like Blink or Ring. Recommended.

![]()
AliExpress (Wi-Fi) | AliExpress (PoE)![]()
United States (Wi-Fi) | United States (PoE)
United Kingdom (Wi-Fi) | United Kingdom (PoE)
Germany (Wi-Fi) | Germany (PoE)
Netherlands (Wi-Fi) | Netherlands (PoE)
*If links fail to open, try disabling your AdBlocker.


Will it work with Scrypted to add HKSV support?
One flaw with all Reolink cameras is that they lack support for proper Ethernet port security. Publicly accessible Ethernet ports should generally be configured with 802.1x authentication. People have been requesting support for this for years, but Reolink hasn’t implemented it.
It’s not a huge deal for most folks (since setting up 802.1x can be akin to pulling teeth), but I feel it’s an important flaw to note for something that requires an easily accessible Ethernet port. Axis makes video intercom systems that support 802.1x, although they’re in a wildly different price bracket.
We can just use HA to work around that, the same thing we have been always doing with HA, using workarounds to get our home to work the way we want it to.
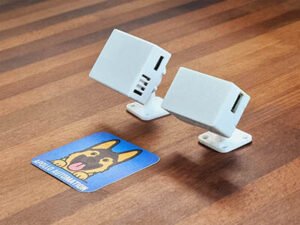
Get a dedicated network switch for outdoor wired cameras (most wired camera setups will probably already have this anyway because POE). It doesn’t need to be managed, we already have HA.
Get a smart plug for your switch, ones with zigbee or local communication instead of over the internet is preferred since you want it to react asap.
If your camera/doorbell has a tamper sensor and it is exposed in HA we can use that, if not just use the camera feed itself. Create an automation when either the tamper sensor is triggered or when the camera feed goes down (or both if you want to be extra sure) to switch off the smart plug for your wired camera network switch.
The main issue with 802.1x is that it requires support from both ends. And the other end, be it your router, switch, nvr, nas, whatever, may not be accessible to the average consumer at a reasonable price or availability. So for a camera aimed at consumers, this is not necessary RnD and manufacturing cost that will eventually be passed on to the consumer. You want something, please pay for it, don’t make people who can’t afford it pay for it.