Intro
When I was a kid, I remember my grandfather installing one of those giant floodlights with a motion sensor in our house entryway. When someone approached, It lit up the whole pavement entrance! No more going into the house in complete darkness. This was almost 25 years ago, and I remember thinking: “Wow, my grandad is the coolest dude ever!”
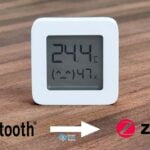
Fast forward to today, and I am installing PIR motion sensors in my house to achieve the same thing. Using an Aqara Motion Sensor and a ZigBee Smart Switch, I too, am lighting the pathway for my family, so to speak.
This got me thinking, how did I develop such a drive for tinkering with smart home gadgets? What made me automate the boring stuff? Well, several years ago my mom asked me “Wouldn’t it be great if we could turn that stool lamp remotely?” and I thought “Hmm, surely there must be a way.”
I got on eBay and searched for “wifi switch”. The first hit was a smart Wi-Fi switch by a company named Sonoff in China.
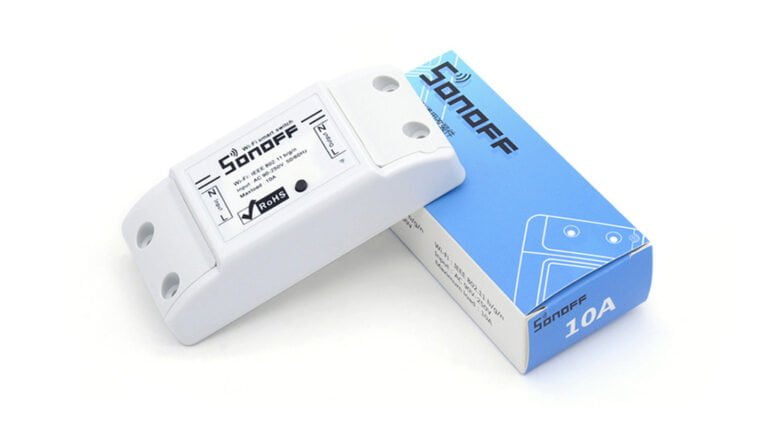
Sonoff Basic R1
I ordered the Sonoff Basic switch and forgot about it. A week later I get a package in the mail, I open it up and start going through the instructions. Sure, its simple enough to wire and setup, but I need to cut the cable of my mom’s stool lamp to be able to connect it.
So I do it, and I do my best to hide it behind the couch. I install their app, eWelink from the Google Play Store. What greets me when I open it up is the most basic, plain and ugly app layout you have ever seen. I pair the switch and input my Wi-Fi credentials and it shows up as huge blue button: TOGGLE. I press toggle and the lamp lights up! Hot damn!
There’s gotta be more you can do with this, right? I get on eBay again and order a few more. They arrive and my home automation journey begins.
I assume many of you have a similar experience when you first started to tinker with home automation, and maybe, using this particular smart switch, the Sonoff Basic R1.
Sonoff Basic Today
Since than, Sonoff have become a staple in a modern smart home by developing a wide range of smart home gadgets and products, ranging from smart switches to wall switches, temperature & humidity sensors, door & window sensors, smart plugs, motion sensors, RF & ZigBee bridges, smart bulbs, led strips and more recently, the NS Panel.
Back in 2017, Jonathan Oxer from SuperHouse TV visited the ITEAD factory in China which makes Sonoff devices. Its a great tour, you can check it our here if you are interested.
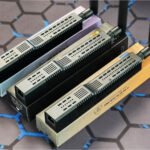
It is impossible not to encounter Sonoff when doing research about smart home devices. Still, the Sonoff Basic is the foundation of the industry and since the first one, they have released a few more versions. The R1 has been discontinued, but its brothers R2, R3 and Mini are available to purchase.
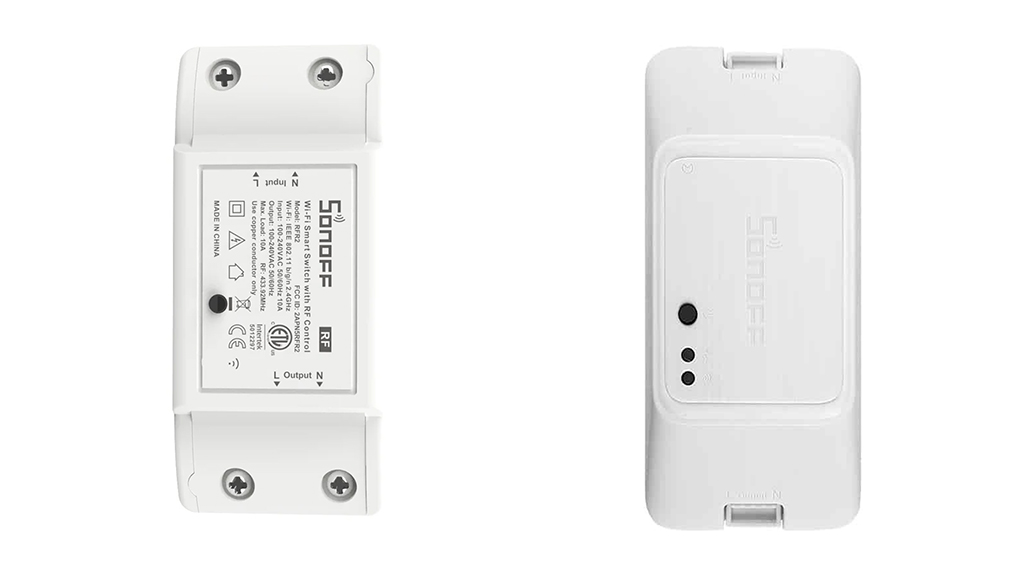
Sonoff Basic R2 (Wi-Fi, RF, ZigBee)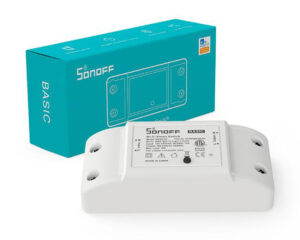
- Sonoff Basic R2 Wi-Fi
- Wi-Fi: 802.11 b/g/n 2.4GHz
- Chip: ESP8266
- AliExpress | Amazon
- Sonoff Basic RFR2 Wi-Fi + RF
- Wi-Fi: 802.11 b/g/n 2.4GHz + 433MHz
- Chip: ESP8266/ESP8285
- AliExpress | Amazon
Sonoff Basic R3 (Wi-Fi, RF, ZigBee)
- Sonoff Basic R3 Wi-Fi
- Wi-Fi 802.11 b/g/n 2.4GHz
- Chip: EPS8285
- AliExpress | Amazon
- Sonoff Basic RFR3 Wi-Fi + RF
- Wi-Fi: 802.11 b/g/n 2.4GHz + 433MHz
- Chip: EPS8285
- AliExpress | Amazon
- Sonoff Basic ZBR3 ZigBee
- ZigBee: 802.15.4 2.4GHz
- Chip: CC2530
- AliExpress | Amazon
Sonoff Mini (Wi-Fi, RF)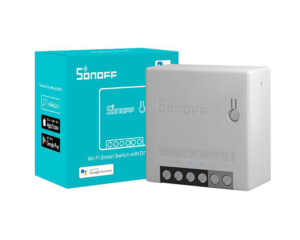
- Sonoff Mini R2 Wi-Fi
- Wi-Fi 802.11 b/g/n 2.4GHz
- Chip: ESP8285
- AliExpress | Amazon
- Sonoff Mini R3 Wi-Fi
- Wi-Fi: 802.11 b/g/n 2.4GHz
- Chip: BL602
- AliExpress | Amazon
Sonoff Mini (ZigBee)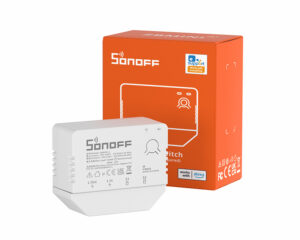
- Sonoff ZBMINI ZigBee
- ZigBee: 802.15.4 2.4GHz
- Chip: CC2652P
- AliExpress | Amazon
- Sonoff ZBMINI-L (No Neutral) ZigBee
- ZigBee: 3.0
- Chip: CC2652P
- AliExpress | Amazon
Features comparison
Sonoff Basic R2 VS R3
Even though there are similar in their most important features, the R2 and R3 have some key differences. Regarding appearance and build quality, the body material of the R2 is ABS plastic, while the R3 is built from flame retardant PC plastic. R3 uses special wire-fasteners for ultra firm wire connection, while the R2 has simple screw terminals.
Even though both switches have an RF version available operating at 433MHz, the R3 has a superior RF receiver which increases range and sensitivity.
Perhaps the most important difference for smart home enthusiasts is the DIY mode on the R3. This mode allows developers to integrate the R3 into third-party open source smart home control system to achieve LAN control without cloud service, such as Home Assistant, openHAB, ioBroker, etc. Custom firmware such as Tasmota or ESPHome can be flashed Over-The-Air on the R3 via this mode. The R2 features no such mode, and flashing needs to be done by disassembling the device, soldering some wires and using a USB to TTL converter.
A detailed comparison by ITEAD can be read here.
The R3 model also comes in ZigBee variant named BASICZBR3. It carries the CC2530 chip and is officially supported in ZHA & ZigBee2MQTT.
Sonoff Mini R2 VS Mini R3
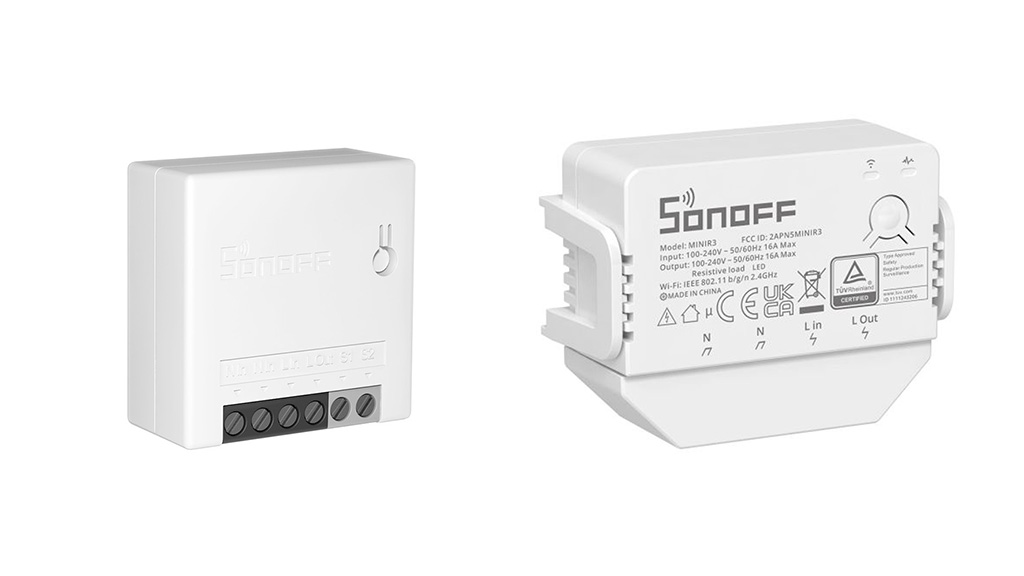
The latest version of the Mini two-way switch is the Mini R3. In terms of maximum load, its superior to the Mini R2 as it is rated for 3500W/16A circuits, while the R2 is rated at 2200W/10A. This also means the Mini R3 is bigger in size, measuring 54x45x24mm while the R2 measures 42.6×42.6x20mm. The Mini R3 is DIN-rail mountable.
They both feature a DIY mode, but as of the writing of this article, only the Mini R2 is flashable with a custom firmware. The Mini R3 features a new chip, BL602, and has not yet been flashed with an open source firmware.
Sonoff ZBMINI VS ZBMINI-L
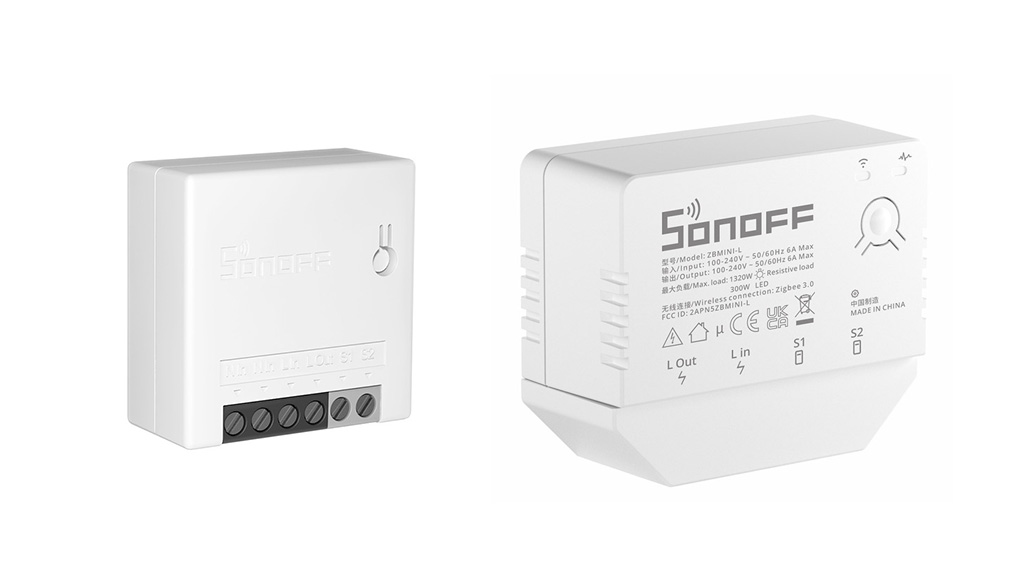
The ZigBee version of the Mini comes in two variants: ZBMINI and ZBMINI-L (No Neutral). The most obvious and important difference is that the latter requires no neutral wire. Its maximum load is rated at 1380W Max@230V, 720W Max@120V (Resistive Load) and 300W Max@230V, 150W Max@120V (LED Load). The ZBMINI is rated for 2200W/10A circuits.
They both feature the same Texas Instruments chip: CC2652P, but their connectivity standards are different. The ZBMINI uses ZigBee IEEE 802.15.4 2.4GHz while the ZBMINI-L utilizes the newer ZigBee 3.0 protocol. The no-neutral version is slightly larger, at 54x45x24mm while the ZBMINI measures at 42.6×42.6x20mm.
Both versions are officially supported in ZHA and ZigBee2MQTT!
Custom Firmware
Sonoff has their own cloud dependent app (eWelink) to initiate their devices. When I first installed the app on my first switch it was so basic and poor. Than in an update they added the option Power-on State, which meant you could set the default state the switch will take when turning the main power on. After that, came Lan Control which made the switch controllable even when you internet was down through your local network.
This may be acceptable for beginners and soccer moms, but real smart home gurus like their gadgets to be completely cloud-free! Good news is, (almost) every Sonoff Switch can be flashed with an open source custom firmware such as Tasmota of EPSHome.
As of this writing of this article, both the ESP8266 and ESP8285 chips are flashable with custom firmware. The Mini R3 cannot be flashed with custom firmware, as it uses the BL602 chip.
Tasmota: Sonoff Basic R1, Basic R2, Basic R3, Mini R1, Mini R2.
ESPHome: Sonoff Basic R1, Basic R2, Basic R3, Mini R1, Mini R2.
Note: Some devices include a DIY mode, which can be used to install custom firmware OTA, such as the Basic R3, Mini R2. They do not need to be opened, soldered and tinkered with, but they do need to be running ITEAD firmware 3.5 or above.
If you decide to flash your devices, I suggest you start here and here.
Final thoughts
Since my first Sonoff Basic R1 switch, I have installed almost every smart switch device Sonoff produces. Sonof R2, Sonoff R3, Sonoff Dual, Sonoff POWR, Sonoff 4CH Pro and every one of them has been reliable enough to stay in my smart home. You can check how I automated my daughters turtle tank with a 4CH Pro or made a DIY Thermostat with a Sonoff Basic.
If you want a reliable, simple Wi-Fi switch, which will not break the bank, a Sonoff is a perfect choice. I’ve had about 6 of them installed going strong for about 5 years!
With Tasmota or ESPHome installed, they present no hiccups whatsoever! Flashing without OTA requires a certain skillset (dismantling, soldering, following instructions) which is definitely not for everybody. If you are not feeling up to the task, I suggest purchasing a DIY version which is easier to flash. Always try to get rid of their cloud service and make your devices local only!
Sources:
- https://itead.cc/sonoff/sonoff-basicr2-vs-basicr3-diy-mode-and-more-features/#:~:text=BASICR3%20is%20made%20of%20PC,aspect%20of%20heat%20aging%20resistance.
- https://tasmota.github.io/docs/devices/Sonoff-Basic/
- https://esphome.io/devices/sonoff_basic.html
- https://itead.cc/product-category/smart-home/diy-smart-switches/


my first foray into the “smart world of electronics” was some X10 switches back in the early 2000s or late 90s. I believe it worked over rf signals instead of the WiFi/zigbee/zwave protocols we use today
Did you know that the Mini R3 can be flashed with OpenBK7231T with similar results to Tasmota?
https://github.com/openshwprojects/OpenBK7231T_App