Ever since Proxmox 8.0 came out of beta and became the default ISO installer offered by the developers, many remained to 7.4 for fear they would have to rebuild their entire cluster. You can go over Proxmox 8.0 and the new features it brings to the table in this official press release.
This article details the process of upgrading Proxmox 7.4 to 8.0, without the risk of corrupting or losing your existing VMs and LXCs setup. Before you get started, go over the checklist bellow and make sure you can go through the process without issues.
Proxmox 8.0 Upgrade Checklist
Your existing setup needs to meet the following criteria so you can safely upgrade:
- Verify you have at least 5GB of free space in the root partition of your Proxmox Host
- Verify you are running at least Proxmox version 7.4-13
- Perform a full backup off-host for your VMs and LXCs
Free Space Check
The first point makes sure you have enough free space to actually go through with the upgrade to 8.0. Open the Proxmox shell in the middle pane and run the following command:
df -h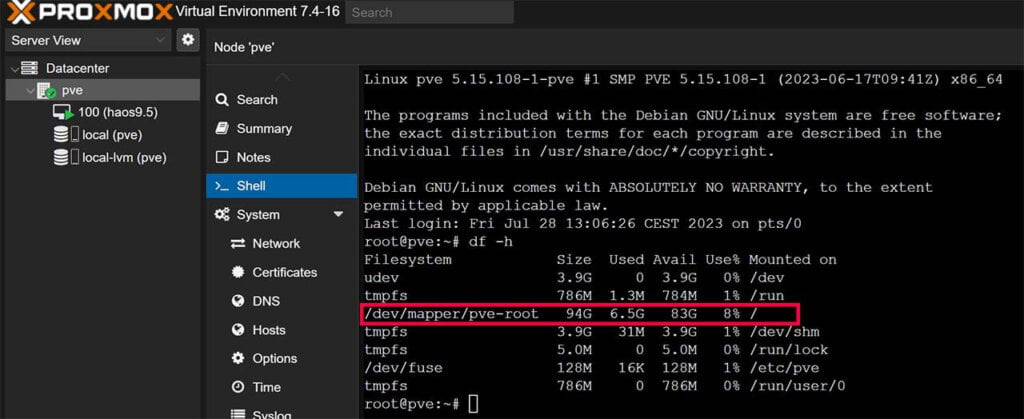
If you have more than 5GB, you are good to proceed. If not, you need to free up some space from the root directory of your host.
Version Check
The second point makes sure you need to be running at least Proxmox version 7.4-13, which a requirement to safely jump to 8.0. Select your node and click the Summary tab in the middle pane:
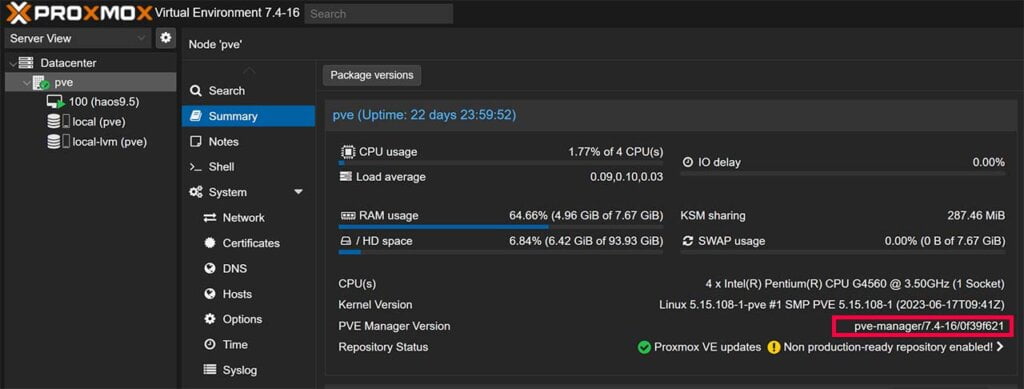
If you are running version 7.4-13 and above, you can skip this step and jump to installing Proxmox 8.0 after you’ve created backups of your virtual environment (very important!).
If you are running a version bellow 7.4-13, you can use this post install script to bump to the latest 7.4 version. Open the Proxmox shell again and run the following command:
bash -c "$(wget -qLO - https://github.com/community-scripts/ProxmoxVE/raw/main/misc/post-pve-install.sh)"The script will go through the process of setting up the proper repositories and prompt you to upgrade. Click YES at the first prompt to initialize the script and follow the prompts by pressing enter.
Once the script reaches Updating Proxmox VE (Patience), wait for it to do it’s thing and don’t click around in the GUI. Once it finishes, it will prompt you to reboot. Press enter and re-login once the host comes back online.
Perform Backups
The third and obviously most important step is to have your cluster backed up off-host in case things go wrong. Each hardware is different and while the process of upgrading from 7.4 to 8.0 is relatively safe, you should always be prepared for the worst.
I’ve written a detailed guide for backing up Home Assistant in Proxmox, by following the 3-2-1 strategy. This applies to every other VM or LXC you may be running on your node.
Automatic Proxmox 7.4 to 8.0 Upgrade
To automate and simplify the process of upgrading Proxmox 7.4 to 8.0, you can use tteck’s upgrade script. It’s a simple and painless process, requires you to confirm the prompts and reboot at the end. This is the recommended way for most users who want a hassle-free upgrade.
UPDATE: While the script still works, it is no longer maintained as tteck has sadly passed away.
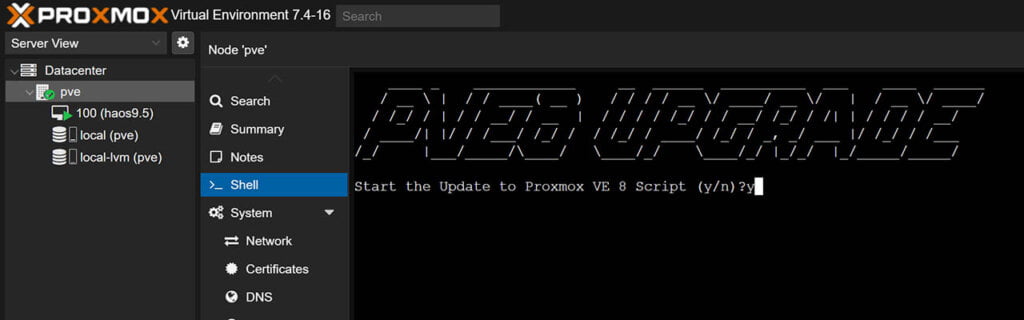
- Open the Proxmox shell and execute the following command
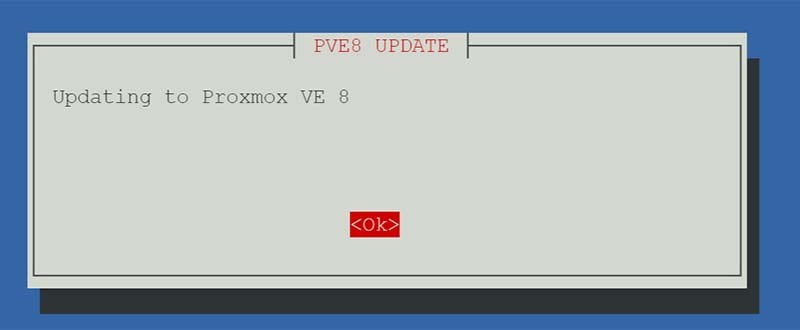
bash -c "$(wget -qLO - https://github.com/tteck/Proxmox/raw/main/misc/pve8-upgrade.sh)"- You will get a prompt Start the Update to Proxmox VE 8 Script? (y/n) – Answer y
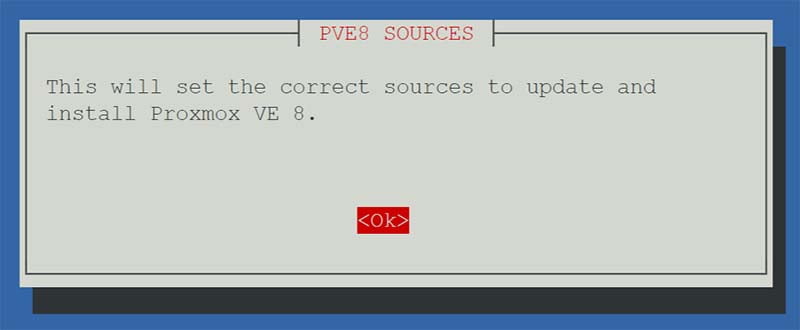
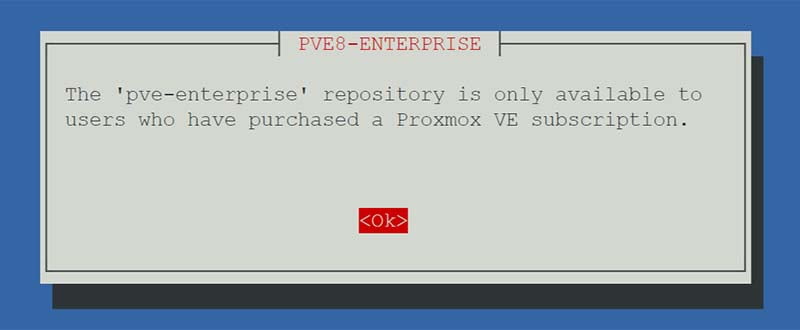
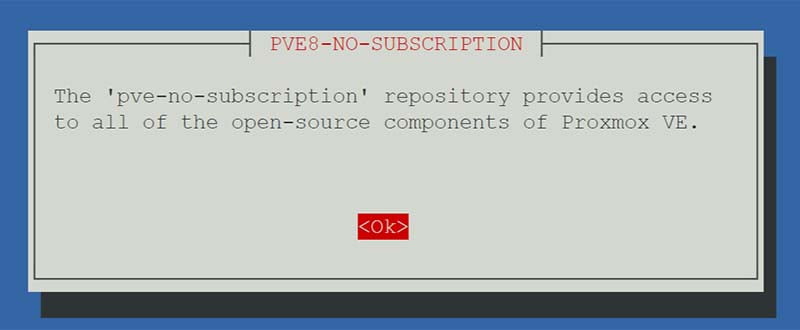
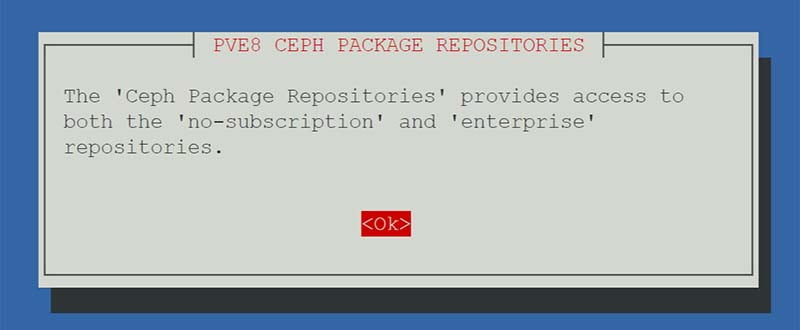
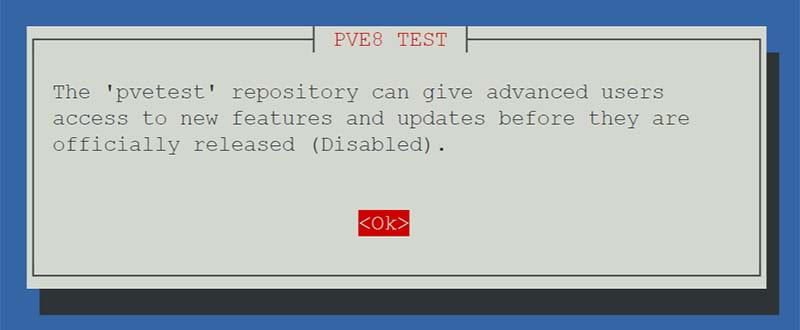
- You will get a few prompts explaining what each of the repositories is used for.
Acknowledge each prompt by pressing OK (Enter):
- The final prompt will ask you to reboot Proxmox. Press OK to confirm and you are done.
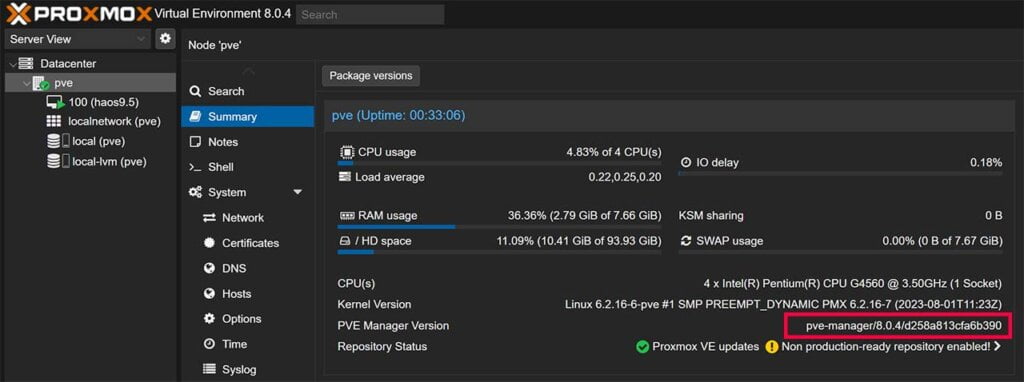
Once your host comes back online, you can check if the install was successful in the Summary page:
Manual Proxmox 7.4 to 8.0 Upgrade
If for some reason the automatic upgrade method doesn’t work for you, you can follow the official upgrade guide outlined on the Proxmox Wiki. This method is a bit more involved and requires manually editing out Bullseye sources and replacing them with Bookworm.
- Stop all VMs, Containers or Backup jobs
- Run the following command to generate a list of hints and warning before upgrading
pve7to8 --full- Go through the list thoroughly and make sure nothing is out of the ordinary
- Run the following command to update the repos for Debian Bookworm
sed -i 's/bullseye/bookworm/g' /etc/apt/sources.list- Run the following commands to verify there are no Debian Bullseye entries. If there are, comment them out with a preceding # sign
cat /etc/apt/sources.list.d/pve-enterprise.list
cat /etc/apt/sources.list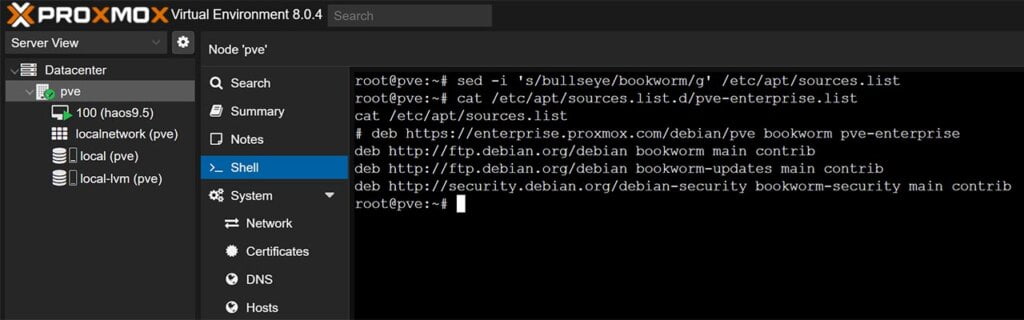
- Run the following command to update the repository index
apt update- Run the following command to upgrade the packages to 8.0
apt dist-upgradeThe upgrade process will start and prompt you for confirmation, answer with Y and Enter. Depending on your setup and configuration you may get additional prompts that require user input. It’s suggested to check the difference for each file in question and choose the answer accordingly to what’s most appropriate for your setup. Stay at the monitor until the process is complete, which can take up to an hour.
If you run the upgrade checker again, it should tell you that there are no errors and you are running Proxmox 8.0. If you get warnings, it usually means the changes are not yet applied before the reboot:
pve7to8 -full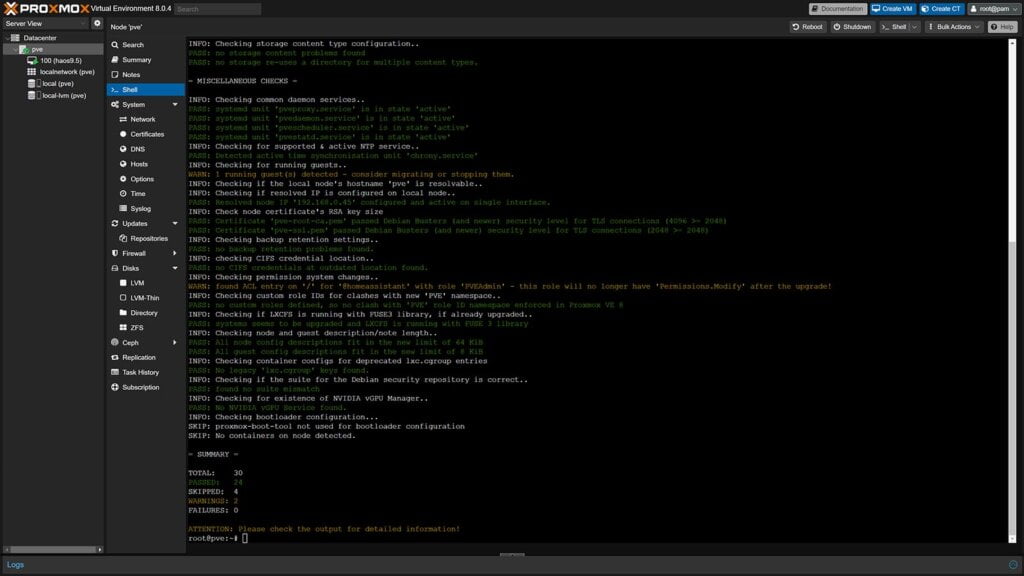
- Finally, restart Proxmox to 8.0 with command reboot
reboot- After your host boots back up, verify you are running the latest version

(Optional) Kernel Cleanup
After upgrading to Proxmox 8.0, you might want to run the community kernel cleanup script which cleans unused kernel images. This process is beneficial for reducing the length of the GRUB menu and freeing up disk space. By removing old, unused kernels, the system is able to conserve disk space and streamline the boot process.
In the Proxmox shell, run the following command:
bash -c "$(wget -qLO - https://github.com/community-scripts/ProxmoxVE/raw/main/misc/kernel-clean.sh)"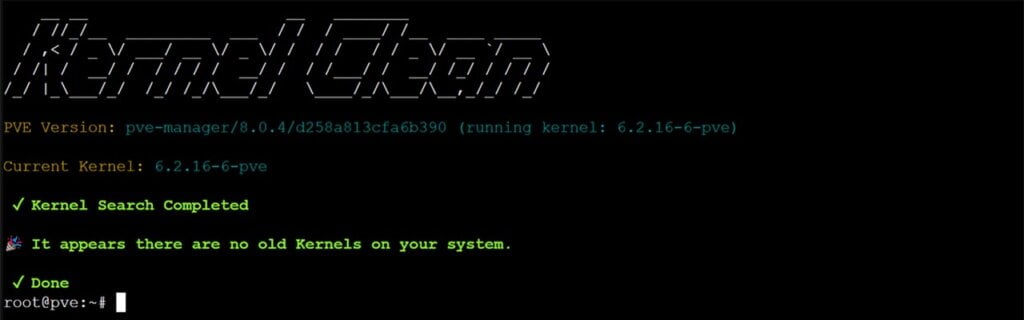
If any residual kernel images are found, confirm the prompt with Y and Enter to clean them up. In my case nothing was found and no old Kernels are present.
Troubleshooting
Depending on your setup, it is possible you will encounter issues when upgrading to Proxmox 8.0. If you are an advanced user familiar with Proxmox, you probably know what you are doing. Here a list of common issues and how to fix them:
- If you have installed Proxmox VE on top of a plain Debian Bullseye (without using the Proxmox VE ISO), you may have installed the package ‘linux-image-amd64‘, which conflicts with current 7.x setups. To solve this, you have to remove this package with command
apt remove linux-image-amd64 beforerunningapt dist-upgrade - If you are using NVIDIA’s GRID/vGPU technology, its driver must be compatible with the kernel you are using. Make sure you use at least GRID version 16.0 (driver version
535.54.06– current as of July 2023) on the host before upgrading, since older versions (e.g. 15.x) are not compatible with kernel versions >= 6.0 and Proxmox VE 8.0 ships with at least 6.2. - If there was a network failure and the Bookworm upgrade was only partially completed, try to repair the situation with
apt -f install - If you get proxmox-ve package is too old, check the configured package repository entries; they still need to be for Proxmox VE 7.x and Bullseye at this stage. Run
apt updatefollowed byapt dist-upgradebefore upgrading to PVE 8.x - If you are presented with /etc/issue items during the upgrade process, press N and overwrite
- If you are presented with about changes to pve-enterprise.list, press N and Enter
- If you are presented with changes to /etc/default/grub it means you’ve made changes to GRUB like PCIe or GPU passthrough. You can choose to overwrite the changes with the stock file or keep your original.
- Empty the browser cache and/or force-reload (CTRL + SHIFT + R, or for MacOS ⌘ + Alt + R) the Web UI.
Lastly, don’t forget to support tteck and his work if you constantly use his scripts, they are an invaluable asset for beginners diving in Proxmox virtualization. Since his passing, the money will go to his family.


What are the pros of upgrading?
Please check out the official blog article:
https://www.proxmox.com/en/about/press-releases/proxmox-virtual-environment-8-0
Well that was easy!
While everything went fine and the system seems to be working fine, after reading through the manual instructions, you refer to the old bullseye components.
When I look at the Repositories page under pve/updates, I can see warnings about “old suite bullseye configured” and the warning that some suites are misconfigured. This is under ‘repo.netdata.cloud/repos’
The origin is unknown. They are still enabled.
Any suggestions?
How long should the process to bump to the latest 7.4 take? Mine’s been over 25 minutes so far and still says “(Patience)”; should I just let it go? or would you think something’s gone wrong in the update process?
Depends on the storage medium I guess?
What are u running Proxmox on?
I’m using a HP T630 thinclient with a consumer grade non NVME SSD western digital. any advice to expand lifetime? i heard proxmox will eat your ssd
Okay, first off I don’t believe that’s true. Proxmox will not eat your SSD any more than other virtualization software or operating system.
Further, make sure you create offsite backups. Follow the 3-2-1 rule https://smarthomescene.com/guides/home-assistant-backup-methods-and-best-practices/#follow-the-321-rule
SSDs are dirt cheap now, so in the case of an SSD crash, you can just restore the new image and you are done.
thank you for your quick reply,i have a 2nd ssd for backup inside. hopefully this ssd is reachable after a proxmox restore.
Thanks! That was simple.