A couple of months ago, I talked about running and setting up MatterBridge as an add-on in Home Assistant. It allowed you to share any devices and entities integrated in Home Assistant as Matter devices with other controllers. The setup is easy and relatively uninvolved, yet the benefits quite significant.
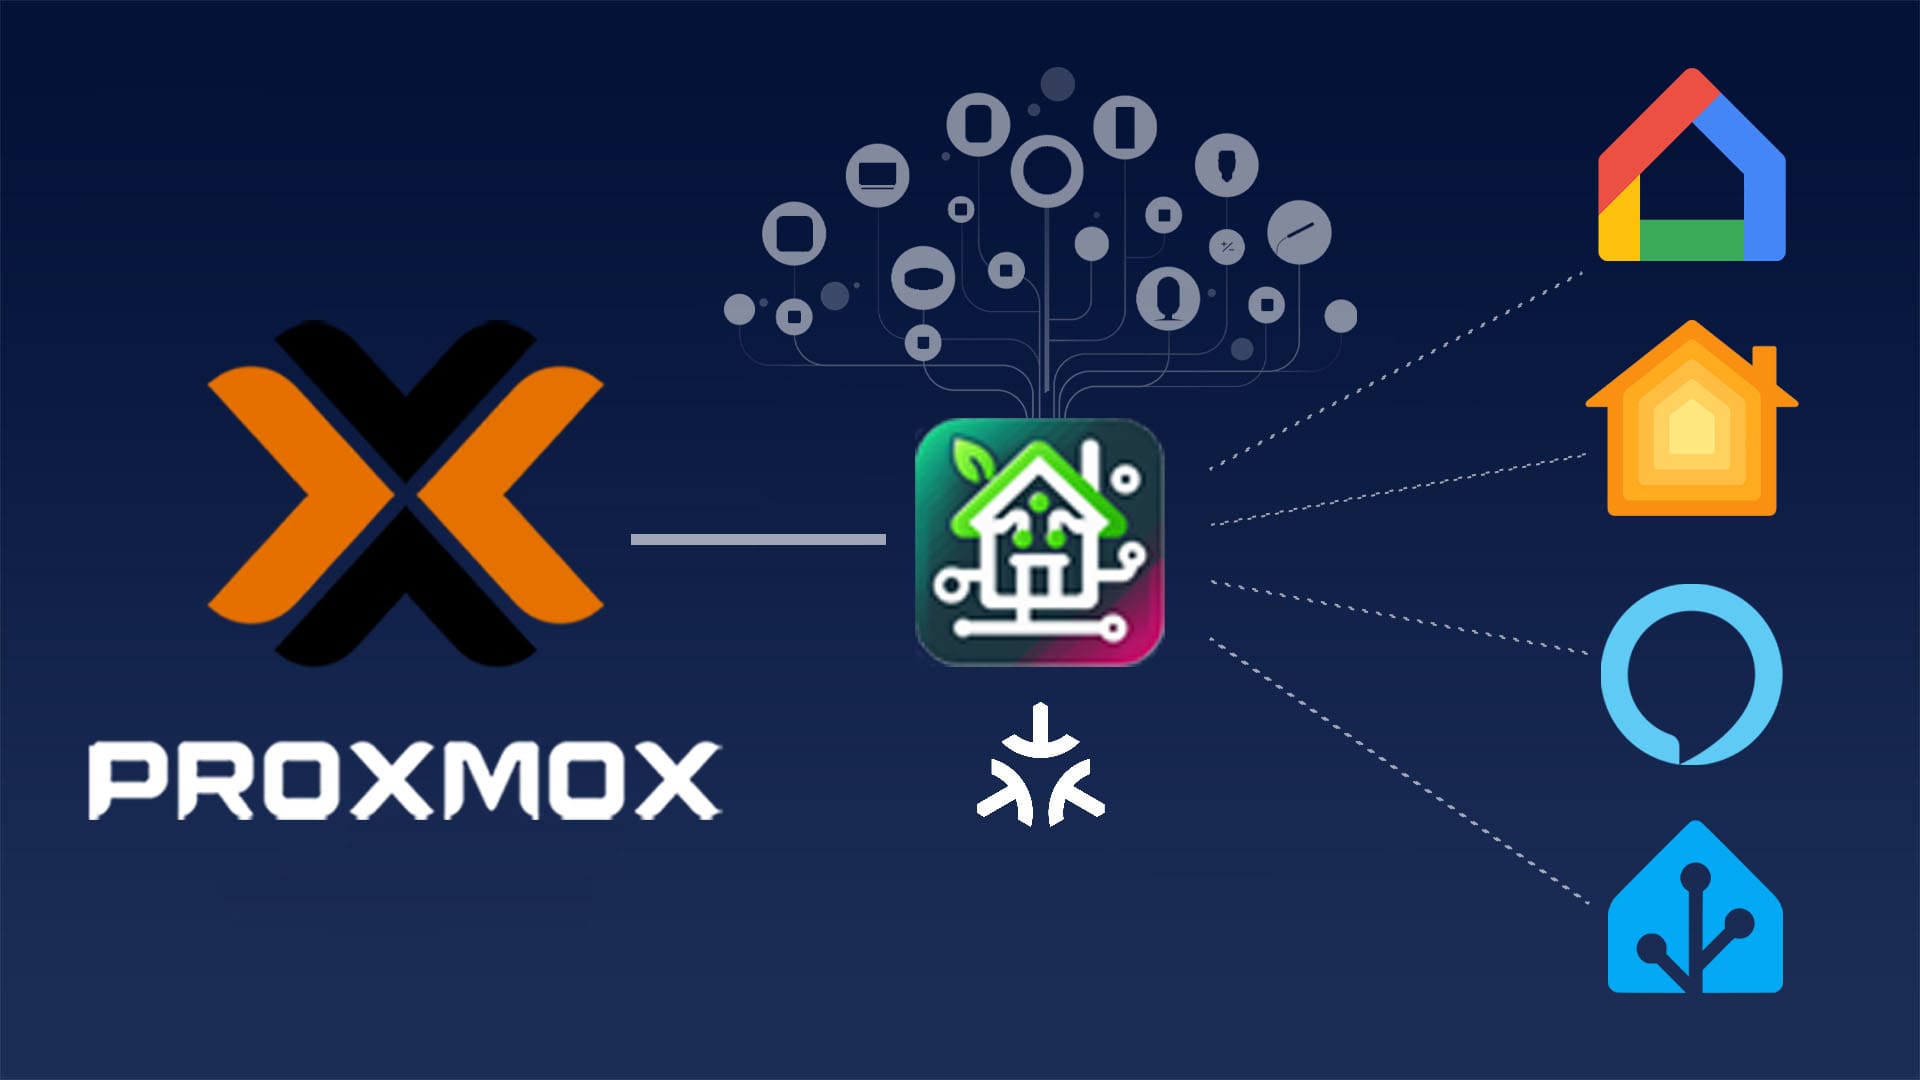
In this article, I’m sharing how to install and set up MatterBridge on a Proxmox virtual environment. You’ll get a memory refresh of what MatterBridge is, why hosting it on Proxmox is advantageous, and how to use plugins such as Zigbee2MQTT to extend its functionality.
What is MatterBridge?
MatterBridge is an open-source plugin manager designed to bridge the gap between non-Matter devices and Matter-compliant systems. It allows non-Matter devices, such as those using Zigbee, Z-Wave, or Wi-Fi, to integrate with Matter-compatible platforms. The tool is lightweight, highly flexible, and supports various plugins, making it an great choice for managing diverse home automation setups.
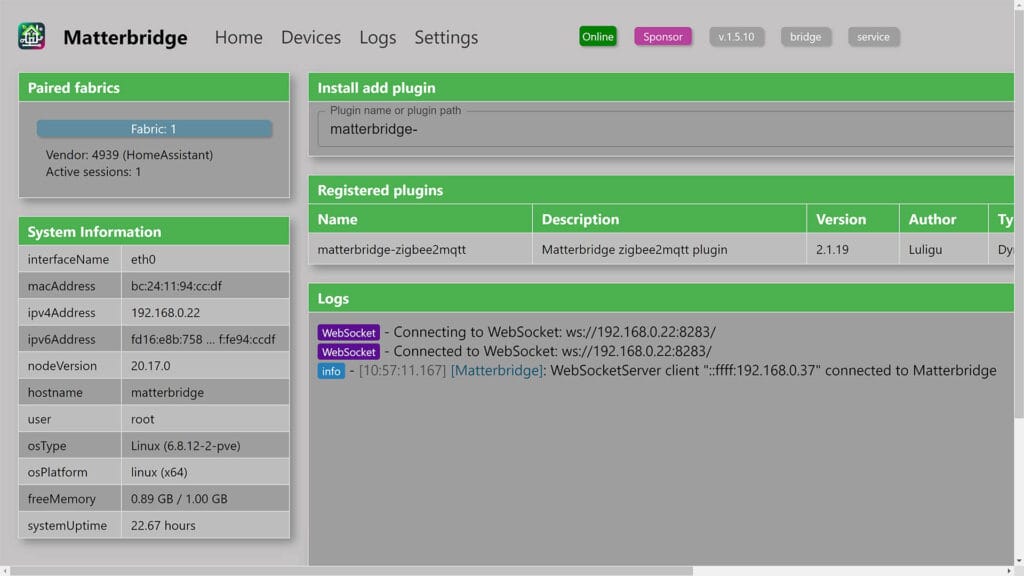
The primary purpose of MatterBridge is to simplify device integration. As more smart home platforms embrace Matter (like Home Assistant, Apple HomeKit, Google Home, and Amazon Alexa), there’s a risk of older devices becoming obsolete or incompatible with modern systems. MatterBridge solves this problem by acting as a translator between different device protocols, allowing them to communicate within a unified Matter network. And it does it completely locally, without any cloud dependence.
Why Host MatterBridge on Proxmox?
A while back, I wrote a guide for installing the MatterBridge Add-on in Home Assistant and exposing entities as Matter devices. The article details the process of installing the add-on, setting up, filtering devices and sharing them with other controllers on your network.
Now, you might we wondering why host MatterBridge on Proxmox instead? What are the benefits of a virtualized and detached setup? Well, hosting MatterBridge on Proxmox reaps similar benefits like hosting other services on a small home server. Virtualization offers several advantages, especially for those running multiple services like Home Assistant, Zigbee2MQTT, InfluxDB or others.
Running MatterBridge in a virtualized environment has the following benefits:
- Centralized Matter Controller: MatterBridge acts as a centralized controller, eliminating the need to individually share or re-pair each device when integrating into a Matter ecosystem. Once added to MatterBridge, devices from different protocols (like Zigbee or Z-Wave) can be shared as if they are native Matter devices, even if they don’t natively support Matter. You manage each device from the web UI and don’t bother with individual QR codes, pairing codes or compatibility issues.
- Resource Allocation and Scalability: Proxmox allows precise control over CPU, memory, and storage allocation, ensuring MatterBridge runs efficiently. As your smart home grows, you can easily scale resources to meet increased demand without performance bottlenecks, ensuring your setup evolves smoothly.
- Snapshots and Backups: Proxmox enables you to create one-click snapshots before making changes to MatterBridge. This provides a reliable backup point, allowing you to revert to a stable configuration quickly in case of issues with minimal downtime. Here’s a detailed guide of backing up Home Assistant in Proxmox.
- Security and Isolation: By running MatterBridge in a dedicated LXC on Proxmox, it remains isolated from other services, improving security of the whole server. This isolation reduces the risk of one service failure affecting others, ensuring system stability.
- Unified Management: Proxmox’s web-based interface centralizes control, making it easier to manage MatterBridge alongside other home automation tools like Home Assistant or Zigbee2MQTT. This unified approach simplifies maintenance, updates, and troubleshooting across your smart home setup.
How To Install MatterBridge on Proxmox
Installing MatterBridge as an LXC on Proxmox is very straightforward using an automated one-line script. Follow these simple steps to set it up:
- Open your Proxmox Web UI (e.g.
192.168.0.45:8006) - Login with your credentials
- On the left side of the screen, choose your node
- In the middle pane, click on “Shell” to open the terminal
- Copy and paste the following command:
bash -c "$(wget -qLO - https://github.com/community-scripts/ProxmoxVE/raw/main/ct/matterbridge.sh)"- Select between default or advanced settings when prompted
- Default: Debian 12, 4GB Disk, 1GB RAM, 1 CPU cores
- Wait for the installation process to finish
- Done: Access MatterBridge via
http://<IP>:8283
How To Install MatterBridge Plugins
Once MatterBridge is up and running, you can extend it’s functionality by connecting different services on your network. Out of the box, MatterBridge has plugin support for Zigbee2MQTT, Somfy Tahoma, Shelly and Eve.
For example, you can connect your Zigbee2MQTT instance to MatterBridge and expose Zigbee devices as individual Matter-enabled devices to other controllers.
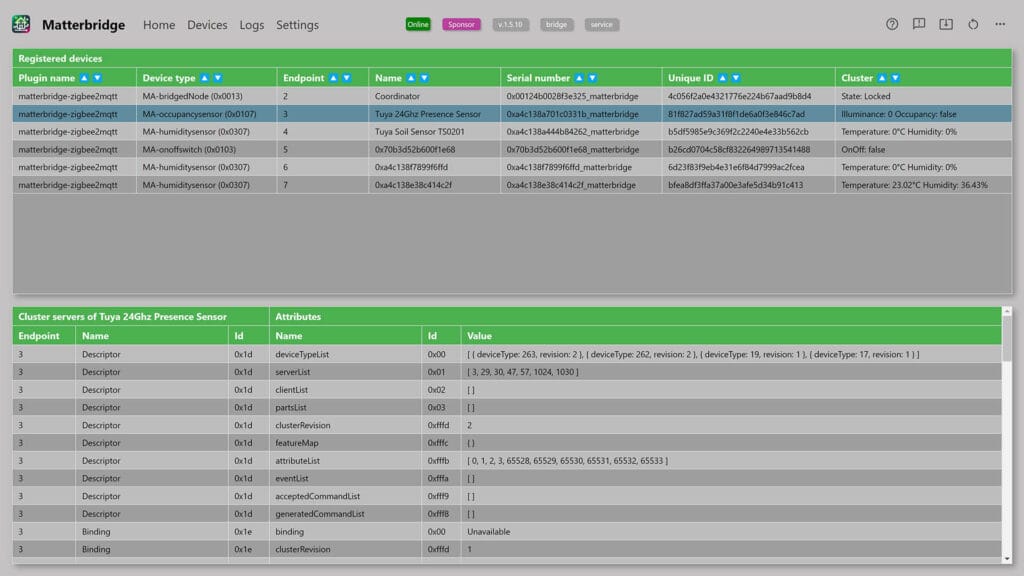
Let’s assume you are running Zigbee2MQTT in a Proxmox container, detached from Home Assistant. Your MQTT broker is accessible at http://<IP>:1883, the default port for Mosquitto MQTT. You have a bunch of devices paired and already in working order.
- Access MatterBridge via
http://<IP>:8283 - In the main window, click the three dots and select
matterbridge-zigbee2mqtt - Click the INSTALL button and wait a few seconds
- Under the registered plugins section, click the cogwheel to open the plugin settings
- Input your MQTT broker credentials, for example:
- Host:
192.168.0.35 - User:
<mqtt_user> - Pass:
<mqtt_pass> - Port:
1883(default) - Topic:
zigbee2mqtt(default)
- Host:
- Scroll to the bottom and click Save changed to the config file
- Click the restart button in the top right corner
- Done
Without applying filters, each and every device with its Matter-supported features will be available to MatterBridge. If you do need to apply filters and remove certain devices from the list, you can do that by click the cogwheel again. The plugin allows you to add whitelists, blacklists and list devices by type or feature. This means that all that remains is to pair the MatterBridge to a controller of your choice.
MatterBridge Settings
MatterBridge allows the user to change some settings and optimize the service to meet your needs. Some of these are meant for advanced users, but it’s good to clarify and understand them. First and foremost, whatever is happening in MatterBridge, will be saved in the logs. As you setup MatterBridge and integrate it with various Matter Controllers, monitor the logs at all times so you are aware of any errors or issues.
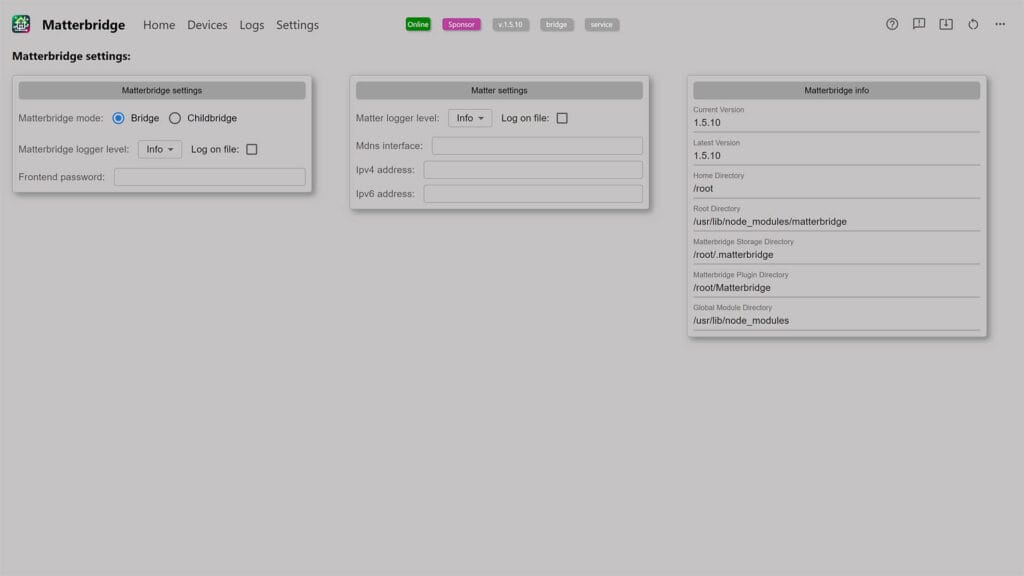
MatterBridge can be used in two ways:
- Bridge mode: Acts as a primary bridge that connects various communication protocols and devices to any Matter ecosystem. It acts as the main hub for linking devices across different platforms, without separating them individually.
- Child bridge mode: Acts as an additional instance or subset of the bridge, often used to segregate certain devices or protocols from the main bridge. This allows for better performance, troubleshooting, and isolation of specific device groups, ensuring smoother operations within large or complex smart home setups.
Further, MatterBridge offers configuration backup and restore options. These can be found in the three dots menu in the top right corner and are useful when you are experimenting with MatterBridge. Under the reset menu, a new Matter commission code can be generated. If for some reason you cannot pair MatterBridge to your controller, generate a new code here and restart MatterBridge.
Pairing MatterBridge To Google Home
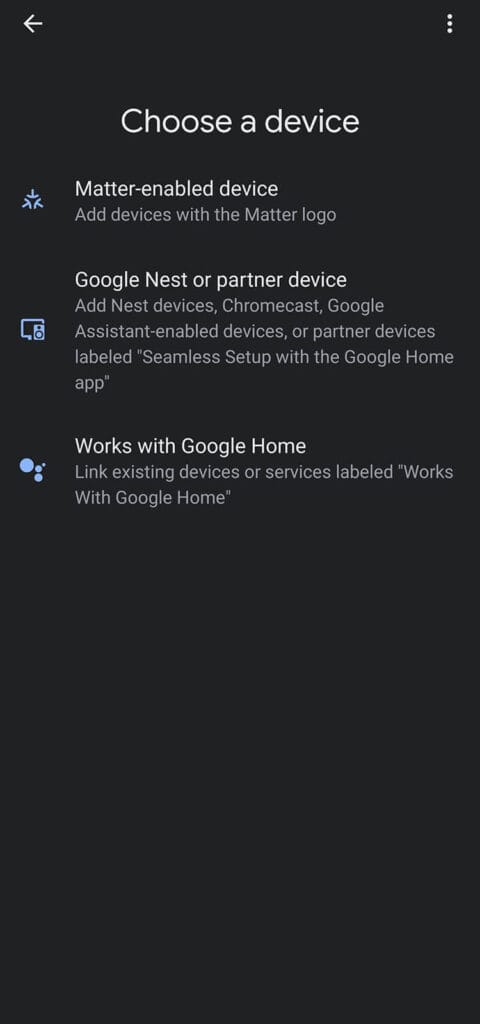
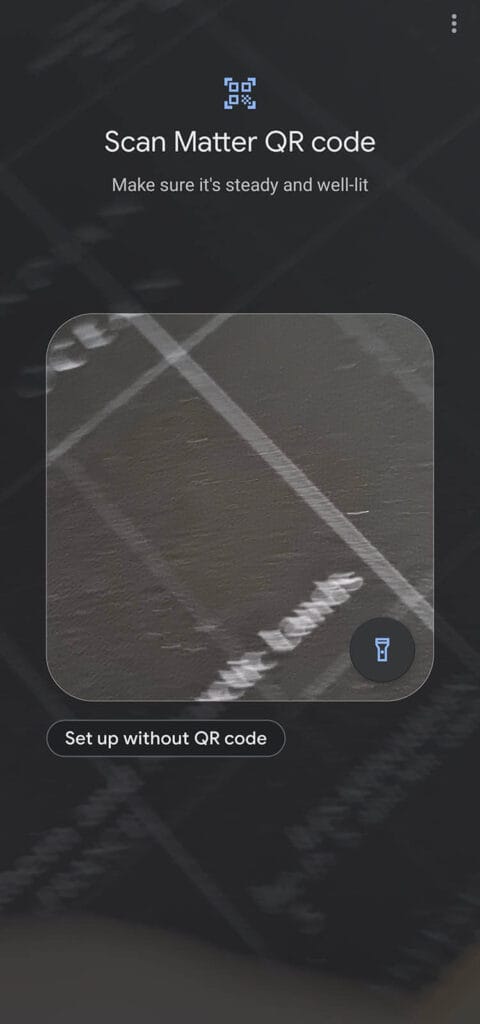
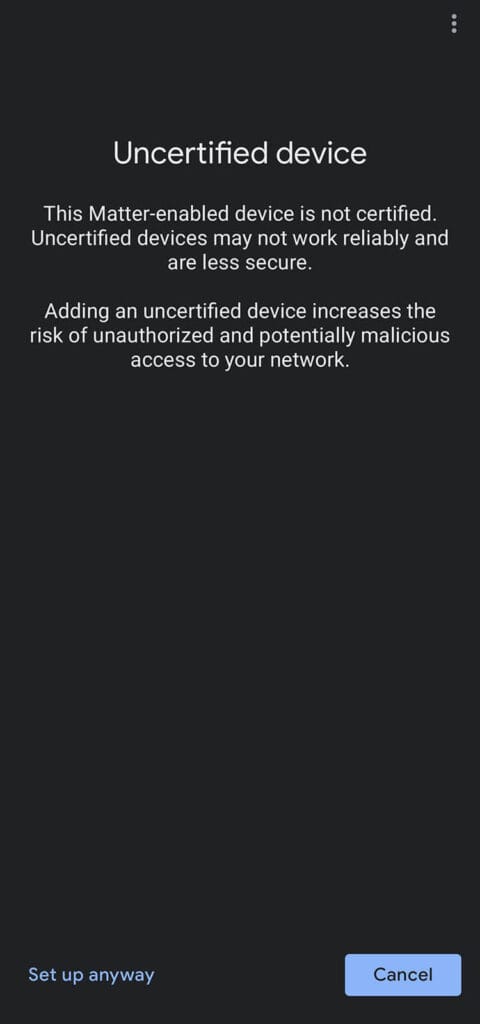
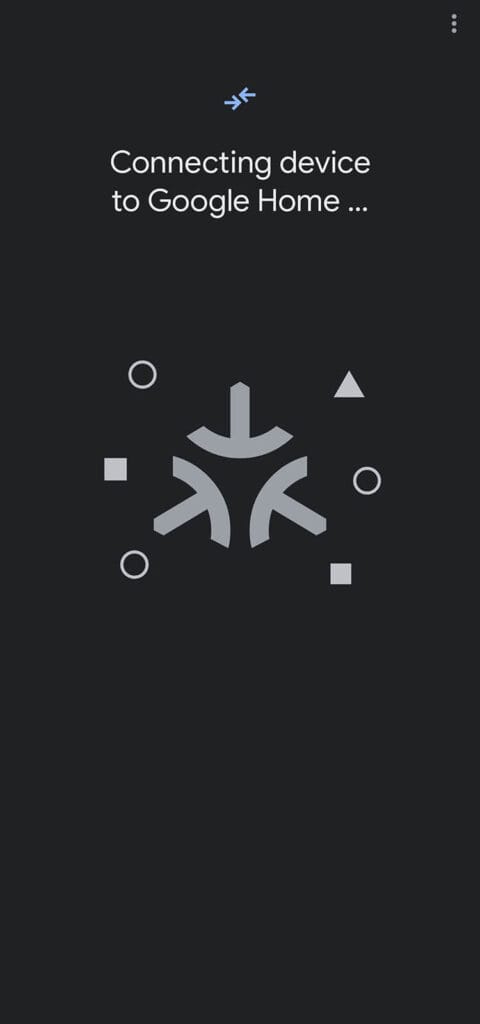
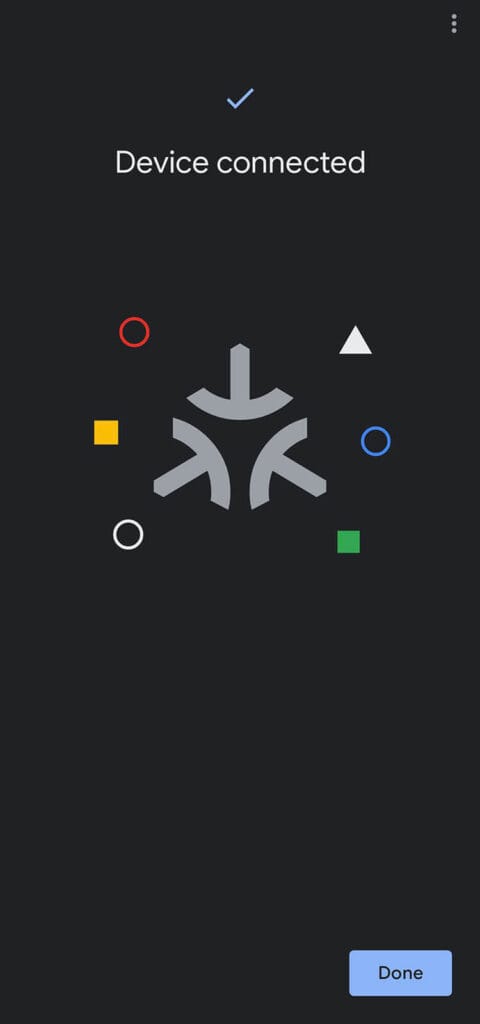
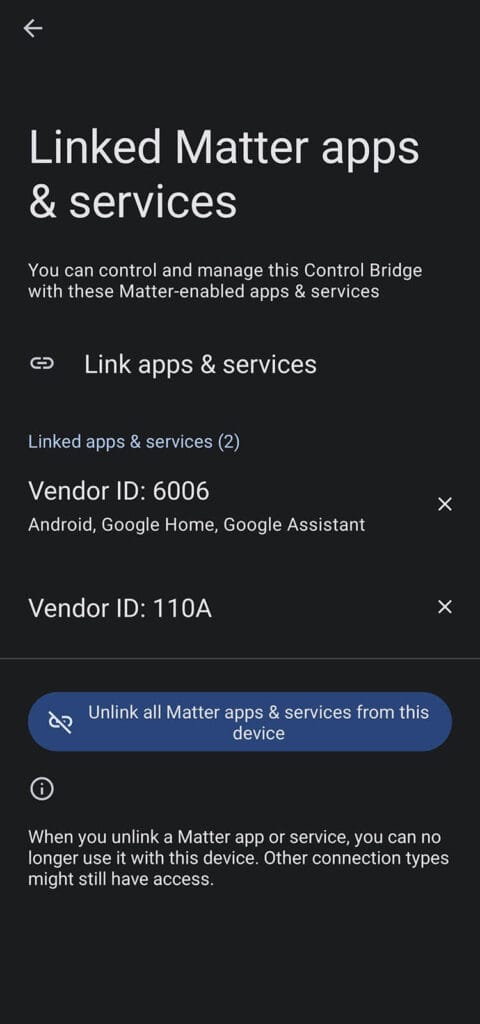
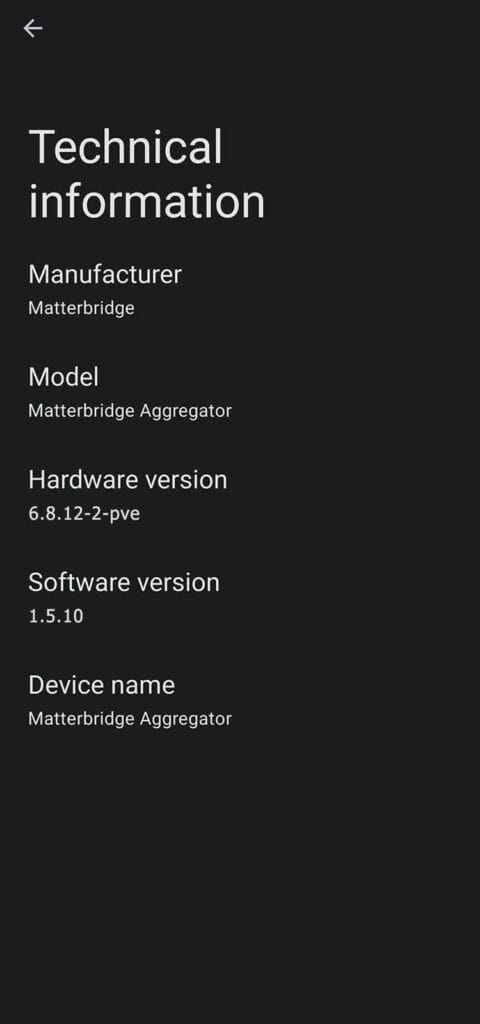
In the main window, MatterBridge generates a QR code and an eleven digit code that can be used for pairing. To add MatterBridge and any integrated devices to a Matter Controller, simply scan the code like you would any other Matter-enabled device. For example, here’s how the process looks like for adding MatterBridge to Google Home.

Pairing MatterBridge To Home Assistant
I can think of very few scenarios where you would have to pair MatterBridge to Home Assistant, it’s usually beneficial to do it the other way around and expose Home Assistant devices to MatterBridge.
But, as an example, let’s assume you have a very granular and segregated setup, where you host each service individually (e.g. Zigbee2MQTT, ESPHome, HomeBridge, OpenHAB, MQTT Broker etc.). MatterBridge will offer a simple and easy way to pair all of these back to Home Assistant without integrating them individually. If there are no plugins available for a service, remember that you can always use MQTT to add devices to MatterBridge.
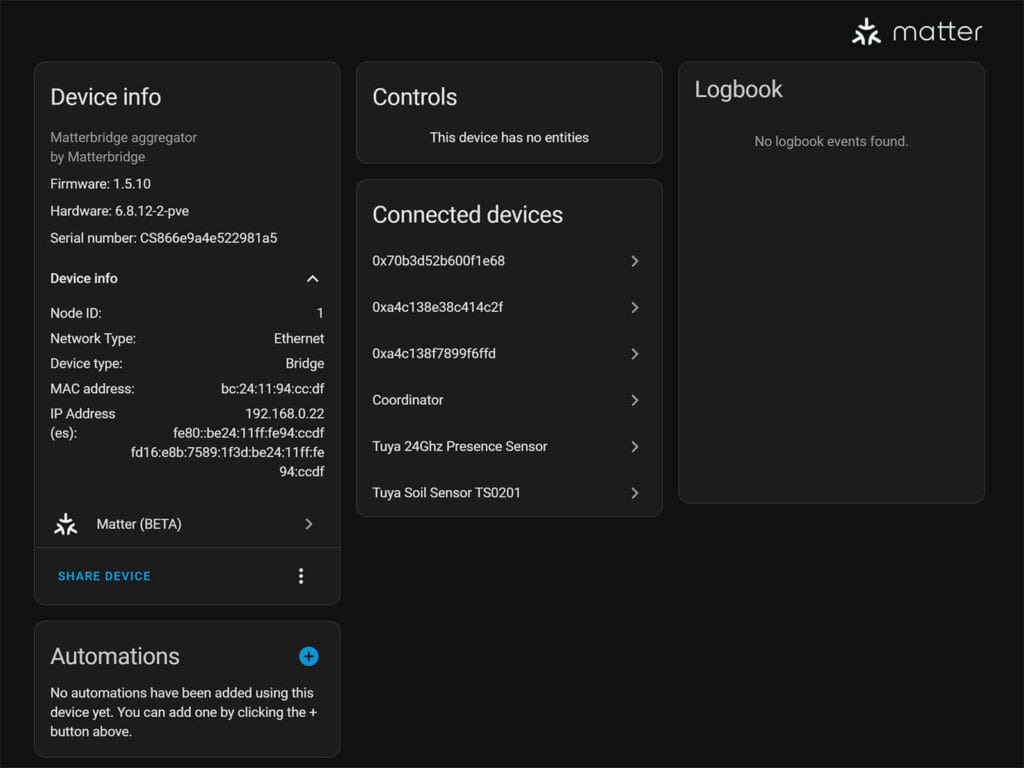
In any case, here’s how to add devices integrated in MatterBridge to Home Assistant:
- In Home Assistant, navigate to Settings > Devices & Services
- Click the +Add Integration button
- Click Add Matter Device
- Install the Matter add-on if prompted
- Click Yes. It’s already in use.
- Click Other controllers
- Input the MatterBridge code manually
- Follow the process on screen
- Done
Pairing Home Assistant devices to MatterBridge
If you are using Home Assistant OS, the easiest way to expose Home Assistant devices to MatterBridge is to use the official add-on. This process is easier and streamlined, allowing to you select which devices you want to expose to MatterBridge and subsequently, pair to other Matter Controllers.
But, what if you are not using Home Assistant OS?
What if you are using HA Container or Core, where you can’t install add-ons?
To get around this issue, you can simply make Home Assistant publish devices to an MQTT topic and configure MatterBridge to subscribe to the broker. Here’s how to achieve this:
- Ensure MQTT is already set up and running in Home Assistant
- Add MQTT Statestream Integration to Home Assistant’s
configuration.yamlfile e.g.
mqtt_statestream:
  base_topic: homeassistant
  publish_attributes: true
  publish_timestamps: true
  include:
    domains:
      - light
- switch- Use includes or excludes to filter entities, domains or blobs
- Restart Home Assistant
- Use an MQTT client (e.g., MQTT Explorer) to verify that Home Assistant devices are now publishing their states to the
homeassistantMQTT topic. - Configure MatterBridge to Subscribe to the
homeassistanttopic using the Zigbee2MQTT plugin - Done
Final Thoughts
In summary, MatterBridge is a self-hosted service that simplifies Matter device setup and sharing across controllers. Many Matter devices require to be set in pairing mode again in order to be shared with other Matter controllers. This creates such an inconvenience, I am not even sure why manufacturers are allowed to do this in the first place.
Running MatterBridge allows you to share any and every integrated device with any controller without having to re-pair them individually. Further, it enhances the level of control and monitoring capabilities of your Matter smart home, including analysis of individual features a certain device exposes.
Hosting MatterBridge in Proxmox, further improves flexibility by allowing you to allocate resources better and create quick snapshots and backups for safe keeping. If you are not a Proxmox user, you can install MatterBridge as an add-on in Home Assistant and achieve, ultimately, the same thing.


Omg how did I miss your earlier article on HA and matterBridge? This is fantastic, I will be installing on Proxmox tonight.
So I currently have haos installed using proxmox which runs ZHA using a SkyConnect, esphome which is directly installed in HA, currently because I’m not 100% sure how to migrate all my esphome devices over, and matter which currently uses a couple matter over thread devices initially paired using HomeKit, because this was before I had HA, and shared in HA using matter.
What benefits would I have if I used this? Great write up but I’m struggling to know why/if I need this 🤔
Let’s say you want to share your Home Assistant devices over to any other Matter controller (Google Home, Alexa, HomeKit, SmartThings etc.).
You can also share ANY Home Assistant entity as a Matter device too (doesn’t have too be an actual device).
Can be a virtual switch if you want it to be. Can be an input helper. Whatever.
You don’t have to share devices individually (which sometimes require physically setting the device in pairing mode).
You can do all that by adding them to MatterBridge and simply scanning a single QR code to the controller. Every device/entity will be added to MatterBridge.
Further, you have complete control over your Matter-enabled device this way, examining clusters, issues etc.
Well the only reason I’d need to share is with HomeKit and I just use HomeKit bridge for that. Is there any other reason?
Not really, no. This project mainly bridges the gap from non-Matter device to Matter controllers.
You can achieve the same thing in several different ways.
Whatever works for you.
No problem thanks, I assumed so but was just wondering if there was anything I could use it for
Hey I’m intrigued about the setup with MQTT statestream, I hadn’t come across that before. My understanding is that it publishes state changes but doesn’t listen to a command topic to allow control of the device as well. Wouldn’t that only give you the ability to see the status of the device through matterbridge or am I missing something?
Yes, although you would need to use the MQTT Integration (not Statestream).
Statestream is a one-way channel and is easier to setup and filter entities.
For control, you can use MQTT and publish states back to the broker.
The most important reason to run it externally versus a HA addon is that the addon is no longer being developed!
I love this……super awesome feature. No more running a custom integration into Alexa. Thank you for the information. So helpful.
Pairing with Alexa does not work, can anyone help?
After instaling the plugin “matterbridge-zigbee2mqtt” and configuring it with the default topic “zigbee2mqtt”, i was able to add all devices in Matterbridge, and then could also add them to Alexa.
Hey, first of all thank you so much for your effort.
I am using HA OS on Proxmox and installed Matterbridge also as an LXC on Proxmox. After instaling the plugin “matterbridge-zigbee2mqtt” and configuring it with the default topic “zigbee2mqtt”, i was able to read all devices, and also add them all to Alexa. So far it was very straightforward and amazing.
BUT… when i configure matterbridge-zigbee2mqtt plugin to read from the exposed homeassistant topic, it fails everytime telling “The plugin did not receive zigbee2mqtt bridge state. Check if zigbee2mqtt is running and connected to the MQTT broker.”.
In a MQTT Explorer i can see that my HA really exposes the topic (with mqtt_statestream configuration). But still Matterbridge cannot reach that. Do you have any idea why?