Ever since I upgraded my home server to a Beelink EQ12 Pro Mini Pc with Intel N305 CPU, I’ve been deep diving in Proxmox VE, Home Assistant and a bunch of different containers and setups. I’ve written a couple of articles around the topic:
- How To Install Home Assistant on Proxmox: The Easy Way
- How To Passthrough USB Devices To Home Assistant in Proxmox
- How To Backup Home Assistant In Proxmox
- How to Separate Zigbee2MQTT from Home Assistant in Proxmox
But what if you wanted to try out Proxmox, but are not yet ready to splurge for a new Mini PC? If you have a Raspberry Pi, Pimox is a project that can help you dip your toes in a Proxmox Virtualization Environment. To explain things simply and neatly:
- Proxmox is an open-source platform used for virtualization and server management allowing users to deploy, manage, and run virtual machines and containers.
- Pimox is a port of Proxmox for Raspberry Pi computers, allowing you to build a Proxmox cluster of Rapberry Pi’s or even a hybrid cluster of Pis and x86 hardware.
In this article, I am sharing how to install Pimox on a Raspberry Pi 4 and deploy Home Assistant OS as a virtual machine.
For the record, I don’t consider the Pi a viable Proxmox server, you won’t be able to run anything of substance or more than one VM reliably. You could go with a lighter setup by running everything as an LXC, but even then I would recommend getting a cheap mini PC. It’s simply a great learning experience.
Requirements
- Raspberry Pi 4 with 4GB/8GB RAM
- SD Card or USB-SSD Drive
- Ethernet Connection
- Main PC to flash Raspberry Pi OS
Installing Raspberry Pi OS
Before we can run Pimox on the Pi, we need to install the latest ARM64 Raspberry Pi OS on your boot media. This can be either an SD card or an SSD drive, I am using an USB SSD drive attached to a 3.0 port:
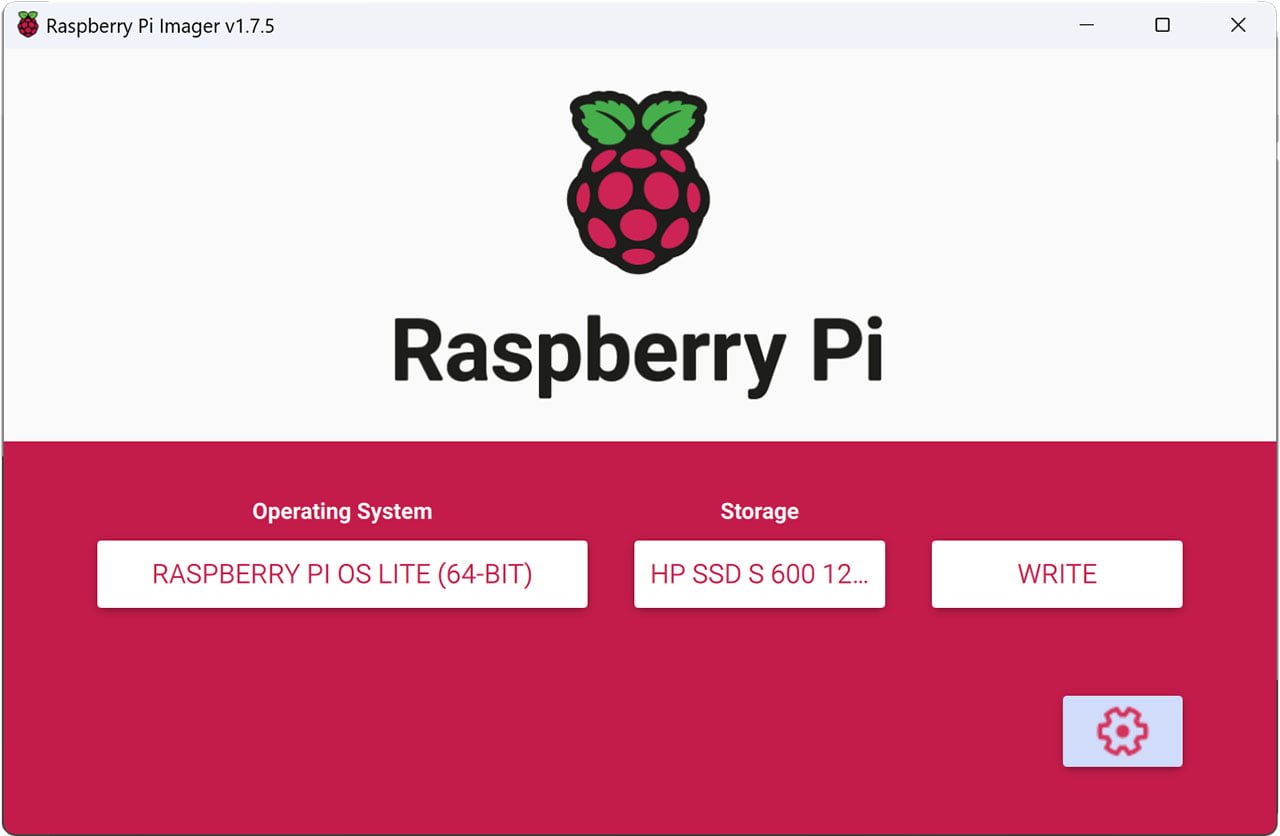
- Download the Raspberry Pi Imager
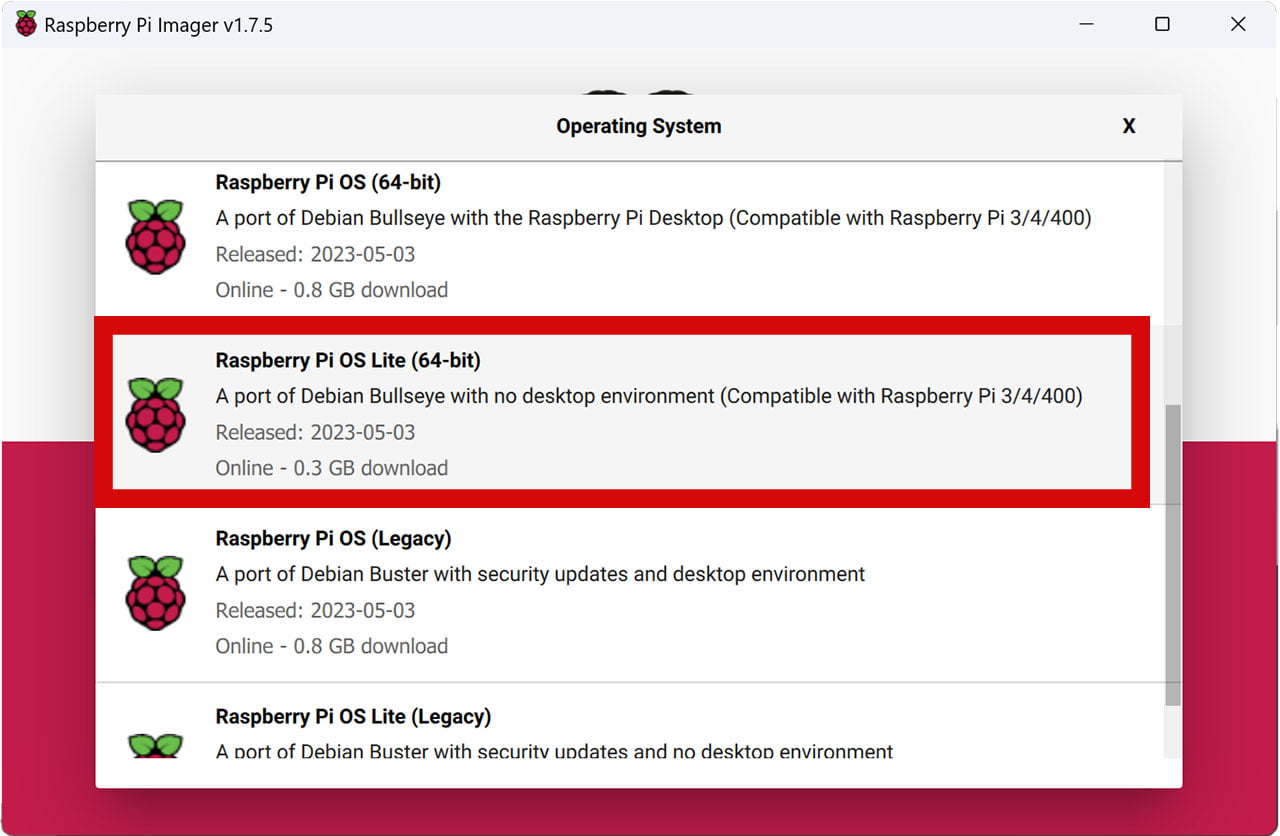
- Open the app and click Choose OS
- Click Raspberry Pi OS (other) and select Raspberry Pi OS Lite (64-bit)

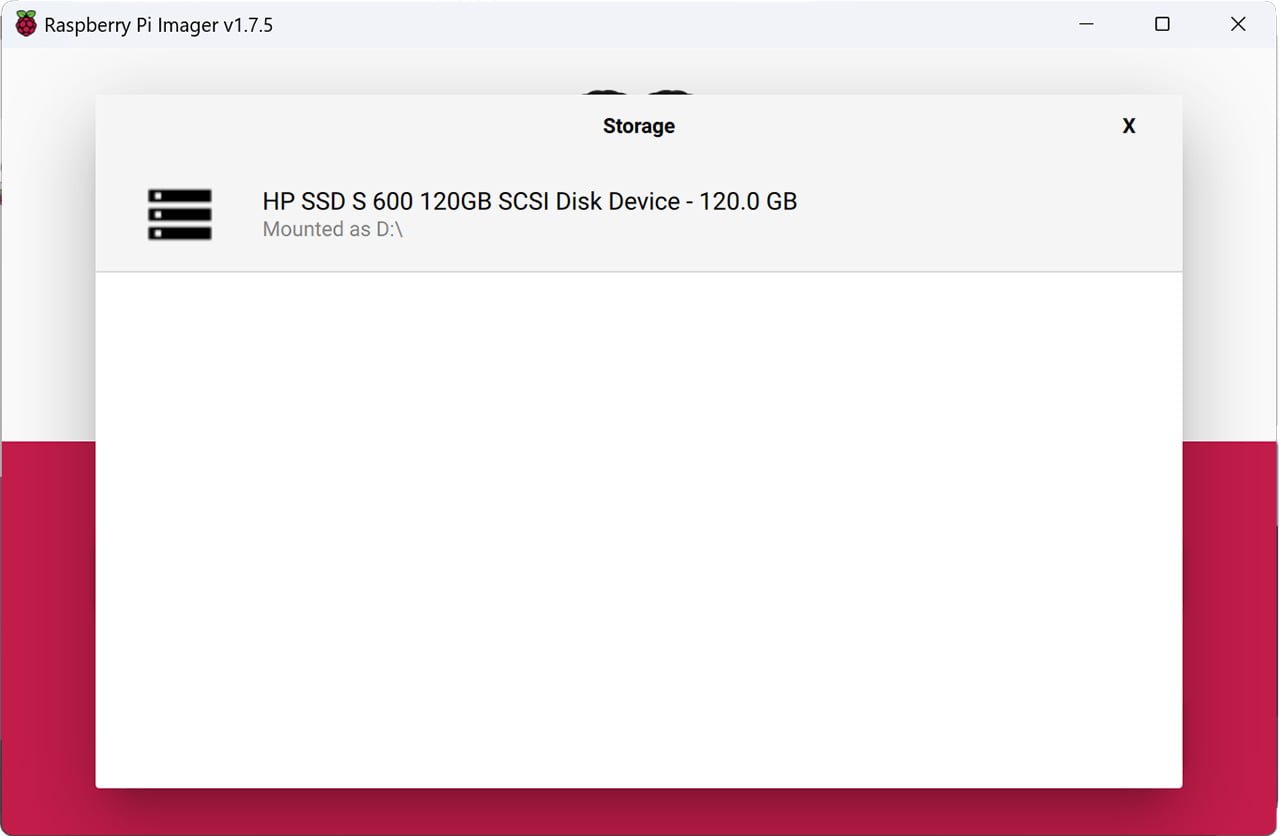
- Click Choose Storage and select your SD Card/SSD Drive
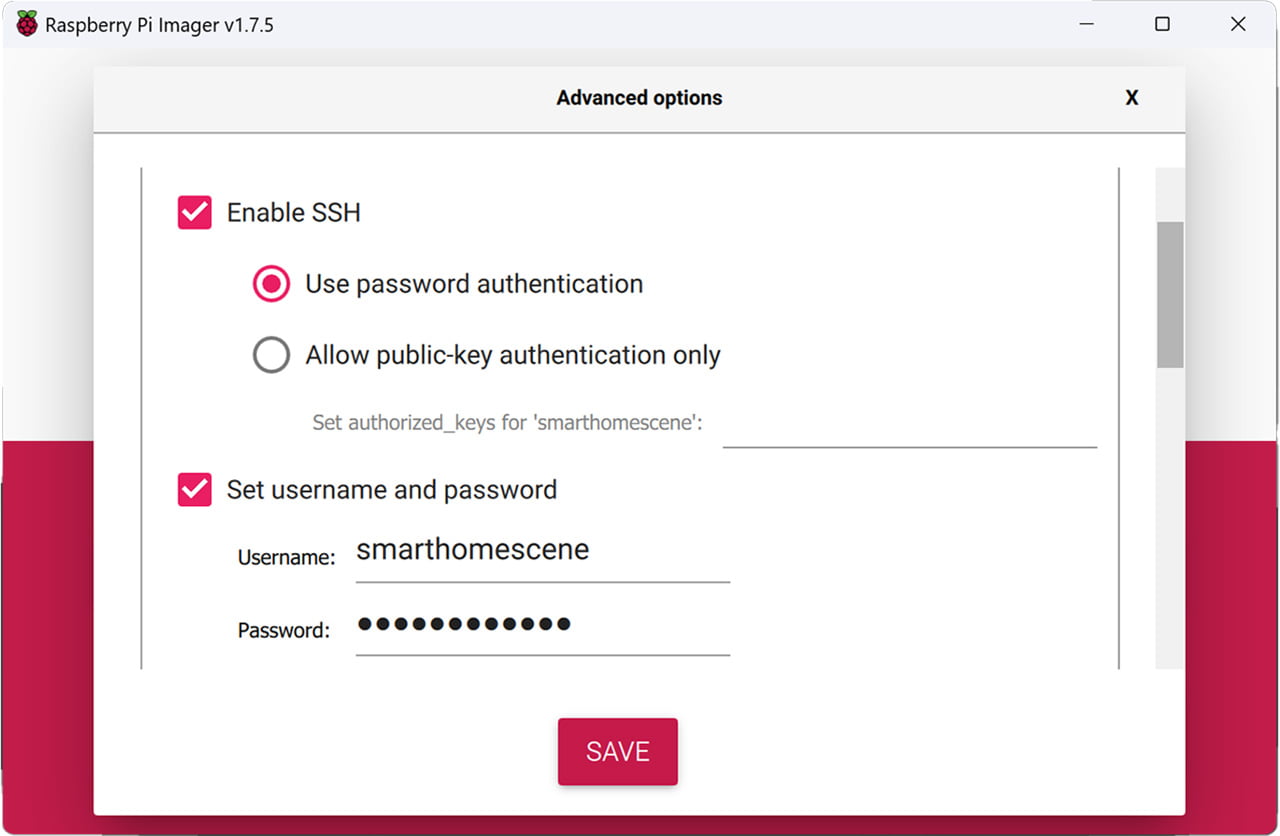
- Click the Settings cogwheel
- Check Set Hostname, change it if you wish
- Check Enable SSH and choose Use password authentication
- Check Set username and password and type them in
- (Optional) Check Configure wireless LAN if you wish to connect to Wi-Fi instead of LAN
- Click Save to confirm your changes
- Click Write and confirm the prompt
- Wait for the process to finish
- Safely remove hardware from your PC
- Attach your SD Card/SSD Drive to the Pi and power it on
- Done
Installing Pimox
With the lite version of Raspberry Pi OS installed, we can SSH into the Pi and install Pimox by executing and install script from the official repo. I am using Windows, so I will use the Terminal app. SSH into the Pi by using the following command:
ssh smarthomescene@raspberrypiThe SSH command has the following structure: ssh [username]@[hostname], so replace smarthomescene with your username and raspberrypi with your hostname, if you’ve changed it during the initial OS installation.
You can also SSH by using the IP address the OS was assigned by your router, for example:
ssh smarthomescene@192.168.0.100You will get a prompt “The authenticity of host XXX cannot be established…”, type in yes and continue. Once you are SSH-ed successfully, your screen should look like this: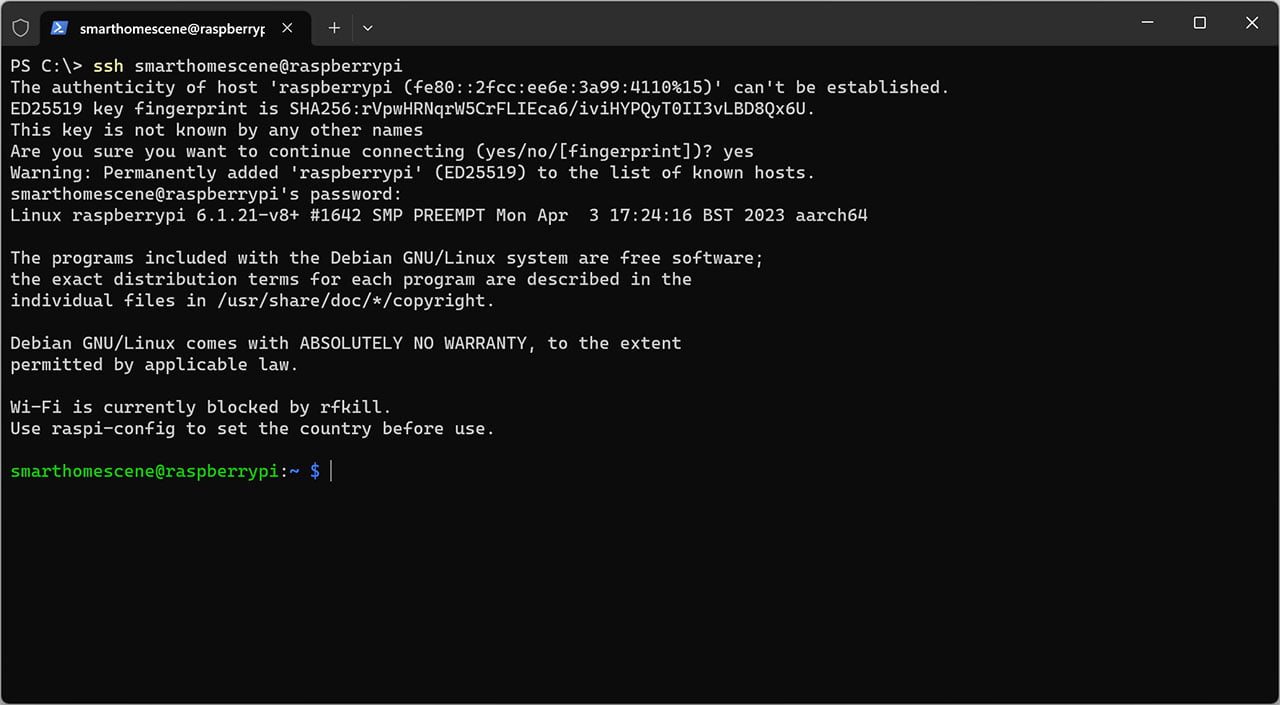
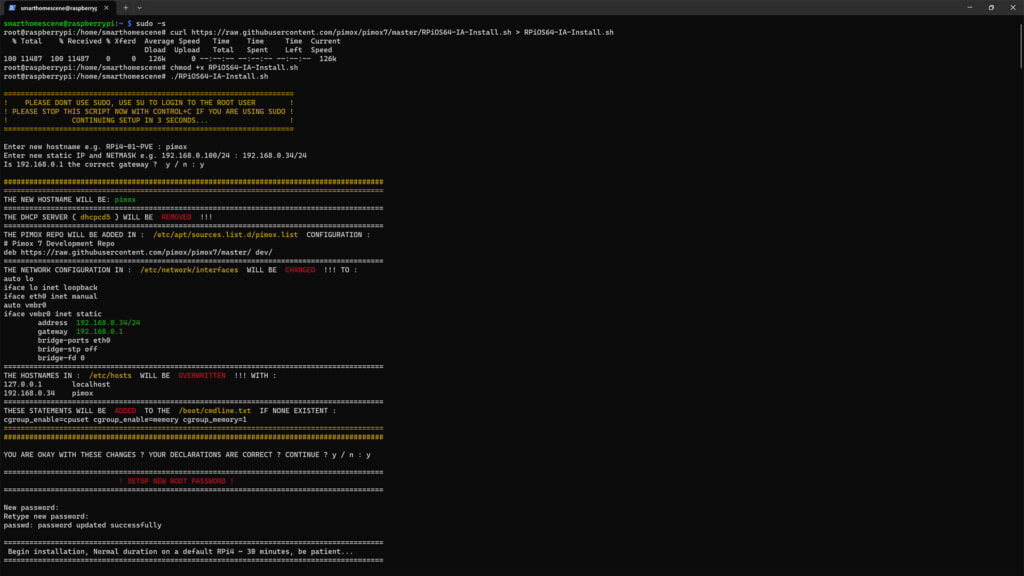
Execute the following commands in order to start the installation of Pimox on your Raspberry Pi:
1. Switch to root
sudo -s2. Download the Pimox Installation Script
curl https://raw.githubusercontent.com/pimox/pimox7/master/RPiOS64-IA-Install.sh > RPiOS64-IA-Install.sh3. Make the Pimox script executable
chmod +x RPiOS64-IA-Install.sh4. Execute the Pimox script
./RPiOS64-IA-Install.shDuring the installation process, you will get a couple of prompts that you to need to input some info. Here’s an example of my installation:
1. Enter new hostname: smarthomescene
2. Enter new static IP and netmask: 192.168.0.34/24
3. Is this the correct gateway? y
4. You are okay with these changes? y
5. Setup new root password: somepassword
6. Confirm new root password: somepassword
I managed to capture a screenshot of all commands and prompts in a single window:
The script will begin installing Pimox on your Raspberry Pi. A message at the end says it can take up to 30minutes for the process to complete, although it took ~12minutes on my SSD drive.
Relax, get a cup of coffee and wait for the final message at the end telling you where your Pimox interface is reachable:
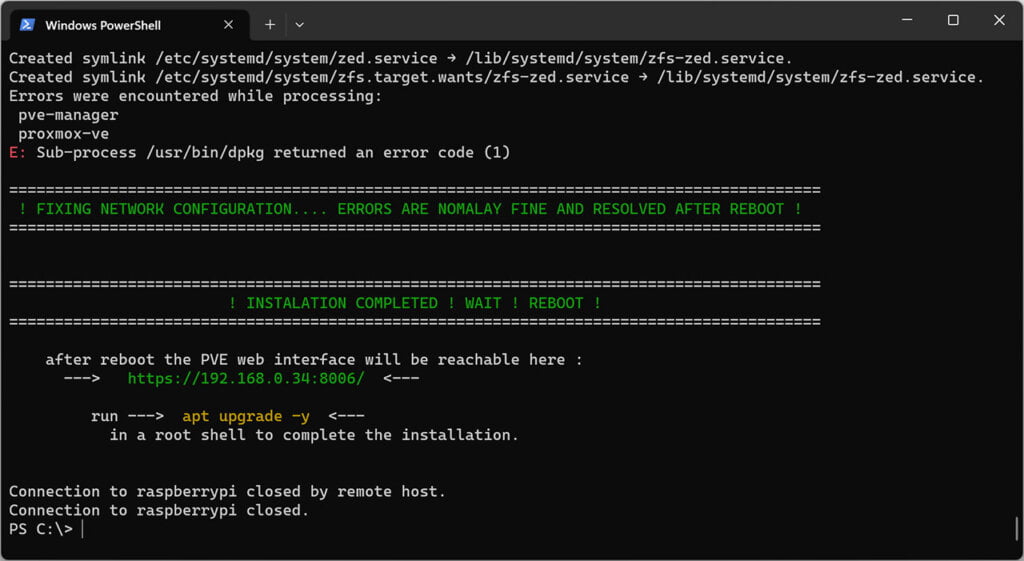
Accessing Pimox
Access the Pimox (Proxmox) instance in a browser by typing in the address you set during installation, in my case: https://192.168.0.34:8006. You will get a privacy error, click Advanced and Proceed to xxx.xxx.xxx.xx (unsafe). Login with username root and the password you set during setup.
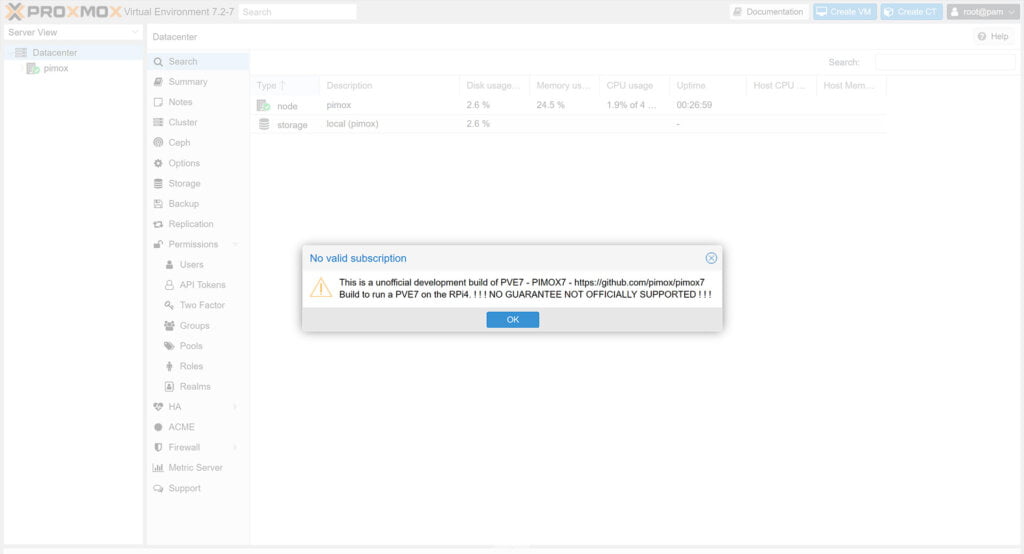
Click OK to acknowledge that Pimox is an unofficial development build. You can continue to experiment, test and deploy any container or VM you wish. As a test, I will deploy Home Assistant by using a community-developed one liner script and check how it runs and how many resources it uses.
Installing Home Assistant on Pimox
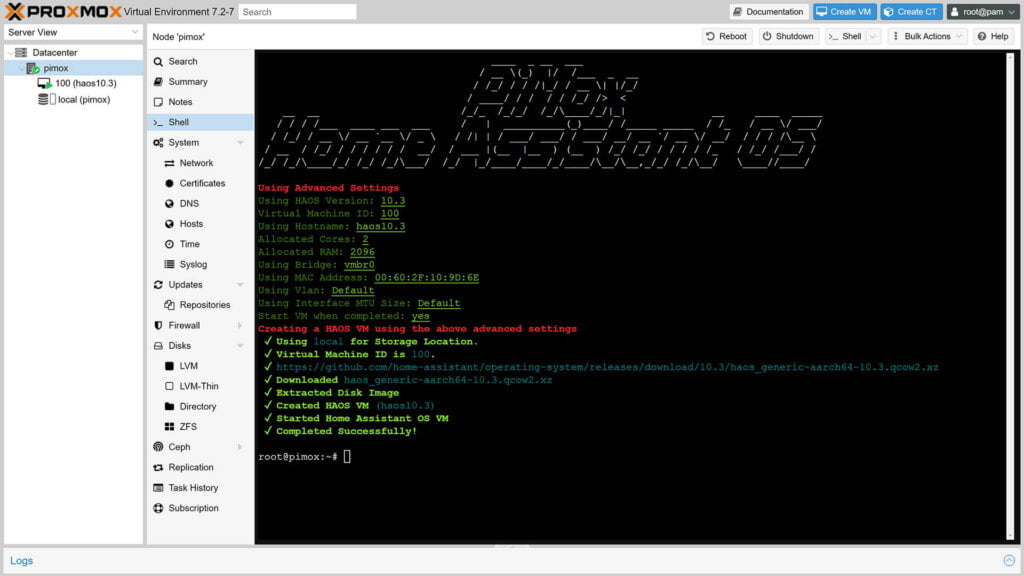
In Pimox (now Proxmox), click your node on the left and select Shell from the middle column. To install Home Assistant OS, we need to use the Pimox HA OS Script:
bash -c "$(wget -qLO - https://github.com/community-scripts/ProxmoxVE/raw/main/vm/pimox-haos-vm.sh)"This script will automatically download, extract and install the latest official qcow2 image provided by the Home Assistant team. Confirm the first prompt and select default settings only if you have a Raspberry Pi4 with 8GB RAM.
If you have a 4GB model, you need to lower the dedicated RAM for the VM (which is set to 4096 by default) otherwise you will get an error. Choose advanced during setup and follow the prompts, setting RAM to something like 2048. After the installation finishes, you will get a confirmation message at the bottom:
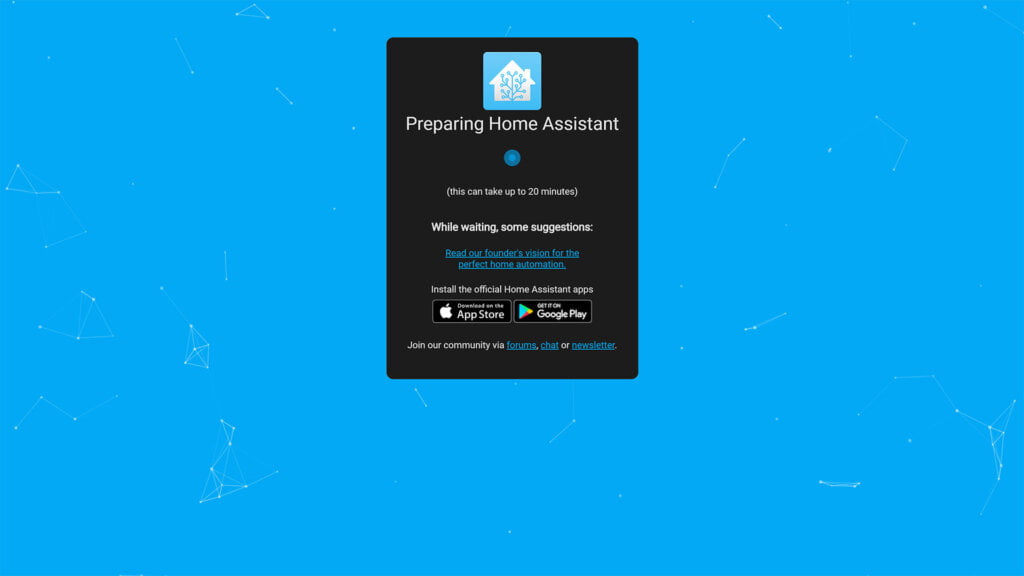
Access your Home Assistant instance in a browser with [IP Address]:8123. You can find the IP of the VM by clicking the summary tab in the middle pane or your router’s DHCP list. When you type in the browser, a beautiful screen:
Summary
Installing Promox on a Raspberry Pi is super simple, thanks to the Pimox port. I think this is a great learning experience for those that want to dip their toes in Proxmox Virtualization, and subsequently invest in better hardware.
I do not consider a single Raspberry Pi suitable for running a mix of of VMs and containers, it will get bogged down pretty fast. It might be doable depending on your needs, but I feel like getting a medium range mini PC is not a significant spend and will greatly improve your Proxmox experience.
Pimox however, can be used to create a cluster of Pi’s or even a hybrid cluster with other mini PCs. If you happen to have a bunch of Pi’s, why not use them and split the load between them.


Thank for your guide. Really easy to setup.
One question : Is is possible to use integrated bluetooth of the Raspberry in the HA VM ?
When I try in SSH, there is no adapter :
[core-ssh ~]$ bluetoothctl scan on
No default controller available
Thanks for your reply
I have not installed all this guide, but I suppose that :
1) you need to install HA as a VM not as an LCX.
2) If you did the 1 step, and your BT is seen as usb devie, you could follow the following guide https://pve.proxmox.com/wiki/USB_Devices_in_Virtual_Machines