Short Intro
Those who follow SmartHomeScene’s Reviews already know that a lot of air quality monitors have passed my testing bench. Some were good, some great, others barely mediocre. If air quality is a concern of yours, here’s a list of all the devices I’ve reviewed for reference:
In this article, I’m taking a look at the AirGradient OpenAir Outdoor Air Quality Monitor, also called the Climate Change monitor by the company. Up to this point, I’ve only reviewed indoor air quality monitors, so this is the first outdoor device I’m testing.
You can get the AirGradient OpenAir fully assembled for $190 on their official webstore. If you are up for a challenge and want to save a few bucks, you can get the pre-soldered kit for $125!
DISCLAIMER: AirGradient sent me the AirGradient OpenAir Outdoor Air Quality Monitor as a free testing sample for the purpose of a review. This will in no way influence, sway or affect my opinion of the device and will just be my usual observations and unbiased testing approach. I shared my guidelines and principles for collaboration with their PR person, to which they fully agreed.
AirGradient OpenAir Technical Specification
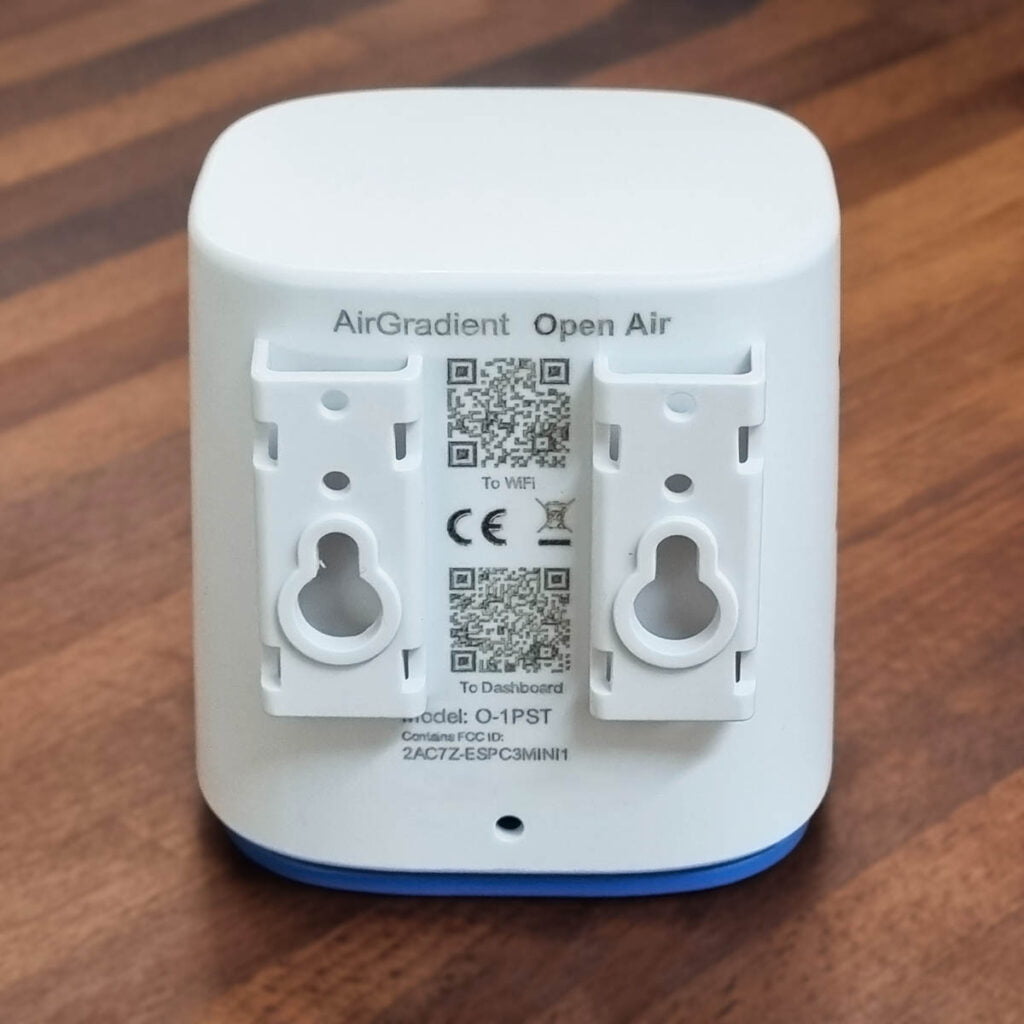
- Model: AirGradient OpenAir [O-1PST]
- Microcontroller: ESP32-C3-MINI
- WiFi: 2.4GHz IEEE 802.11 b/g/n
- Bluetooth: BLE, Bluetooth 5, Bluetooth mesh
- Extensions: Broken out on PCB: I2C, 3 GPIO, 2 UART
- Peripherals: Status LED, Push Button, Reset Button, USB C Connector
- External Hardware Watchdog: Texas Instruments TPL5010
- CO2 Sensor Module: SenseAir S8 (NDIR)
- Particle Sensor Module: Plantower PMS5003T
- Temperature and Humidity Module: ENS210 (inside PMS5003T)
- TVOC/NOx Module: Sensirion SGP41
- Enclosure: ASA Plastic, UV Resistant and Weather Proof
- Cable: 4m USB C Cable including Data Lines for Flashing
- Power Supply: 5V2A (not included)
- Certifications: CE, RoHS, REACH, FCC ID: 2AC7Z-ESPC3MINI
- Price:
AirGradient Open Air Teardown
The AirGradient comes in a package containing the device itself, an USB-C cable and an info card. The cable is quite long at 4 meters (~13 feet), useful for installing the monitor farther away from a wall socket.
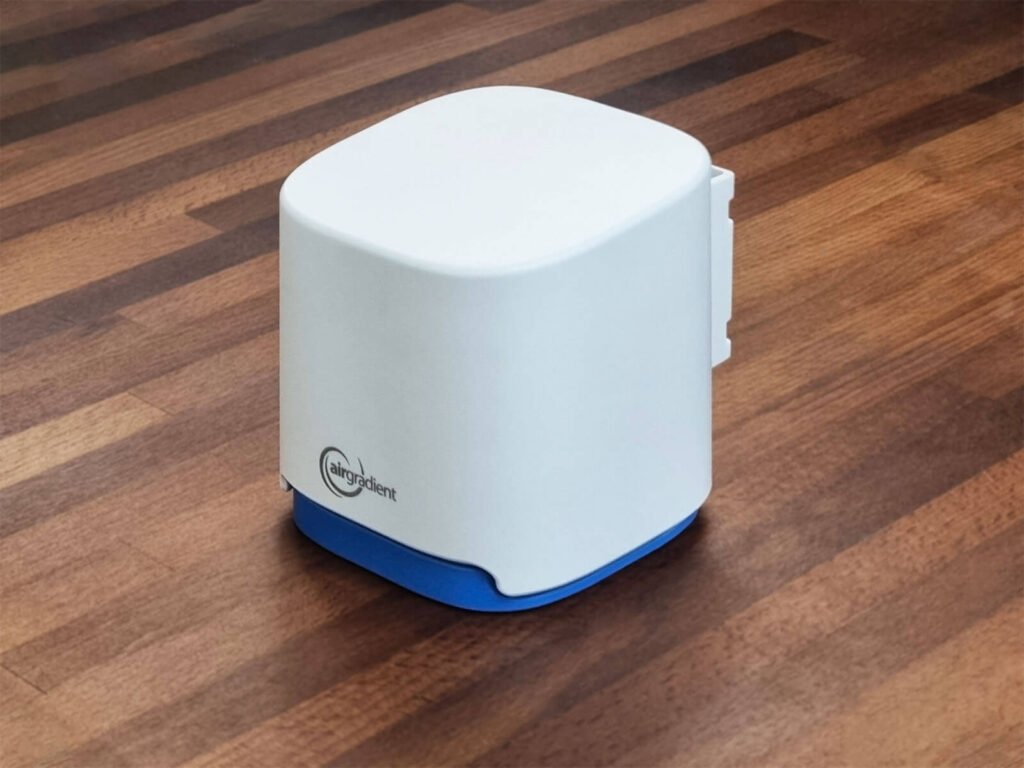
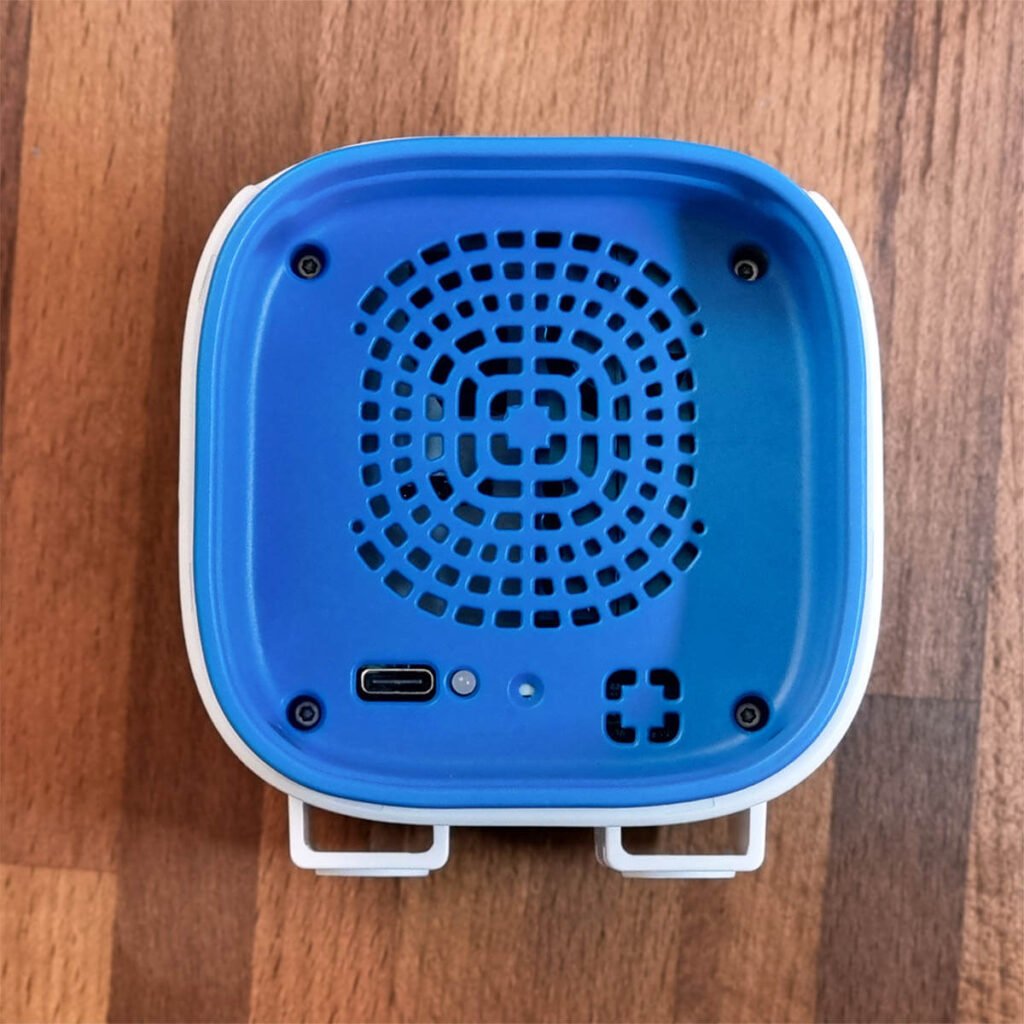
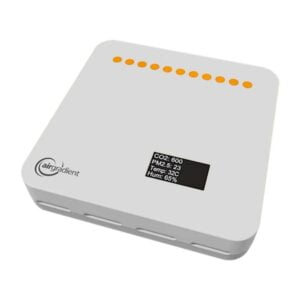
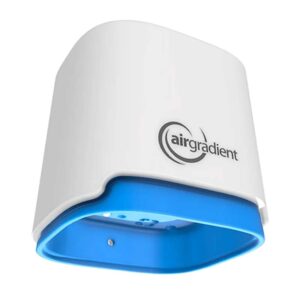
The OpenAir is made from weatherproof and UV resistant ABS plastic, able to withstand the elements. The top part of the case slots over the device to avoid rain water getting inside. On the backside, there are two mounting holes for hooking the monitor on a wall.
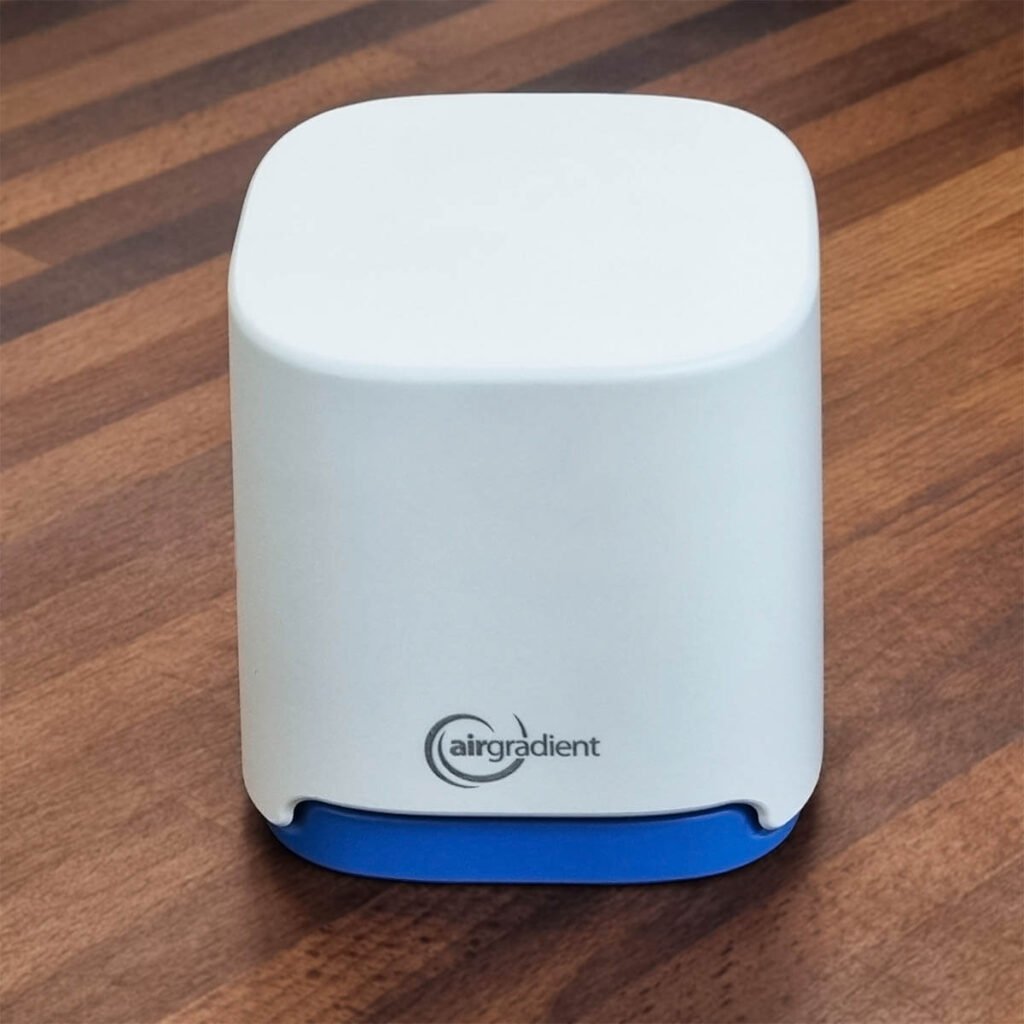
While the top is fully protected, the bottom of the device is meshed so air can circulate and the sensors can get a better reading. The USB-C port is also installed on the bottom, next to the indicator LED and an easily accessible reset button.

Four torque screws hold the case together, which I managed to take out easily using the extension tool in the Kaiweets ES20 Electric Screwdriver Set. The job is easy when you have the right tools.
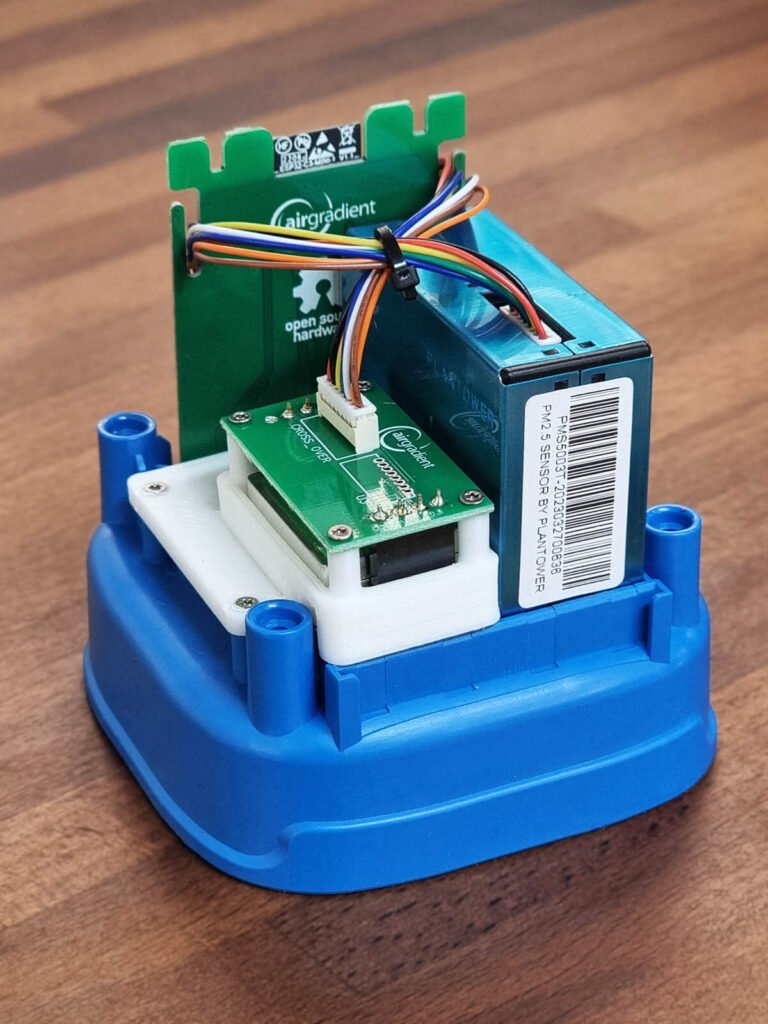
The first thing you notice is the large Plantower PMS5003T [Datasheet] particles sensor, slotted in the case so it doesn’t move. This model also powers the AirGradient ONE indoor monitor and can measure PM particles 0.3 to 10 micrometers with a high level of accuracy.
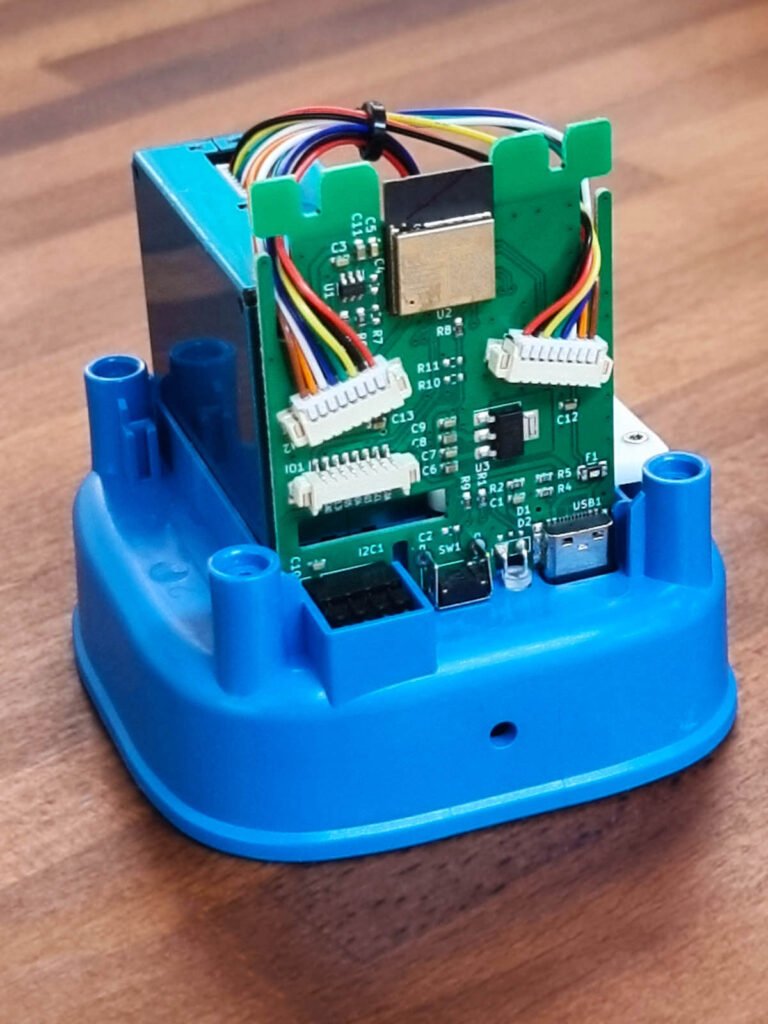
On the other side the main PCB is found, where everything is connected with JST connectors. The AirGradient OpenAir is powered by the ESP32-C3 Mini [Datasheet] board, handling all operating logic, connectivity and firmware.
The Sensirion SGP41 [Datasheet] provides data for generating Total Volatile Organic Compounds (TVOC) and Nitrogen Oxides (NOx) indexes, crucial indicators of air quality. NOx includes a group of highly reactive and harmful gases, particularly significant if you use wood/gas stoves indoors.
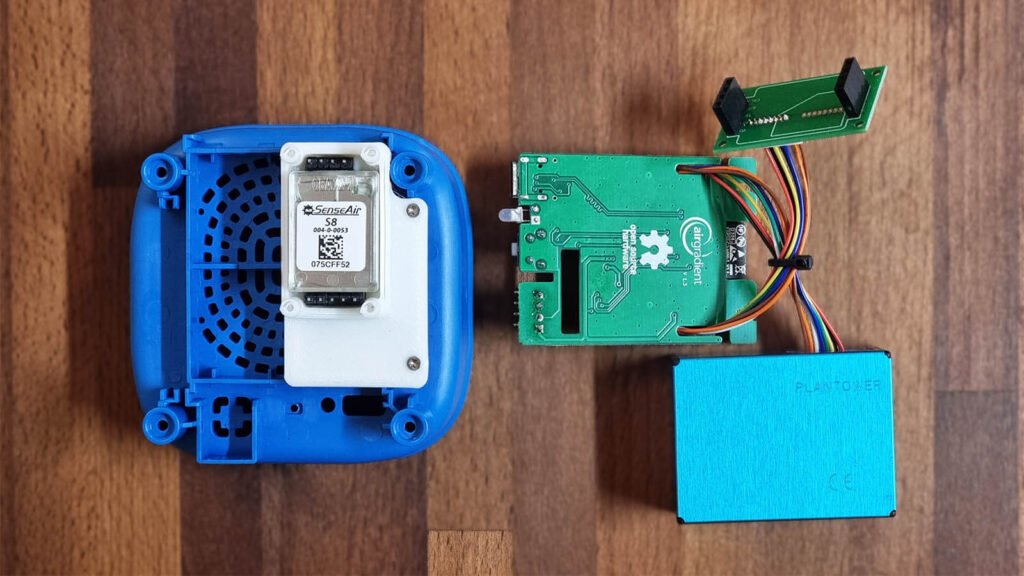
The SenseAir S8 [Datasheet] CO2 sensor is lies on top of the meshed bottom of the AirGradient OpenAir, connected to the main board with a separate PCB. This CO2 sensor stands as the top choice among both DIY enthusiasts and companies developing proprietary devices. It ships pre-calibrated from the factory and boasts a lifespan of over 15 years!
Home Assistant Integration
Just like the AirGradient ONE, the outdoor OpenAir model can be integrated in Home Assistant by flashing their official ESPHome firmware. Even though my sample already shipped with the ESPHome firmware, I re-flashed it to the latest version of MallocArray’s repo.
The ESP32-C3-MINI needs to be booted in flash mode before you can upload the ESPHome firmware and then add it to Home Assistant. Here’s a simple step by step guide:
- Open the ESPHome Web Flasher
- Connect the USB cable to your computer
- Hold the reset button
- Plug in the USB-C cable to the AirGradient OpenAir
- Click Connect and select the device
- Click Install and choose the pre-compiled firmware [airgradient-open-air-o-1pst.bin]
- Wait for the process to finish
- Re-plug the AirGradient OpenAir
- Done
Once the device boots back up, connect to the Wi-Fi hotspot it emits and input your Wi-Fi credentials. The AirGradient should be automatically discovered in Home Assistant, but if it isn’t, you can always use the IP address assigned to the device from your router to add it manually. Here’s what’s available in Home Assistant once it’s added:
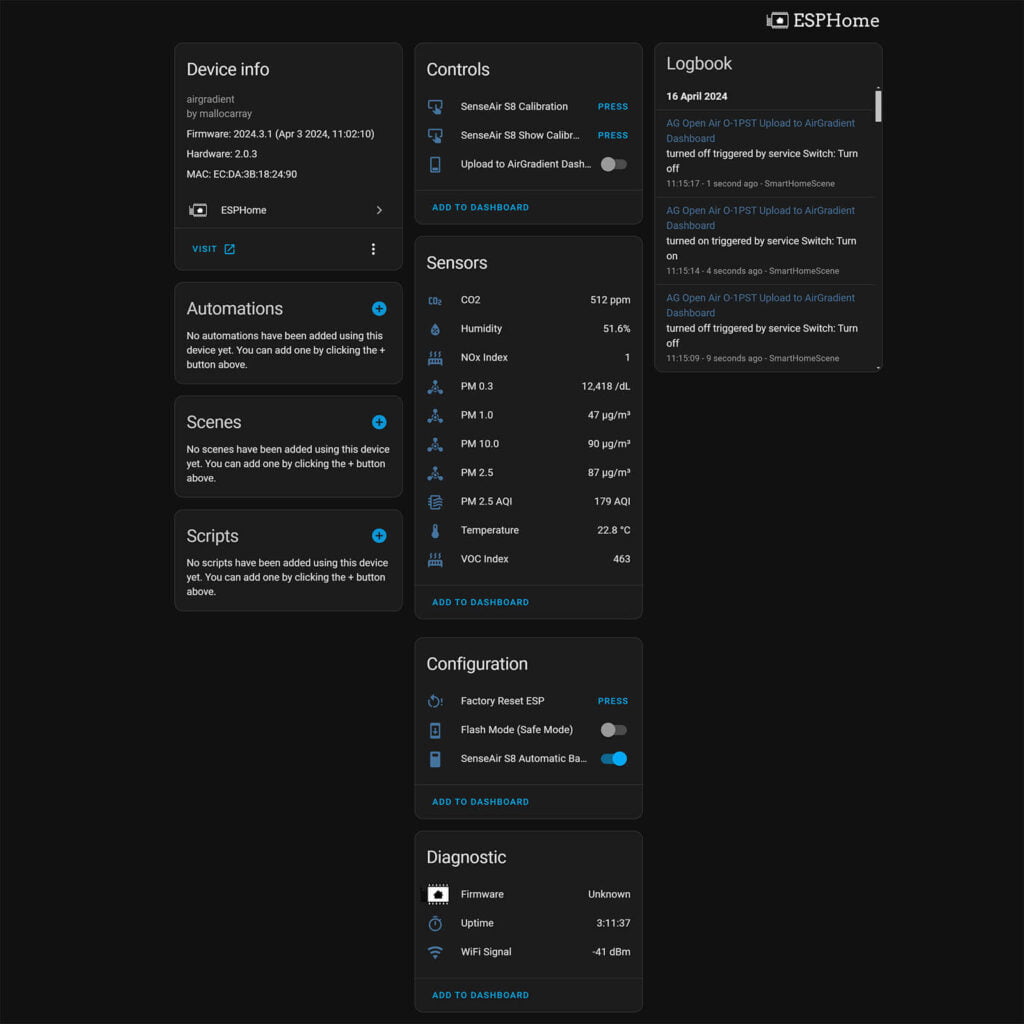
Immediately after adding the OpenAir in HA, data started pouring in. At this time, the OpenAir is still on my workbench inside and not outdoors. For reference, the sensors exposed in Home Assistant have the following range and accuracy correlation:
- CO2 Sensor SenseAir S8 (NDIR):
- Range: 0 to 10000ppm.
- Accuracy: ±40 ppm ±3% of reading at 5 to 30°C, 0-85% RH (400 – 2000ppm range)
- Particle Sensor Plantower PMS5003 (laser scattering principle):
- Accuracy/Range: ±10%@100~500μ g/m³, ±10μg/m³@0~100μ g/m³
- Temperature and Humidity Sensor ENS210 (inside PMS5003T module):
- Accuracy: Temperature ±0.2°C @ 0 – 70°C; Humidity ±3.5% RH @ 20 – 80% RH
- TVOC/NOx Sensor Sensirion SGP41:
- Accuracy/range: TVOC <±15 @ 0 to 500 VOC Index; NOx <±50 @ 0 – 500 NOx Index
Calibrating the CO2 Sensor
The AirGradient OpenAir can automatically adjust its CO2 readings using the S8 Automatic Background Calibration feature in Home Assistant. This is a slow process that takes around 7 days, but if you think the readings are wrong, you can force a recalibration:
- Take it outside for 20 minutes (if it’s indoors)
- Keep it connected to Home Assistant.
- Press the Senseair S8 Calibration button.
- Wait 10 minutes.
- It will assume the outside CO2 level (around 400ppm) as the default.
- Done!
Sending data to AirGradient’s dashboard
AirGradient has its own cloud dashboard where data from all their devices worldwide is collected. It’s optional and turned off by default. If you want to join, you can toggle the “Upload to AirGradient Dashboard” setting in the device configuration with the ESPHome firmware.
To access your air quality data from anywhere, you’ll also need to create an account. This allows you to monitor in real-time, analyze air quality, generate reports, and set up alerts using AirGradient’s email service, even without Home Assistant.
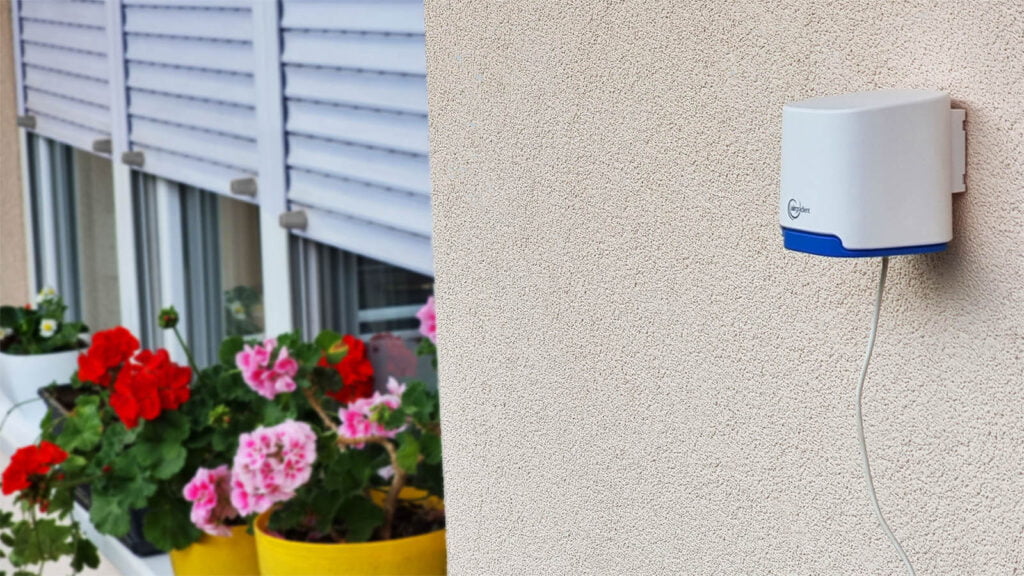
Installing the AirGradient OpenAir outside
Installing the OpenAir outside is very easy, although you do need to drill holes to mount it securely. Another thing to keep in mind is the Wi-Fi range of the device: you cannot install it too far from your access point, otherwise it will just drop out or not connect at all. Carefully pick a mounting spot and test before you drill.
It does look great mounted on my top floor terrace, next to my wife’s flowers.
Final Thoughts
I had a great deal of fun tinkering with AirGradient air quality monitors. The devices are really well built, the components are top quality and boast a really long lifespan. A big advantage for me (as it should be for you) is the completely local Home Assistant integration over ESPHome.
But why pick AirGradient over other devices? I’ve been thinking about this since I received the AirGradient testing samples. Well, AirGradient actually has several advantages over comparable air quality monitors. Ultimately, it boils down to personal choice, but I honestly don’t think you should be looking at other models, especially when it comes to outdoor air quality monitoring:
- Relatively affordable
- Comparable devices either cost significantly more, use questionable hardware or lack the same features as AirGradient devices. I’m also a big fan of the Apollo AIR-1, which is also a feature-packed and open source indoor air quality monitor.
- Accurate
- AirGradient actively works with researches and universities to achieve high levels of accuracy and runs co-location testing in four continents for the OpenAir outdoor monitor. Read more
- Local connection
- Integrates in Home Assistant completely locally with ESPHome firmware
- Durable and reliable
- Per AirGradient, all components have been selected for maximum lifetime. The monitors are easy to assemble, maintain and repair and they also provide spare parts.
- Advances good causes
- By getting an AirGradient device, you are directly supporting the fight against climate change
- 1% of all sales are directly pledged for preservation and restoration of the natural environment.
- AirGradient actively supports organizations that work towards a healthier air quality by providing open source monitor kits, workshops and donations. You can contact them to support yours!
- AirGradient designs their products to have a low environmental footprint, use paper based packaging material and also request their suppliers to use environmentally-friendly packaging material.
- Read more on their website
You can get the AirGradient OpenAir and AirGradient ONE on their official webstore.
- AirGradient ONE (Indoor)
- AirGradient OpenAir (Outdoor)


Thanks!
Thanks for the detailed review, I just ordered a pre-assembled unit!
I live in the desert with extreme temperatures (115°F+ during summer), UV index (11+), and dust storms. Would placing the device in a sheltered or covered area affect the readings?
Do you think it would be possible to power the device from a solar panel and battery bank?
I saw the power supply requirement for 5V at 2A, but what is the typical power draw?
Hey, thanks for the feedback.
I dont think the readings will be skewed but if they are, you can always calibrate them.
You can power it via solar panel but you would also require a battery. Preferably lithium-ion. Lookup UGREEN.
Typical draw is much less than 2 amps. I would say 0.5-1A when idling.
Realize this is an older post, but curious how you have it plugged in? Is it a protected outlet, an outdoor power supply, etc? I am looking at ordering one and I am just trying to figure out how to protect the power supply from the elements.
I won’t have the actual device under cover, but I do have outdoor GFCI outlets with in-use covers.
There are many ways you can approach this, I use an IP54 rated outdoor plug from INNR