On our AliExpress Reviews channel, recently I talked about a 4-button Zigbee Remote by Loratap model SS6400ZB. I liked the clickyness and ergonomics of that little remote, so I mounted it on the wall next to my touch dimmers. I love tinkering with that thing and developing new automations from it’s 12 possible button actions.
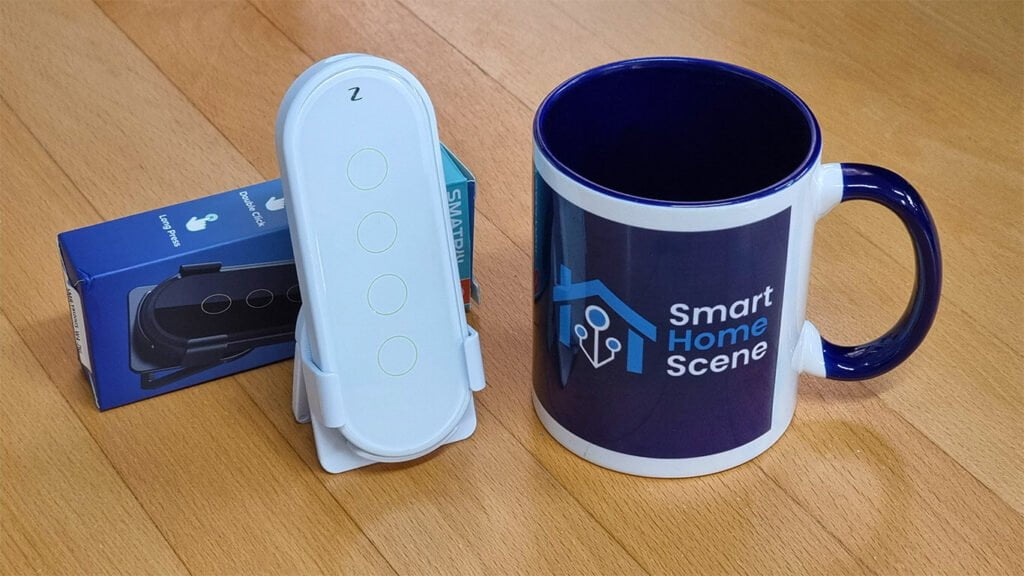
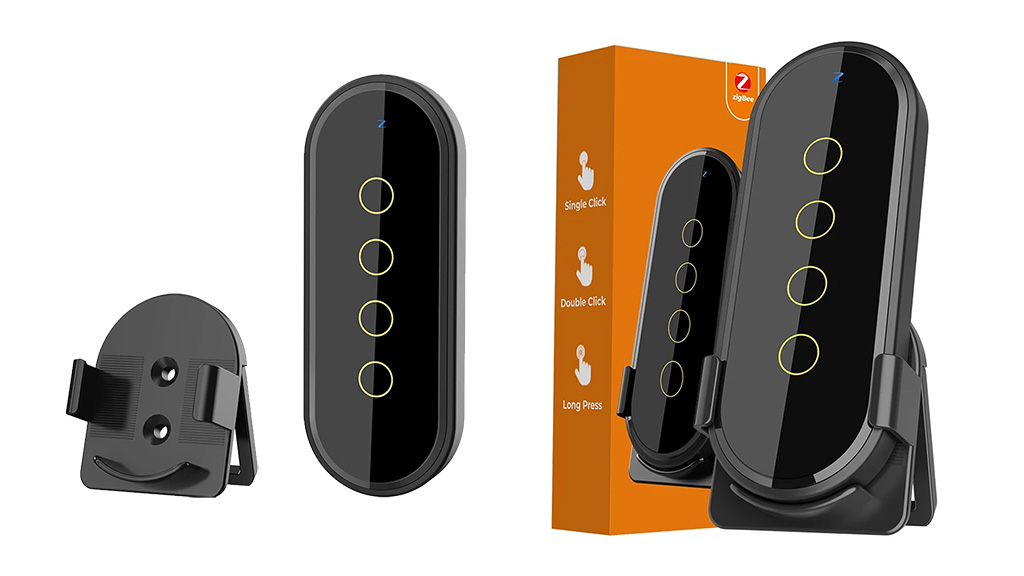
Today I’m testing a device with an identical function, but different design, look and feel. This is a full review and disassembly of the Tuya 4-Button Touch Remote Model S011 which can be found online under various Chinese brand names.
Tuya 4-Button Zigbee Touch Remote S011
N/A
*N/A links will be added when available
Technical Specification
- Model: S011
- Panel: 2.5D Tempered Glass
- Wireless Protocol: ZigBee 3.0
- Works with: ZHA, ZigBee2MQTT, Deconz
- Battery Type: Button Battery CR2032 (not included)
- Plastic Material: ABS
- Dimensions: 118x45x13.5mm
- Certification: CE, RED, RoHS, ISO9001
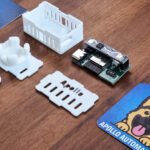
Disassembly
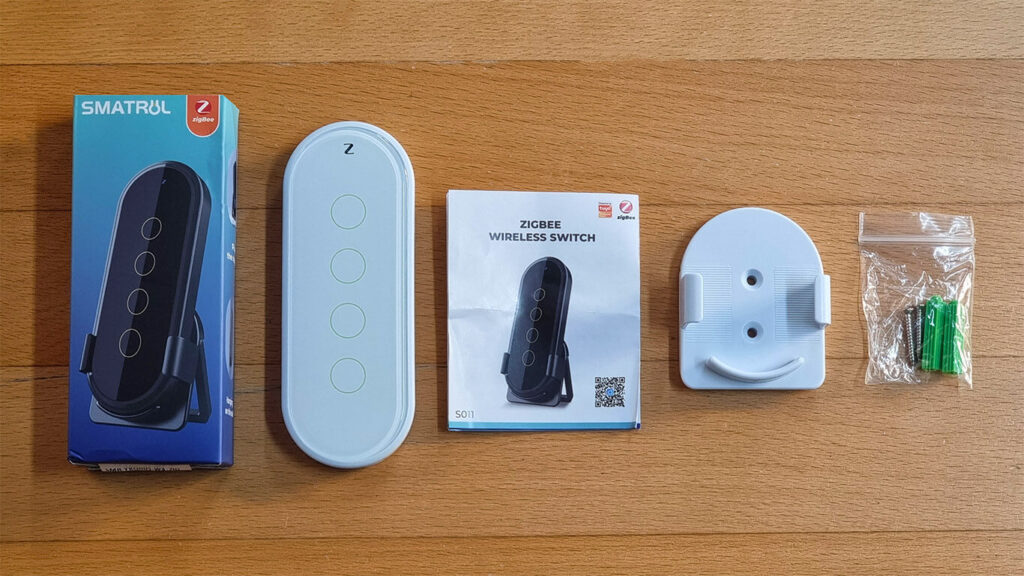
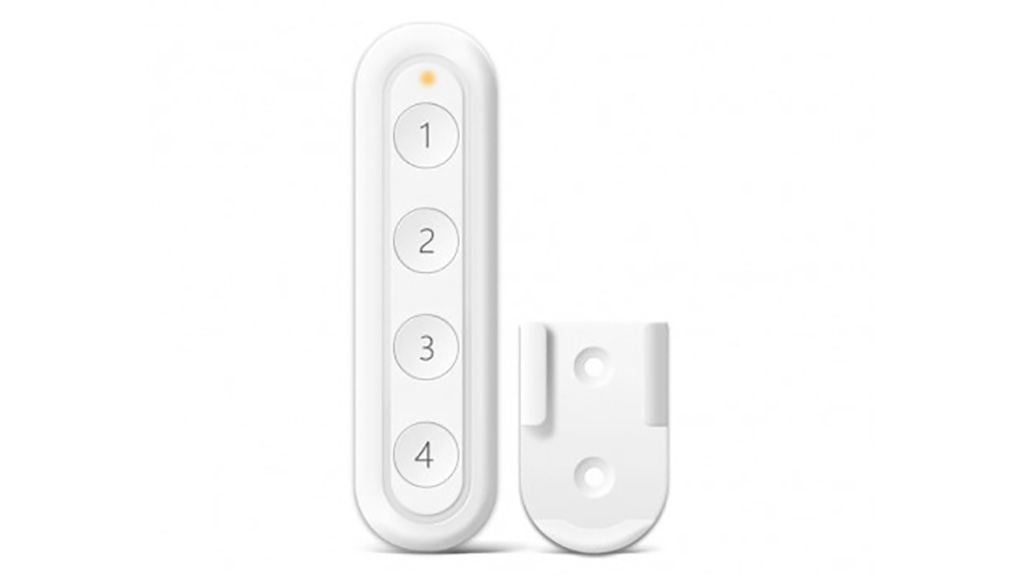
The Tuya 4-Button Touch Remote S011 come in a package with a manual, a holder, some screws and a sticker for mounting. The remote holder is also a stand, for placing the device on a table or desk.
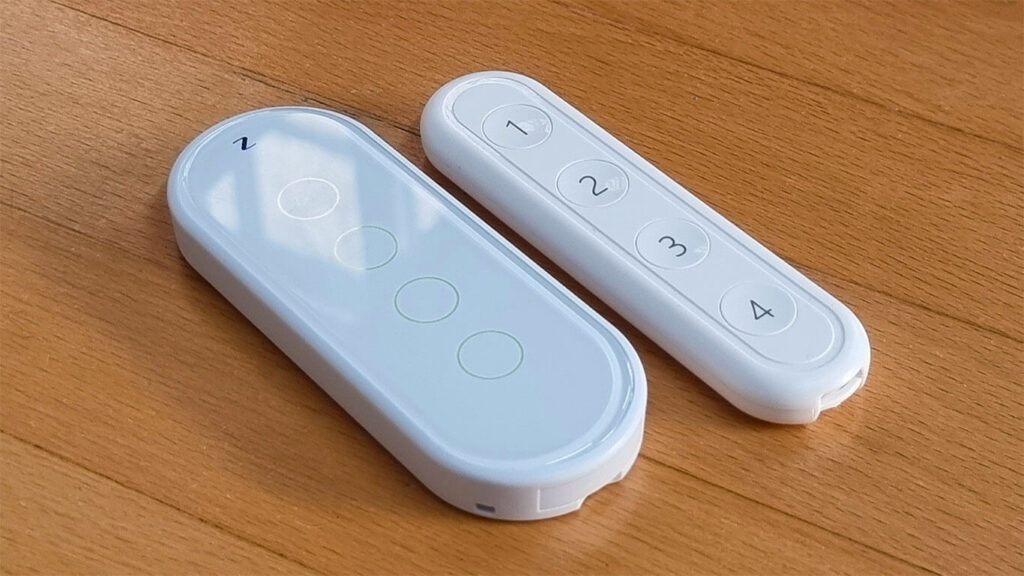
Compared to the Loratap SS6400ZB, it’s about the same length but almost double the width. Tuya claims It’s front panel is made out of tempered glass. I have doubts whether this is actual tempered glass, or just some glossy plastic. However, the remote feels slick and smooth when held in your hand.
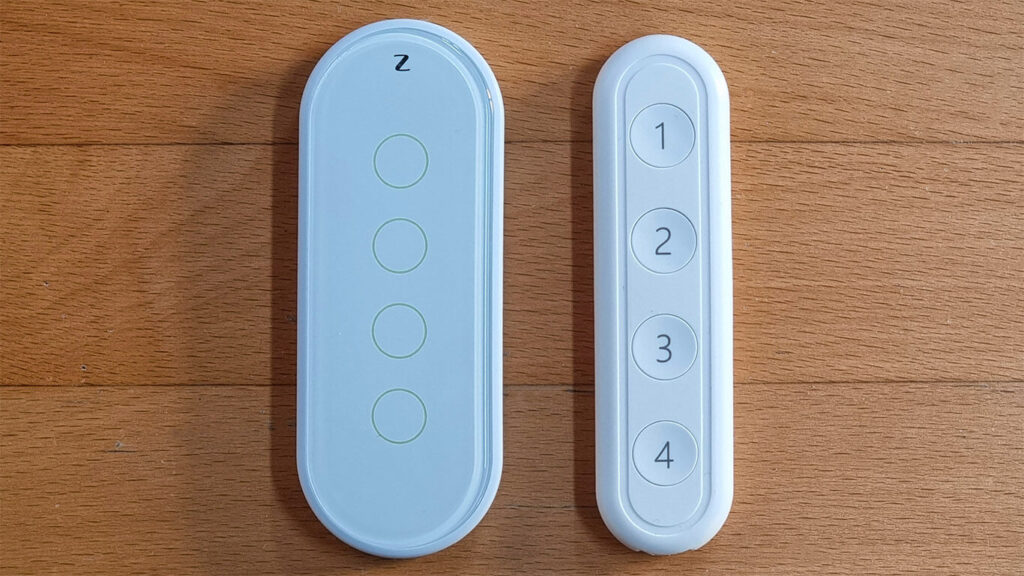
Both remotes are the same thickness and have a round concave border around the buttons. Personally, I like the look of the touch remote better, but I like the feel of the clicky remote more.
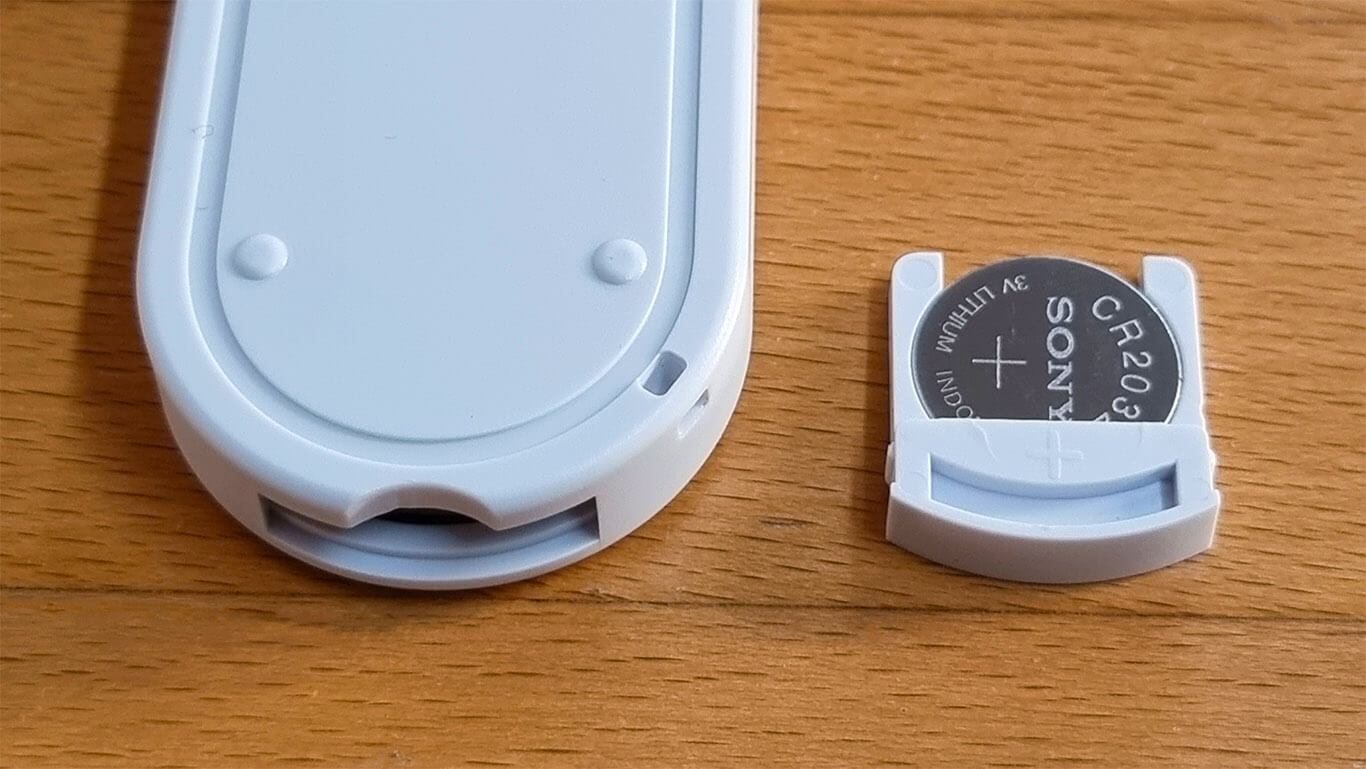
Battery can be easily replaced by sliding the bottom cap out with your finger. Tuya does not include a battery with this zigbee touch remote, you will have to supply it yourself. CR2032 [Amazon, AliExpress].
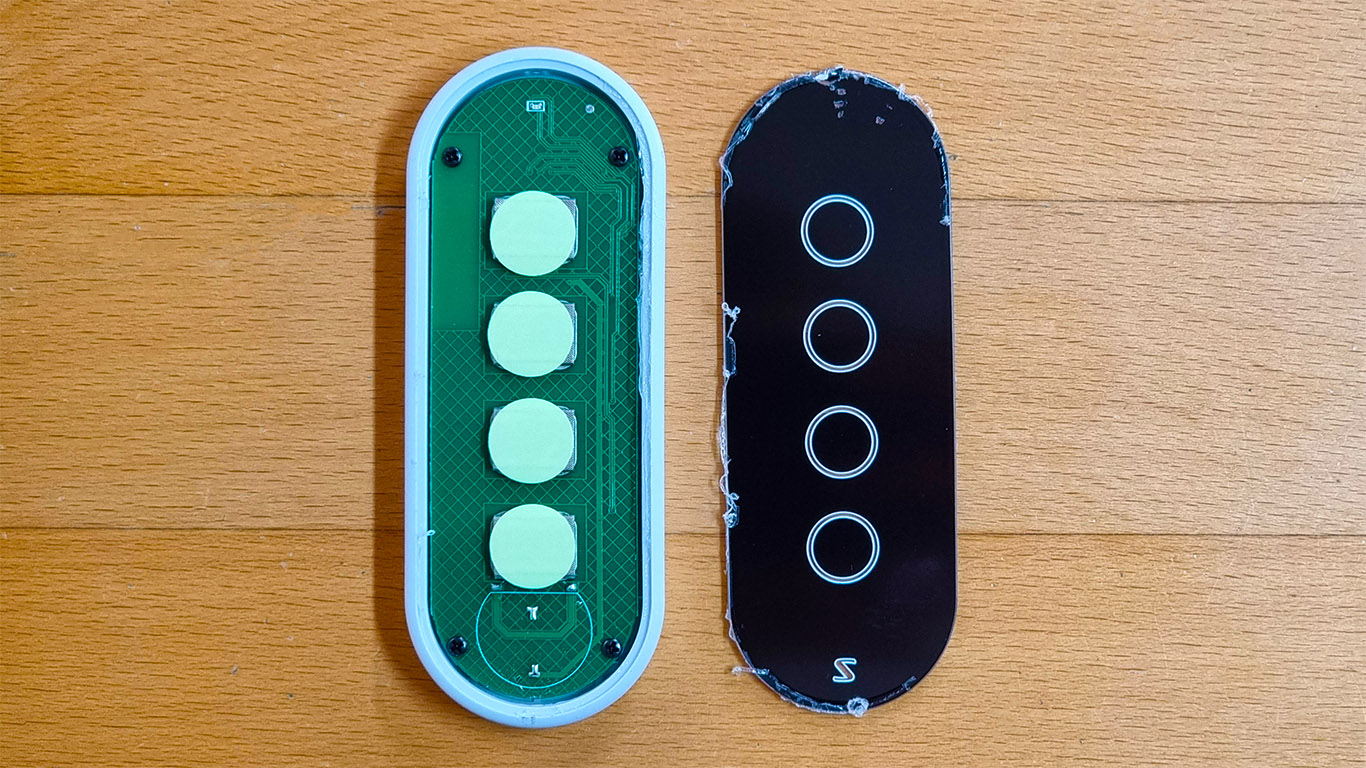
The front panel was tightly glued to the back case. I had some trouble prying it open without braking the thing. I damaged the panel coating from the backside while doing so, but no way was that gonna stop me from taking a peak inside.
Other than the buttons, there is nothing much to observe on the PCB considering this is a pretty simple device.
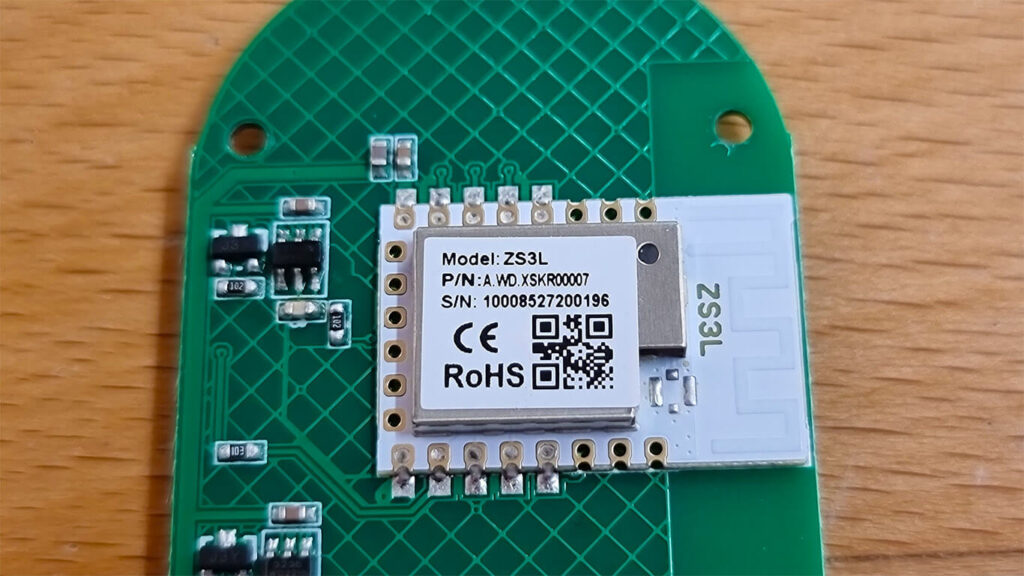
The Tuya 4-Button Touch Remote S011 is operated by a ZS3L Tuya [Datasheet] Zigbee Communication module, which is based on a 32-bit low-power Arm Cortex-M33 core, 768-KB flash memory, and 64-KB RAM, with rich peripherals. This module operates on channels 11 – 26@2.400-2.483GHz, 250 Kbit/s air interface rate.
This is the same Zigbee communication module powering the awesome Tuya ZY-M100 Human Presence Sensor.
Home Assistant Integration
ZHA
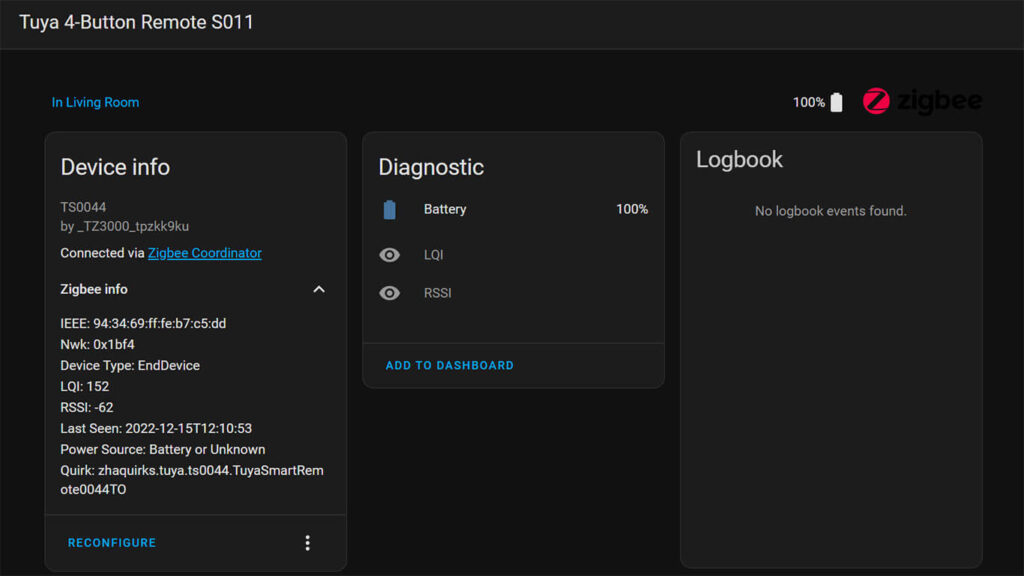
Once succesfully paired to your coordinator in ZHA, the device is identified as model TS0044 and zigbee manufacturer _TZ3000_tpzkk9ku. The only entities exposed are the battery info and signal quality. The button actions themselves are registered as a zha_event when clicked.
Automations
To create an automation when the remote is paired with ZHA, we need to capture the zha_event from the remote and use it as a trigger in the automations editor. The easiest way to do this is to navigate to the automation editor in Home Assistant:
- Create a new empty automation
- Under Trigger, select + Add Device
- Under Device, Select your Tuya 4-Button Remote
- Under Trigger, select a zha_event:
- “First_button” pressed, “Second_button” double clicked, “Third button” continuously pressed… etc.
- Add an Action for your Automation (eg. Turn On Light)
If you open the automation in YAML, you can see the trigger is populated along with device_id:
description: "Toggle light when 1st button is single pressed"
mode: single
trigger:
- device_id: 186578a33983b4108dbc4af8371e6752
domain: zha
platform: device
type: remote_button_short_press
subtype: button_1
condition: []
action:
- service: light.toggle
data: {}
target:
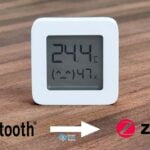
entity_id: light.element_lightsZigbee2MQTT
Once the Tuya 4-Button Touch Remote is paired to Zigbee2MQTT it is identified as model TS0044 and manufacturer _TZ3000_tpzkk9ku.
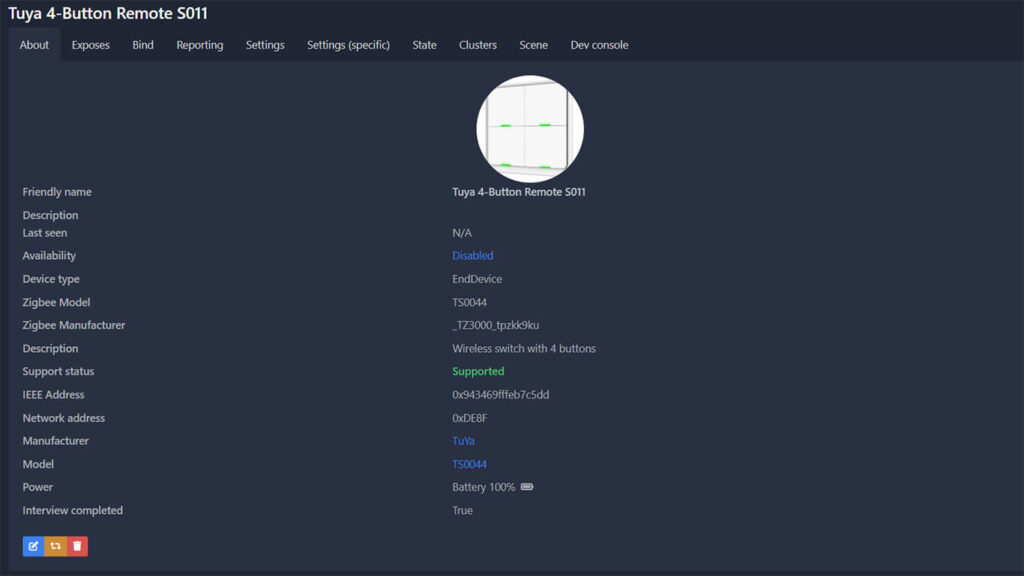
It exposes the following entities in Home Assistant through Zigbee2MQTT:
- sensor:
- battery: Battery Percentage %
- action: Entity for recording click actions
1_single, 1_double, 1_hold,
2_single, 2_double, 2_hold,
3_single, 3_double, 3_hold,
4_single, 4_double, 4_hold
- linkquality: Signal quality in LQI

Automations
Home Assistant officially recommends using MQTT Device Triggers to receive payload and trigger automations from these types of devices when using MQTT. This is a little more complex than the legacy way of doing things, which was the corresponding action was recorded as an entity attribute. You can read about the difference between the two methods in the official documentation of ZigBee2MQTT here.
In my previous review of the Loratap Zigbee 4-Button Remote, I provided an example with legacy triggers. Someone in the community asked me how to use MQTT triggers instead, so in this review the Automation will be using an MQTT trigger.
MQTT Device Triggers require device_id, discovery_id and subtype to be populated for an automation to successfully fire. These can be obtained from the Zigbee2MQTT dashboard or from the MQTT device list in Home Assistant, which can be a bit tedious.
Luckily, the automation editor automatically populates the device_id, discovery_id, subtype from the MQTT domain when selecting a device as a trigger. This is how it’s done:
- Open the Automation GUI Editor
- Start with an Empty Automation
- Under Trigger, click + Add Trigger
- Select Device
- Select the 4-Button Remote
- In the Trigger field, select any of the applicable:
- “1_single” action, “2_double” action, “3_hold” action… etc.
- Click the three dots in the corner, Edit in YAML
- The trigger is automatically set and the data populated:
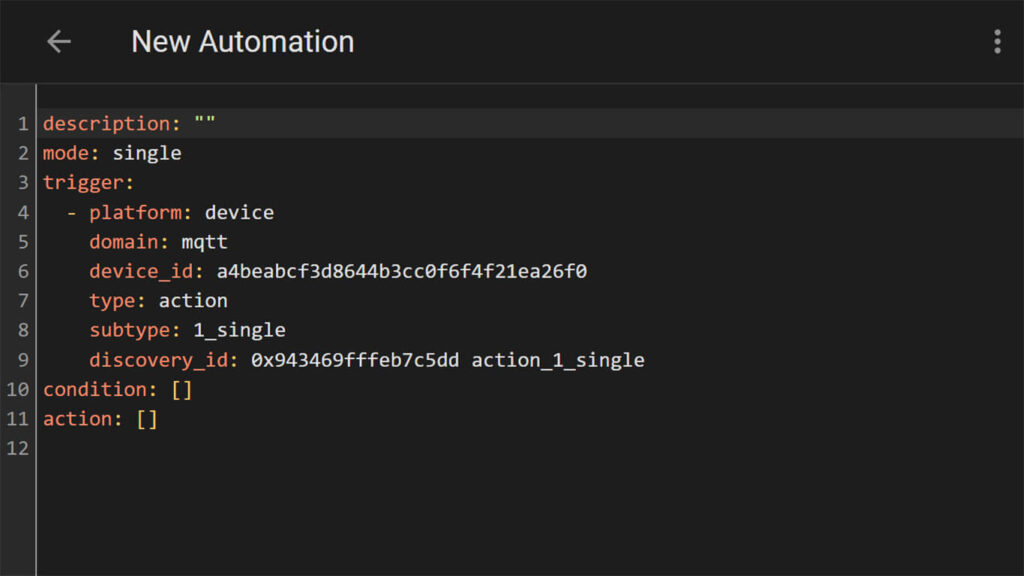
Now you just have to set the action to be executed when Button 1 is single clicked. You can continue to use YAML or go back to the visual editor using the three dots in the top right corner and set the desired action (eg. Turn on Living Room Light).
Verdict
The Tuya 4-Button Touch Remote is a good looking and glossy Zigbee remote. With the 12 available actions, you can trigger a bunch of automations or scenes within Home Assistant. In summary:
What I like about the device:
- Looks really good when sitting on your desk
- 12 different distinguishable actions (single, double & hold) for triggering automations
- Easily replaceable and common battery, CR2032 [Amazon, AliExpress]
- Easy to operate, feels slick in hand
- ABS Plastic is smooth and gentle
What I don’t like about the device:
- Battery not included
- I prefer the clicky buttons of the Loratap remote instead of touch buttons
- If you use it often, battery life will not be great
As far as quality of build and usability go, this is a fine gadget. Zigbee response is quick and stable, but very dependable of the quality of your mesh network. The touch button controls come down to personal preference. I like the haptic feedback more of the Loratap remote, so this touch remote will not be my daily driver.
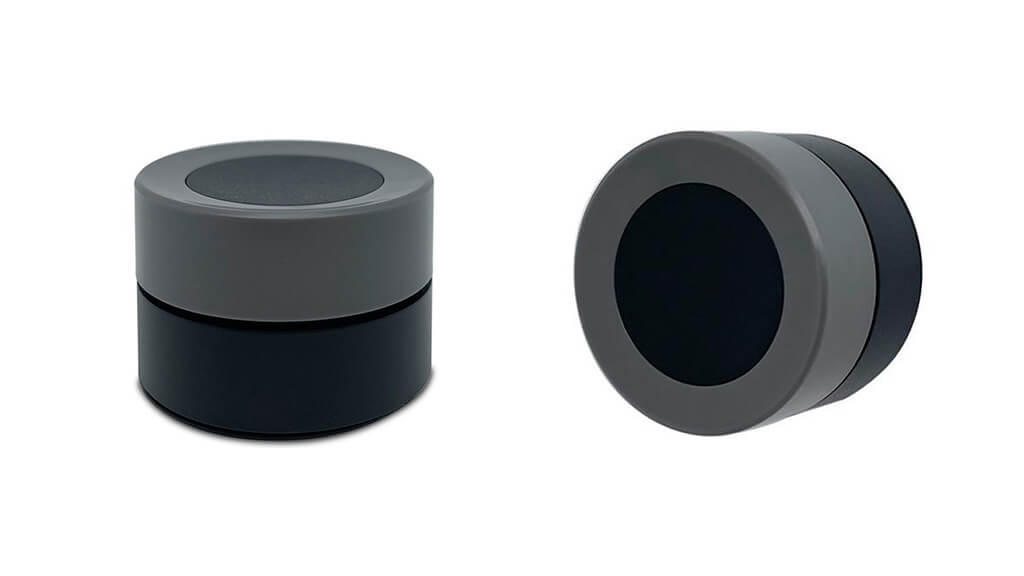
The Moes Smart Knob Remote is a great alternative, more suitable for dimming lights and controlling volume, anything with a step up or down setting. I wrote a detailed review of the device HERE.
Tuya 4-Button Zigbee Touch Remote S011
*N/A links will be added when available
Loratap 4-Button Zigbee Remote SZ6400ZB
*N/A links will be added when available
Moes Smart Knob Remote ERS-10TZBVK-AA
*N/A links will be added when available
If you decide to purchase any of these remotes, consider using one of our affiliate links above. Helps us keep the blog going and order new devices and gadgets for testing.


How water resistant do you estimate it to be? Do you think it could survive repeated wet-finger touches if mounted to a wall? I’m thinking media control for a speaker when in the shower. Obviously I would mount it away from direct water streams, but my fingers would be wet and it’s a high-humidity environment. Right now we use voice control but we have to scream at Alexa to be heard over the shower. It’s not ideal. Thanks
Hi Justin,
The touch panel itself is glued very very tightly, so no water or moisture will get in.
However, the battery compartment is not sealed and I think it will stop working at the slightest moisture. Maybe, if you seal it with hot glue or something?
I’m not sure.
The device is cheap enough to try it though.
Cheers
P.S. I LOLed at the alexa screaming 🙂
How to put this device in pairing mode?
ZigBee2Mqtt is not working for me…
Hello,
Hold the first button for ~5 seconds until the LED starts blinking.
Permit Join (All) on Zigbee2MQTT and the device should pair.
If you are still having issues, consider replacing the battery.
Cheers