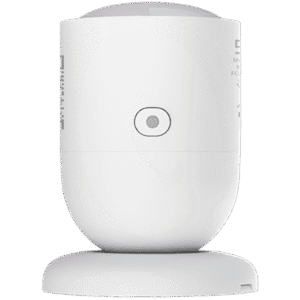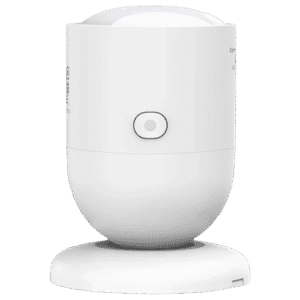
The Sonoff SenseGuard Presence Core SNWF-06P24 is a 24GHz mmWave presence sensor that connects to your smart home over Matter and Wi-Fi. On paper, it is the same sensor as the Sonoff SNZB-06P24 I reviewed earlier, down to the radar module. The difference is inside, where an ESP32-C6 replaces the Zigbee chip and runs Matter over Wi-Fi instead.
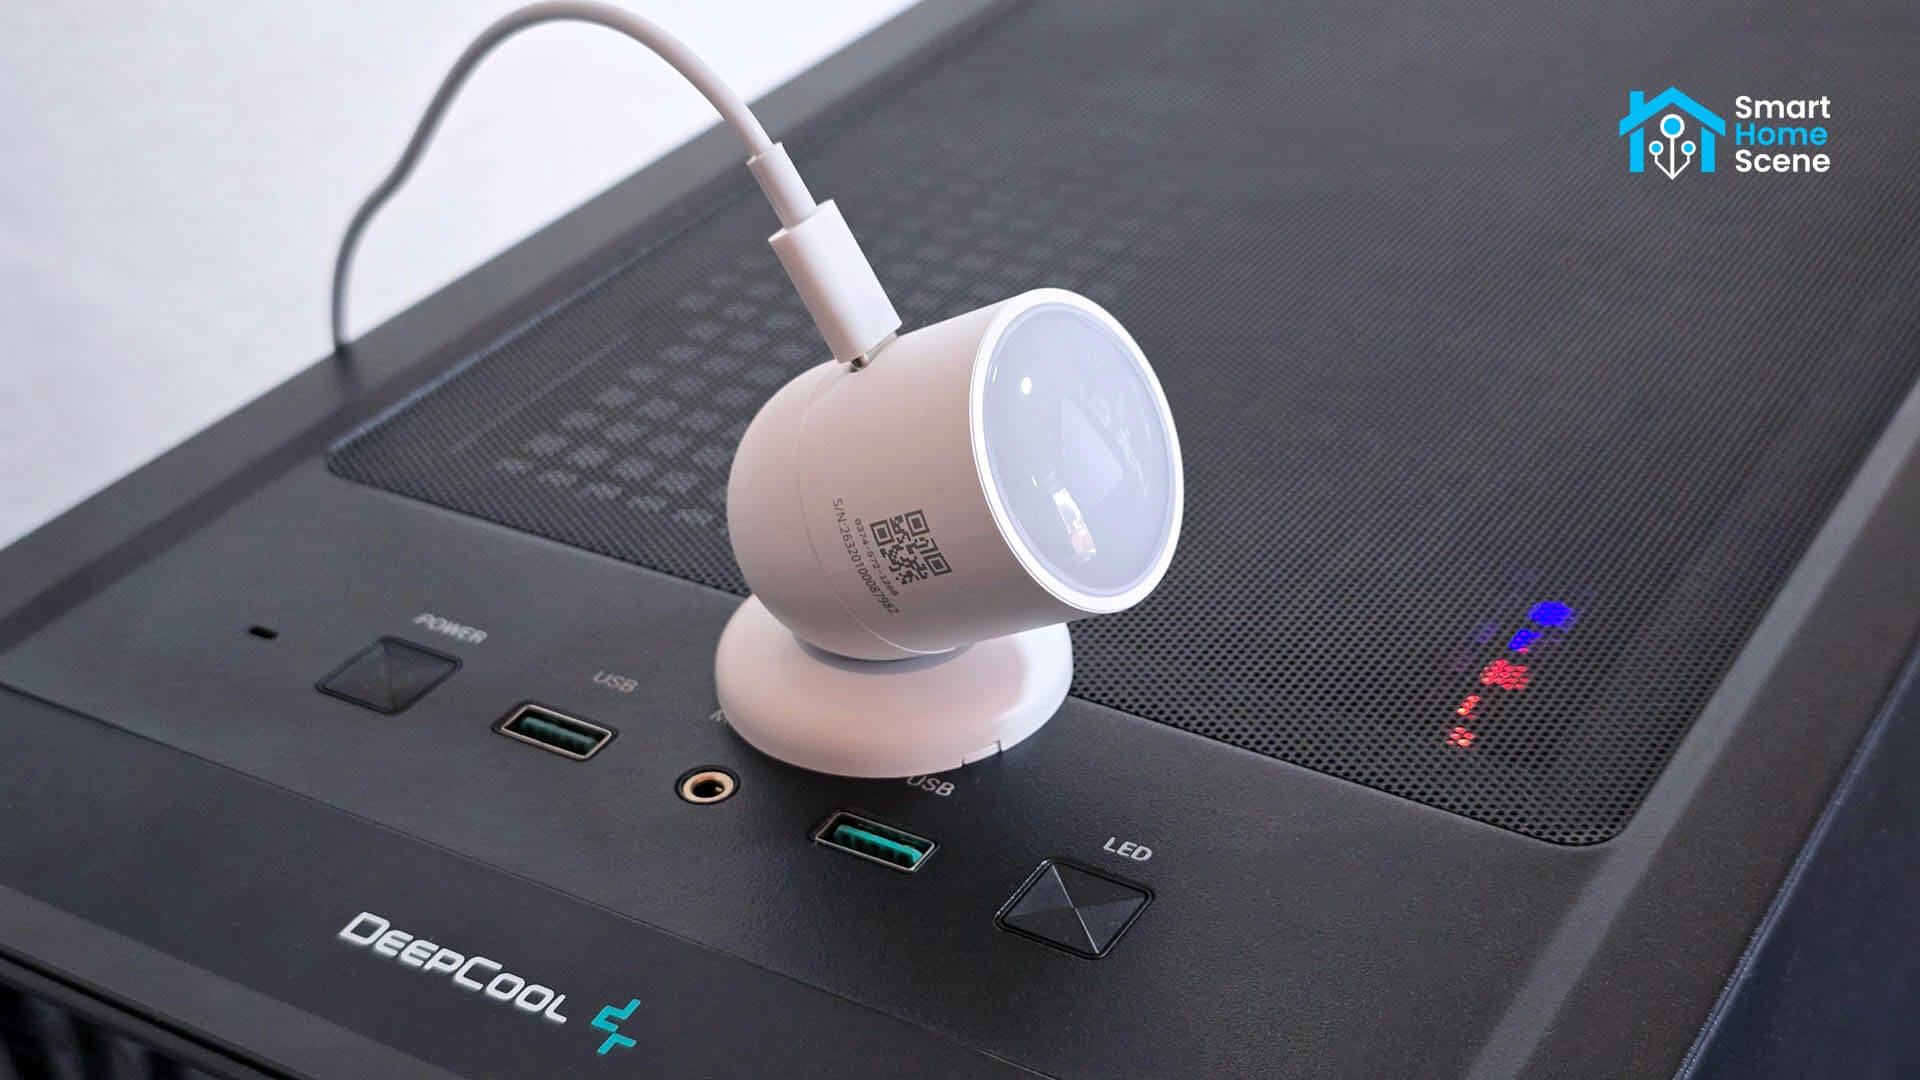
The SNWF-06P24 detects presence up to 4 m away and splits that range into 7 zones you can toggle individually. It also has an ambient light sensor that reports illuminance in lux, plus a spatial learning feature that filters out interference from fans and similar objects. Power comes through a USB-C port, so the sensor needs a constant 5V supply.
What sets it apart is the OpenEdge web console. It runs locally on the sensor, covers the settings Matter does not support, adds MQTT and lets you block cloud access completely. I paired it with Home Assistant over Matter without a phone, then tested it over MQTT as well, and I cover both methods in this review.
I bought the Sonoff SNWF-06P24 on AliExpress for $22, but it is also available Amazon US, Amazon DE, Amazon NL, Amazon UK, Amazon FR, Domadoo and the Sonoff Store.
Teardown and Package Contents
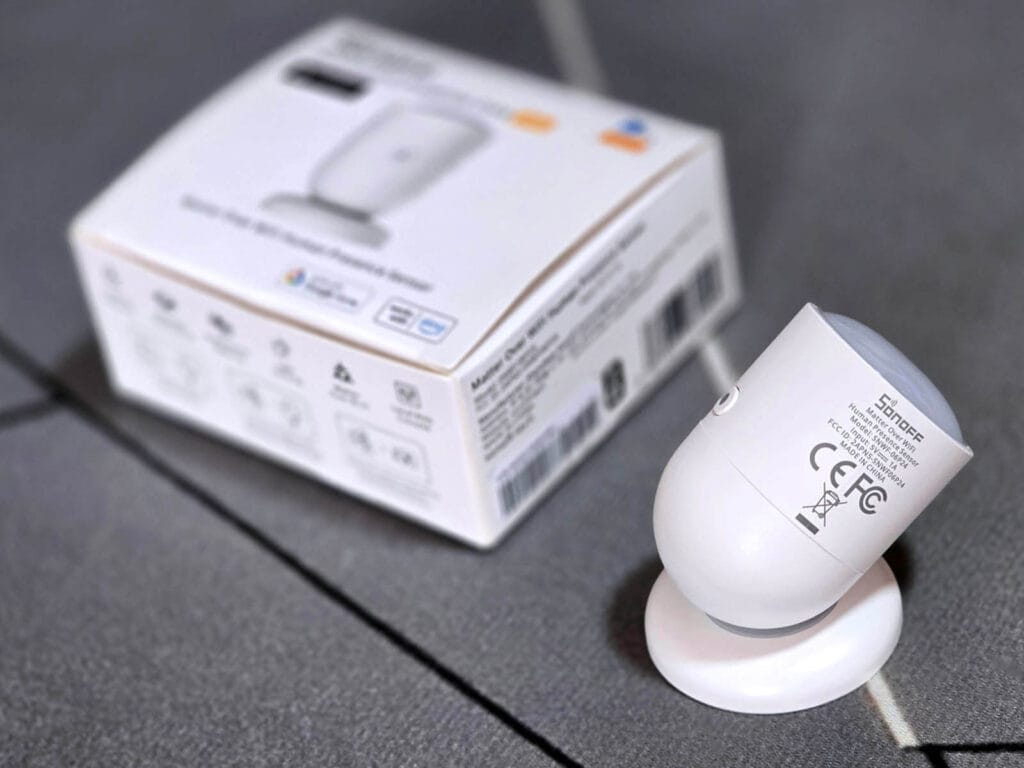
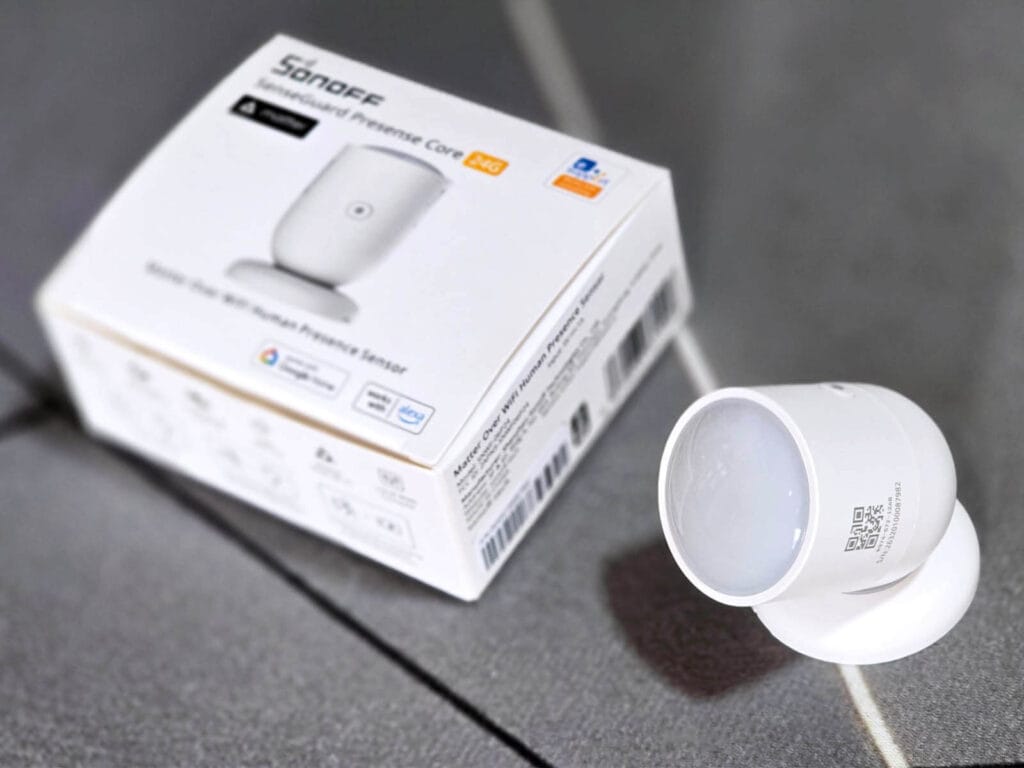
The Sonoff SNWF-06P24 ships in a small white box with the Matter logo printed on the front. Inside, you get the sensor, a round magnetic mounting base, a USB cable, screws with wall anchors, an adhesive pad and the user manuals. There is no power adapter included, so you will need your own 5V USB adapter.
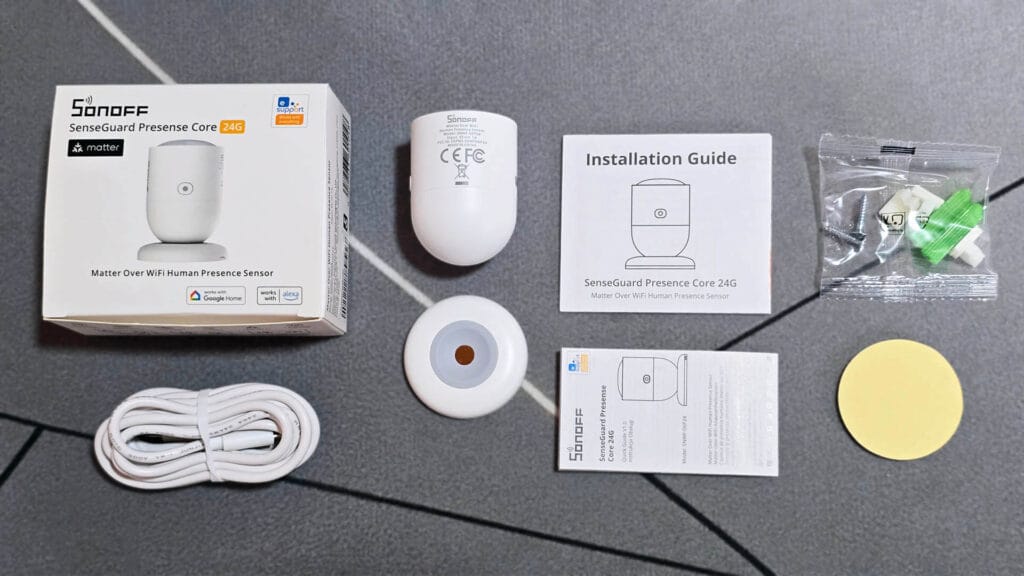
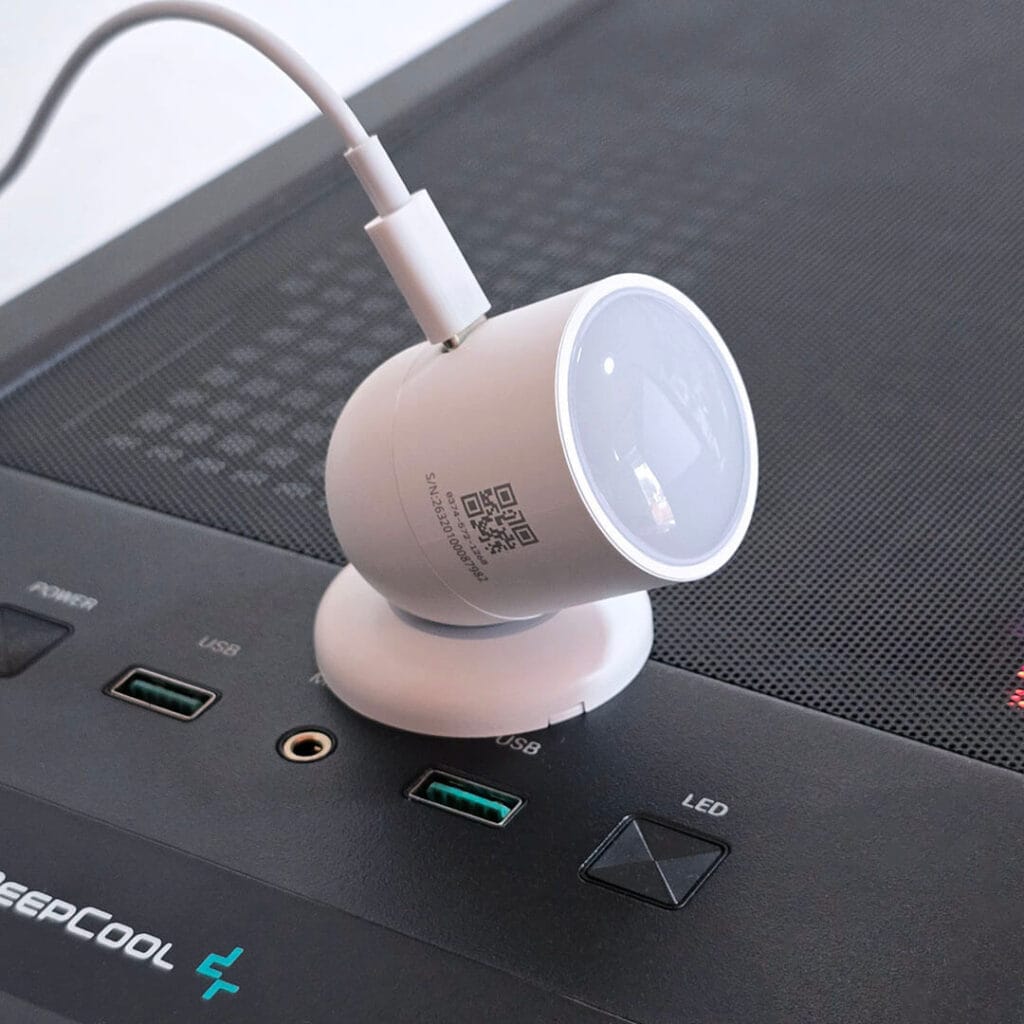
The sensor sits on its base through a swivel joint, so you can tilt and rotate it to aim the radar where you need it. The base can be fixed to a wall or ceiling with the included screws, or with the adhesive pad on flat surfaces. A QR code is also printed on the side of the housing.
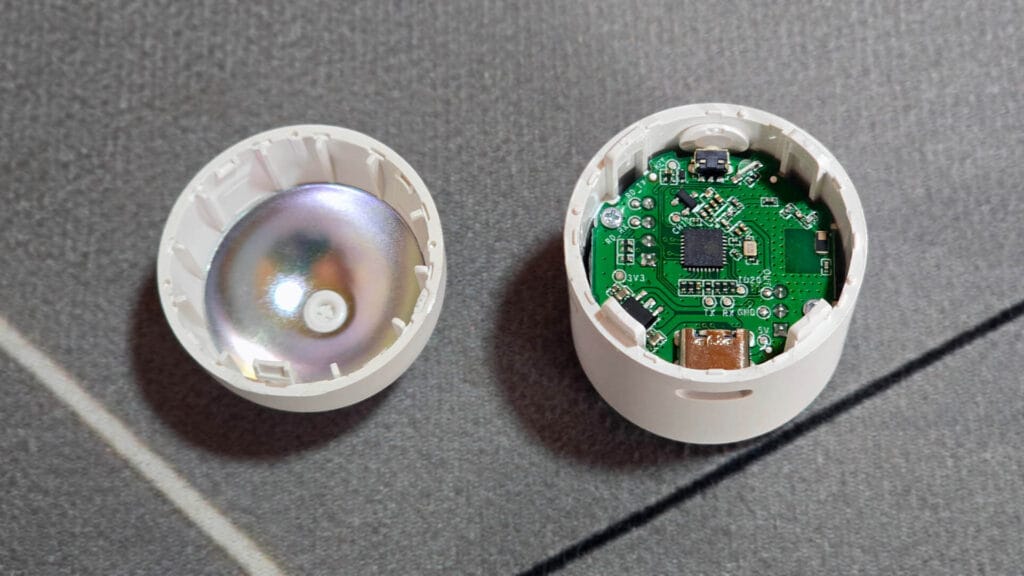
Removing the front cover exposes the electronics inside the housing. The cover is a plain plastic dome that sits in front of the radar, while the PCB stack fills the rest of the body. The inside of the rear shell has a metallic coating, which likely works as an RF shield that blocks radar energy behind the sensor and reflects it forward into the detection area.
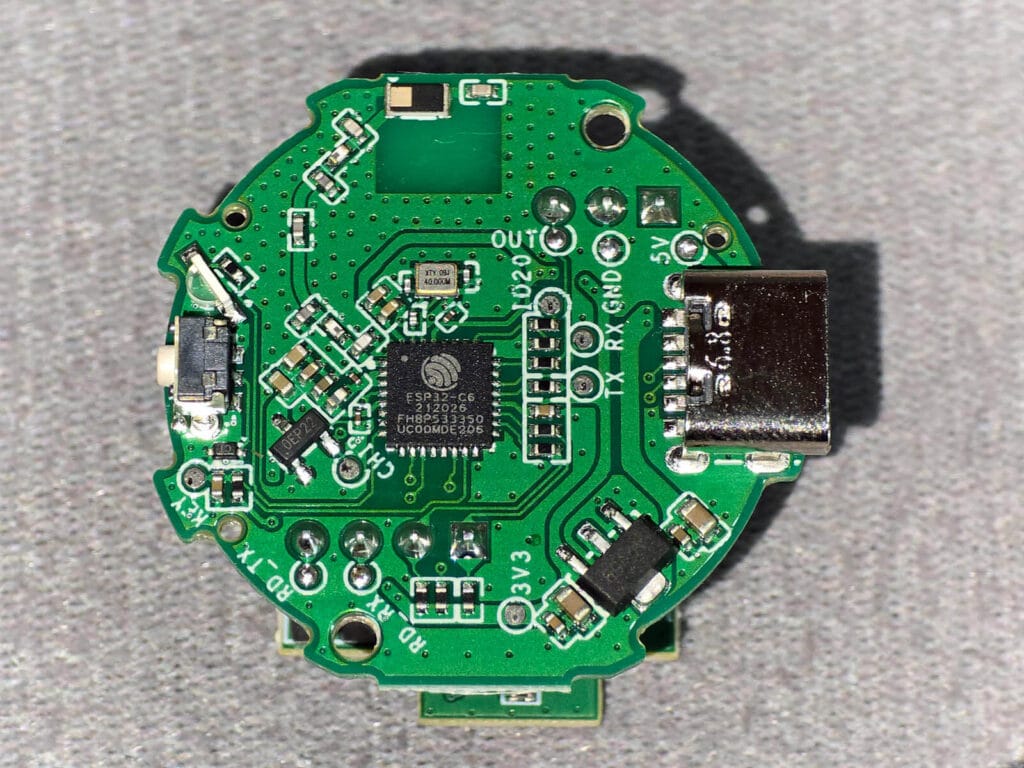
The main PCB is built around the Espressif ESP32-C6 [Datasheet], which handles both Wi-Fi and Matter on this sensor. The chip uses a PCB antenna printed along the top edge of the board, and the USB-C port is soldered directly onto the right side. For comparison, the Zigbee version (Sonoff SNZB-06P24) uses the Telink TLSR8656 [Datasheet] instead of the ESP32-C6.
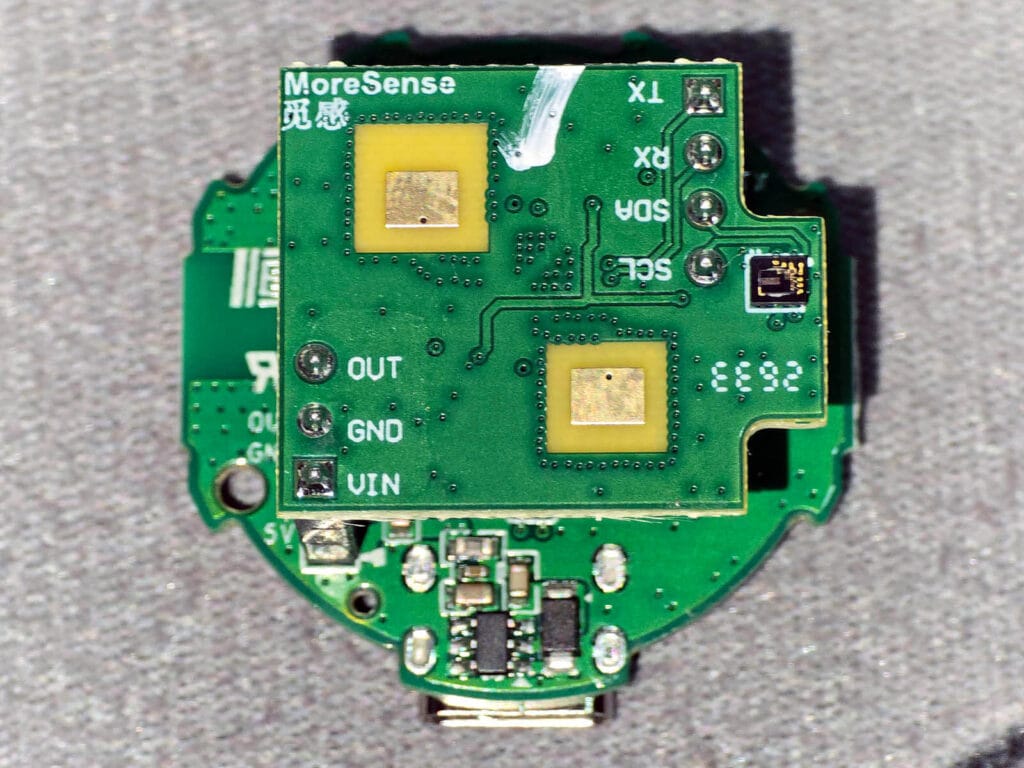
The 24GHz mmWave sensor connects to the main PCB via two pin headers. This mmWave radar is marked as model 2412S32, manufactured by Shenzhen MoreSense Technology. It’s part of their MS24 series and I’ve only seen it in the SNZB-06P24 Zigbee version.
Home Assistant Integration
Ever since I learned that you can add Matter devices to Home Assistant without a phone, I have used this method for every device I test. I no longer scan QR codes or deal with Thread credentials on my phone. Instead, I pair Matter devices directly through Home Assistant, using the onboard Bluetooth radio on my server.
You simply open the Matter Server app UI, click Commission node and select Commission new WiFi device. When prompted, enter the Matter pairing code manually instead of scanning the QR code. The device is added as a Wi-Fi node within seconds. Here is what the SNWF-06P24 looks like in the Matter Server app:
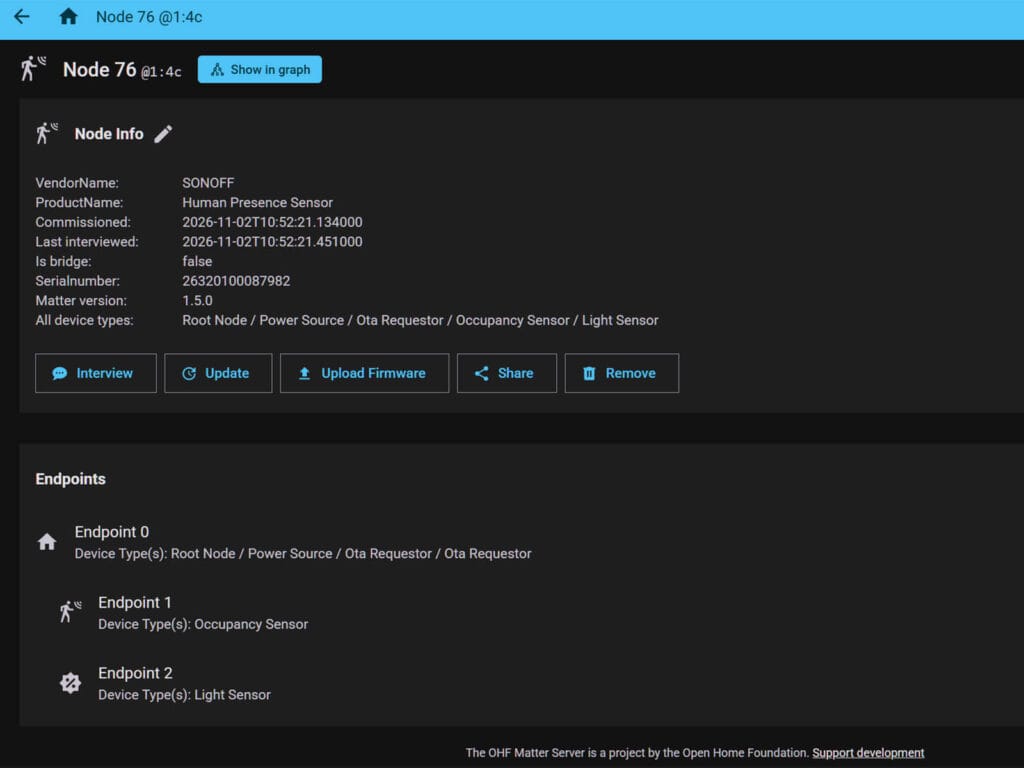
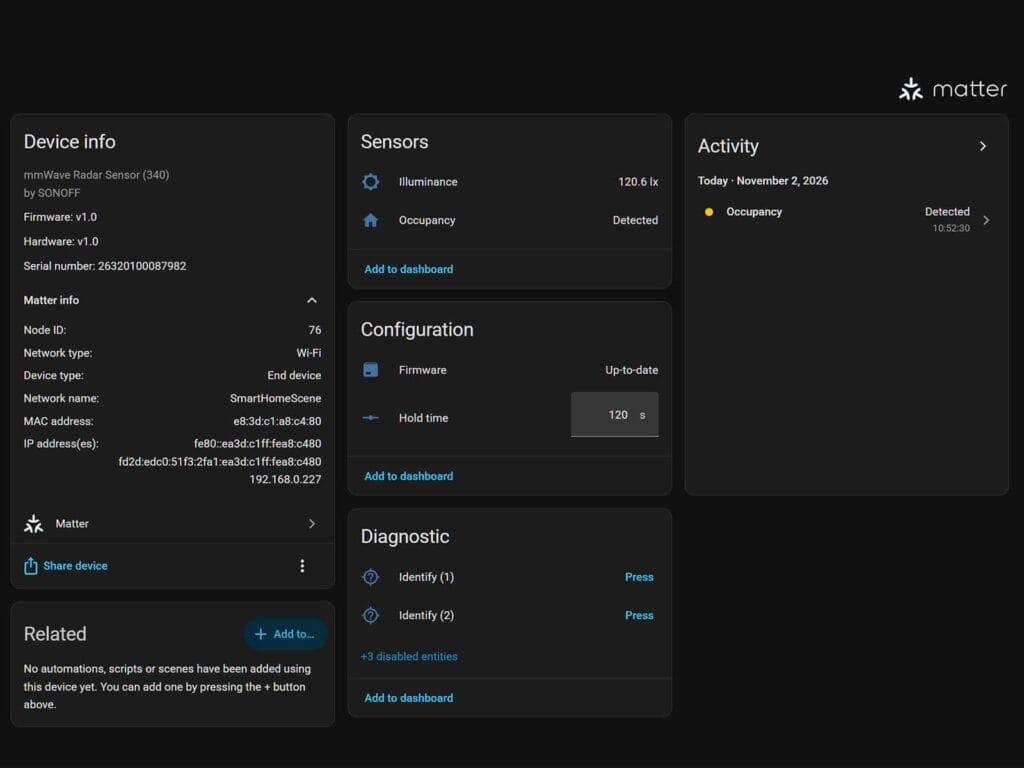
After I added the device to Home Assistant, it exposed an illuminance sensor and an occupancy sensor. I can also track the current firmware version and set the occupancy timeout. Beyond that, there is not much else to configure via Matter. Since the SNWF-06P24 doesn’t expose zone data as separate entities, there aren’t individual sensors for the zones.
Here’s what it looks like in Home Assistant via Matter:
Sonoff OpenEdge Web Console Configuration and Setup
Thankfully, Sonoff recognizes the limits of Matter at this stage of its development. Some configuration settings and features are simply not available over Matter yet, so you would normally need the eWeLink app to set them up.
This also completely defeats the purpose of Matter. After all, what is the point of Matter if I still need a brand app for setup and configuration? Matter as a standard promises to remove this need in the future, but until it does, there has to be a workaround.
This is why Sonoff developed the OpenEdge console.
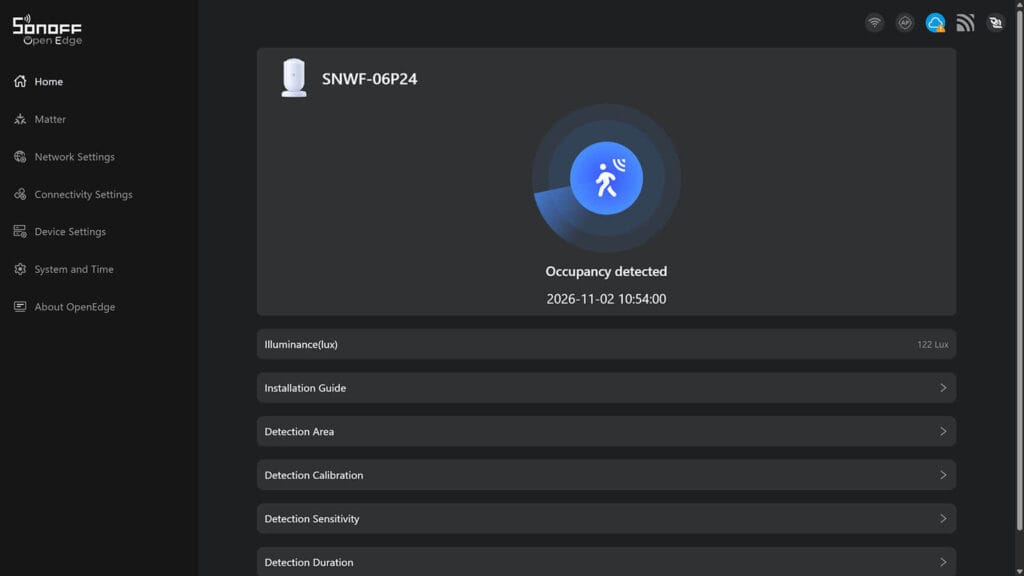
The OpenEdge console is a simple device dashboard that is accessible locally on your network. You can use it to configure Sonoff’s Matter and Wi-Fi devices without the app, and to connect them to your MQTT broker. It also handles OTA firmware updates, even for Matter devices like the SNWF-06P24.
Beyond that, the console shows a full overview of the sensor itself. The Device Info page lists the model, firmware version, IP address and MAC address, while Network Settings shows the connected Wi-Fi network, its signal strength (RSSI) and a fallback access point mode.
Under Device Settings, you can rename the sensor, change its mDNS hostname, turn off the network indicator LED and set an illuminance offset, along with access control, TLS configuration and device logs. The Matter page lets you reopen the pairing window and see which Matter fabrics the sensor is paired to, with an option to remove each one.
Detection Configuration and Calibration
There are four things you can configure for the Sonoff SNWF-06P24 in the OpenEdge web console when it comes to detection performance.
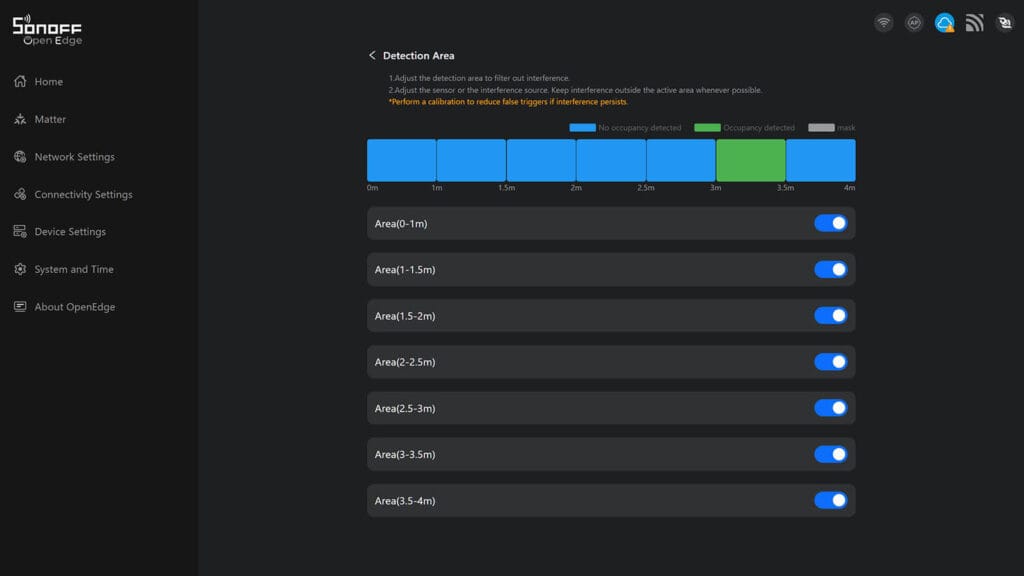
First, you can toggle each of the seven detection zones on or off. The first zone covers 0 to 1 m, and the rest are 0.5 m steps up to the full 4 m range. Above the toggles, a live bar shows which zone currently detects occupancy, so it is easy to find the zone where interference comes from and mask it.
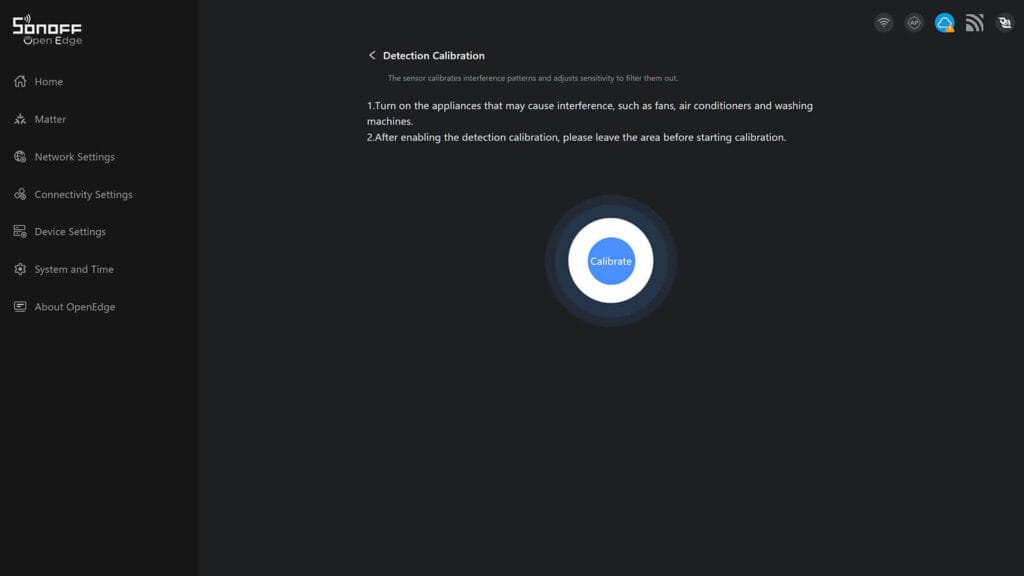
Second, you can run the detection calibration, which is the spatial learning feature. Before you start it, turn on any appliances that may cause interference, such as fans, air conditioners or washing machines. Then leave the room, and the sensor learns their motion patterns and filters them out automatically.
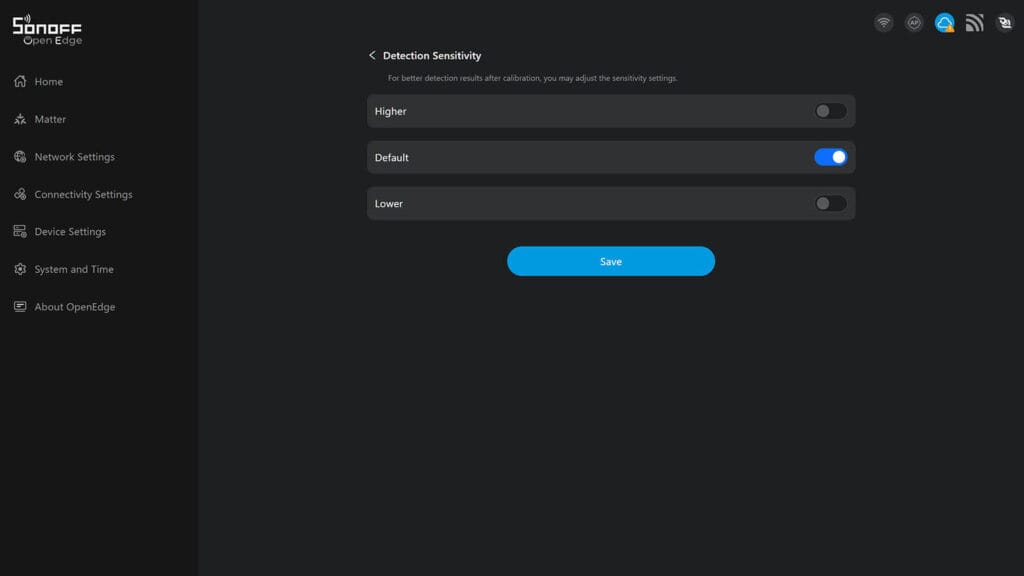
Third, you can adjust the detection sensitivity. The console only offers three levels here, Higher, Default and Lower. Over MQTT, however, sensitivity is a numeric scale from -6 to +6, the same as on the Zigbee version, which gives you much finer control. Sonoff suggests changing it after calibration and only if detection still needs fine-tuning.
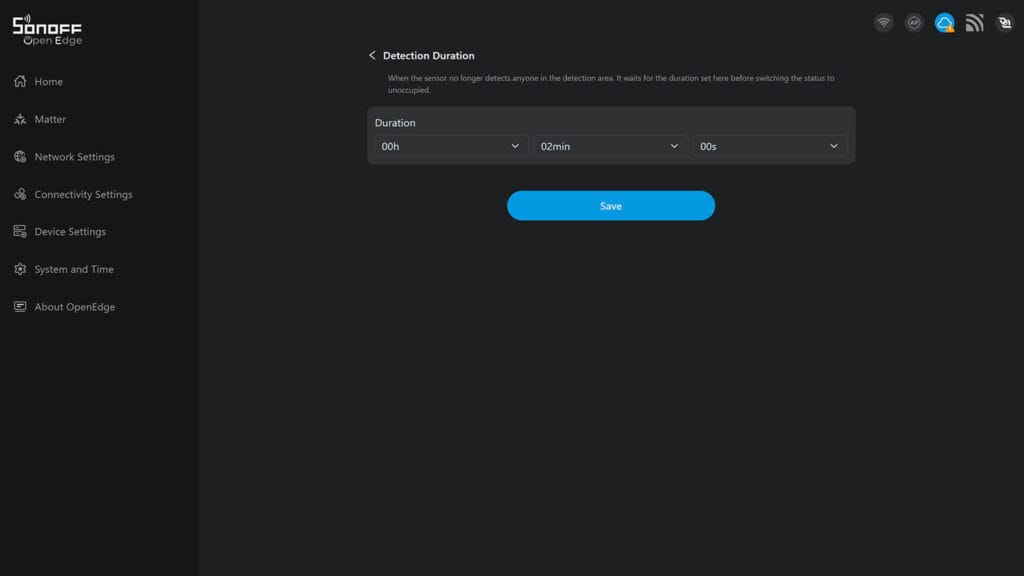
Finally, you can set the detection timeout, which the console calls Detection Duration. This is how long the sensor waits after it stops detecting anyone before it switches to unoccupied. You can set it in hours, minutes and seconds. My unit was set to 2 minutes out of the box, which I changed for my tests.
Updating the Firmware OTA
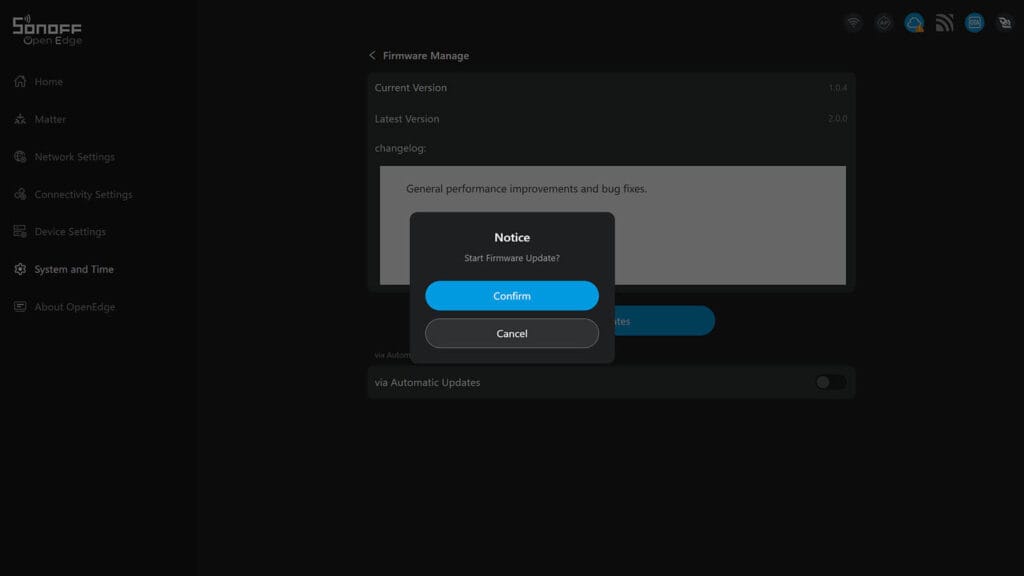
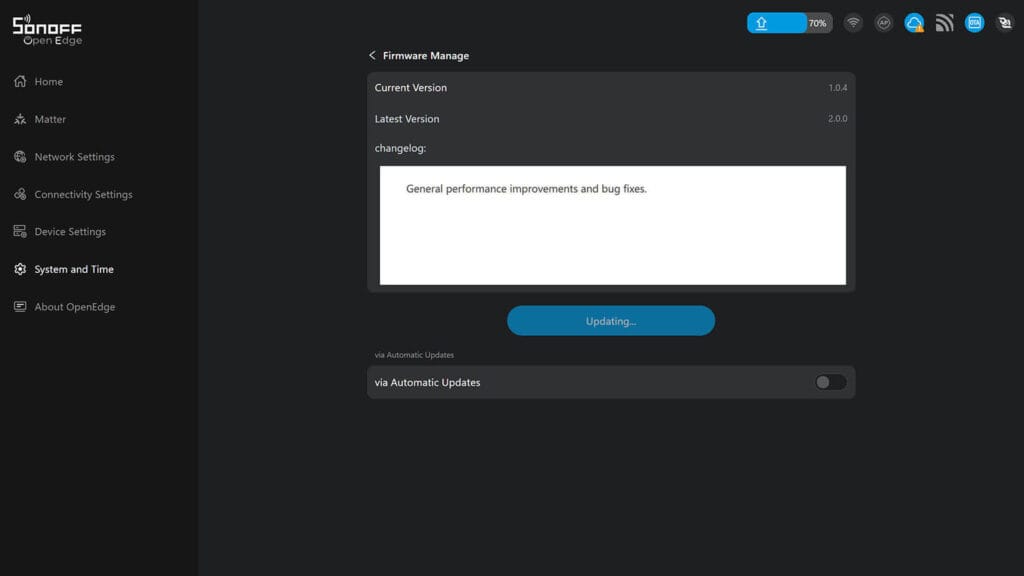
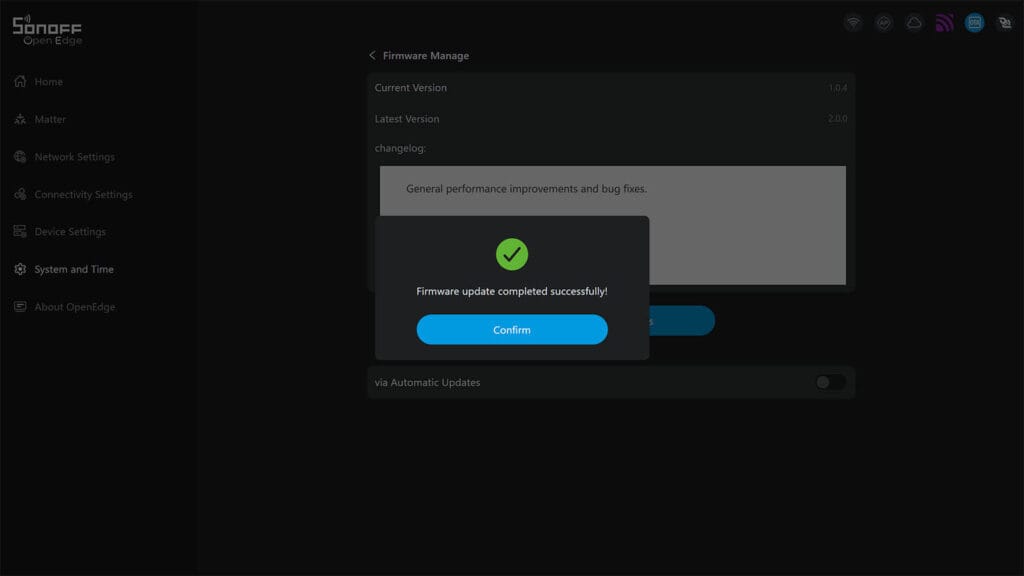
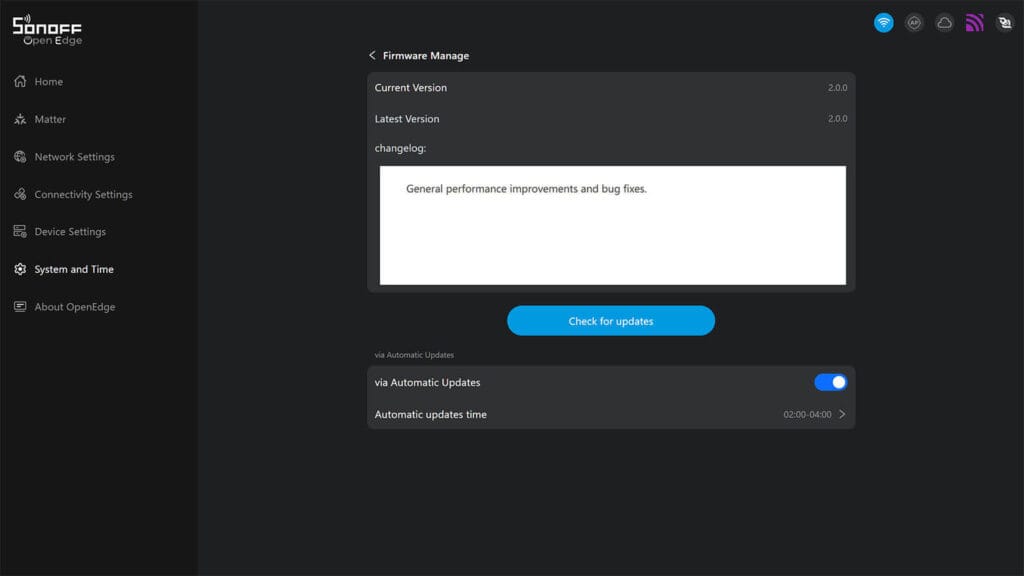
As I mentioned earlier, you can update the SNWF-06P24 firmware directly through the OpenEdge web console. To do this, go to System and Time, open Firmware Manage and click Check for updates. My sample shipped with version 1.0.4, and version 2.0.0 was available to download.
Here is what the whole process looks like:
Configuring MQTT for Home Assistant
To my surprise, the OpenEdge console also lets you configure MQTT on the Sonoff SNWF-06P24. If you run an MQTT broker such as Mosquitto or EMQX, the device can publish all of its data to it locally, without Matter or the eWeLink app.
You can find the MQTT menu under Connectivity Settings in the left pane:
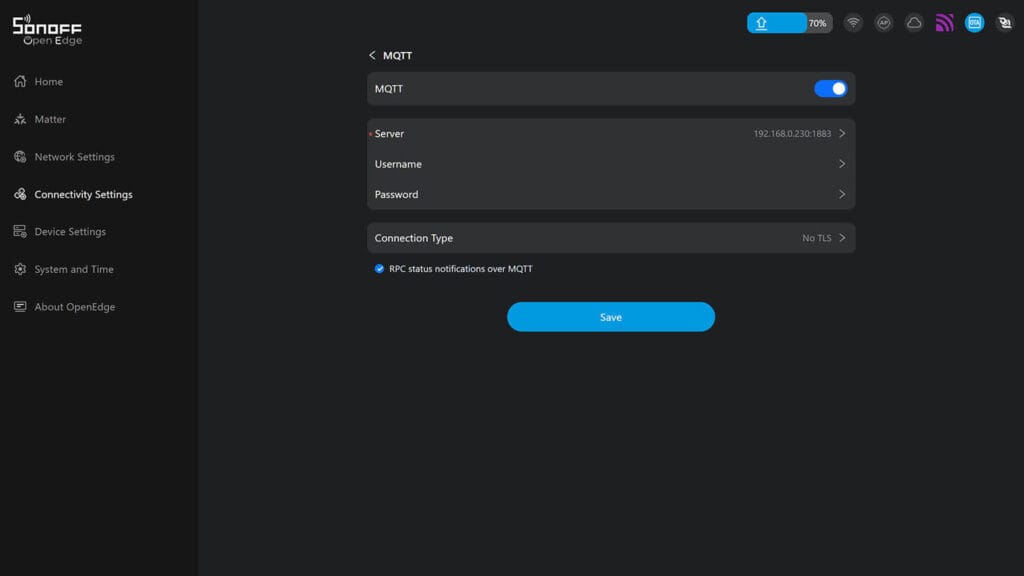
Interestingly, the device exposes more features over MQTT than it does over Matter. Again, this comes down to Matter not supporting some of these configuration parameters. It simply does not have the feature parity of mature integrations like MQTT or Zigbee2MQTT yet. Sonoff rightly took advantage of this and exposed everything the SNWF-06P24 has to offer over MQTT.
Here is what it looks like on my Home Assistant server running Mosquitto MQTT:
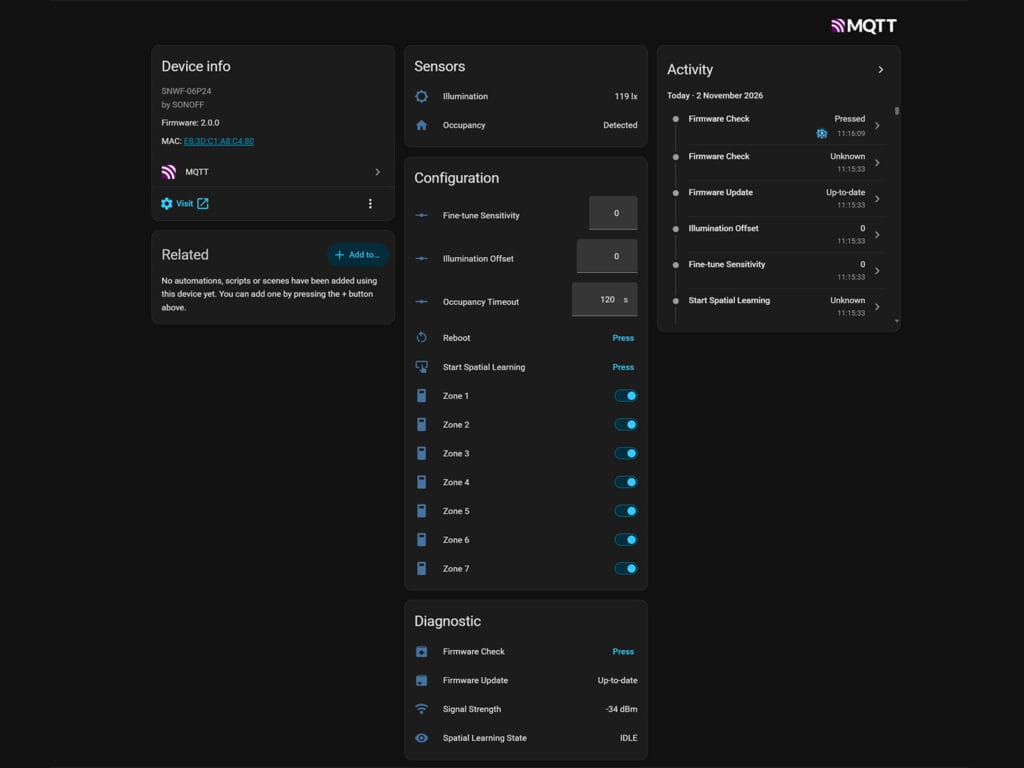
Over MQTT, Home Assistant gets the same illuminance and occupancy readings as over Matter, along with the settings Matter leaves out. I can adjust the sensitivity on a scale from -6 to +6, add an illuminance offset and set the occupancy timeout. I can also turn off individual detection zones and check for firmware updates remotely.
The spatial learning feature is available over MQTT as well. I can start it from Home Assistant and monitor its status as it runs. It filters out interference from objects with regular motion, such as PC fans and moving curtains. Finally, there is a reboot button, which helps if the device ever gets stuck.
Cutting the Cloud Entirely
The Connectivity Settings menu has three submenus in total. The first is MQTT, the second is Outbound WebSocket Settings, and the last and most important one is a simple Cloud toggle. I already covered MQTT above, and it is indeed a great feature on this device.
The Outbound WebSocket option makes the sensor connect to a server you specify and keep that connection open. The server can then send commands to the device and receive its state updates in real time, with optional TLS encryption. This is useful if you run a custom backend, but for Home Assistant users MQTT or Matter is a better choice.
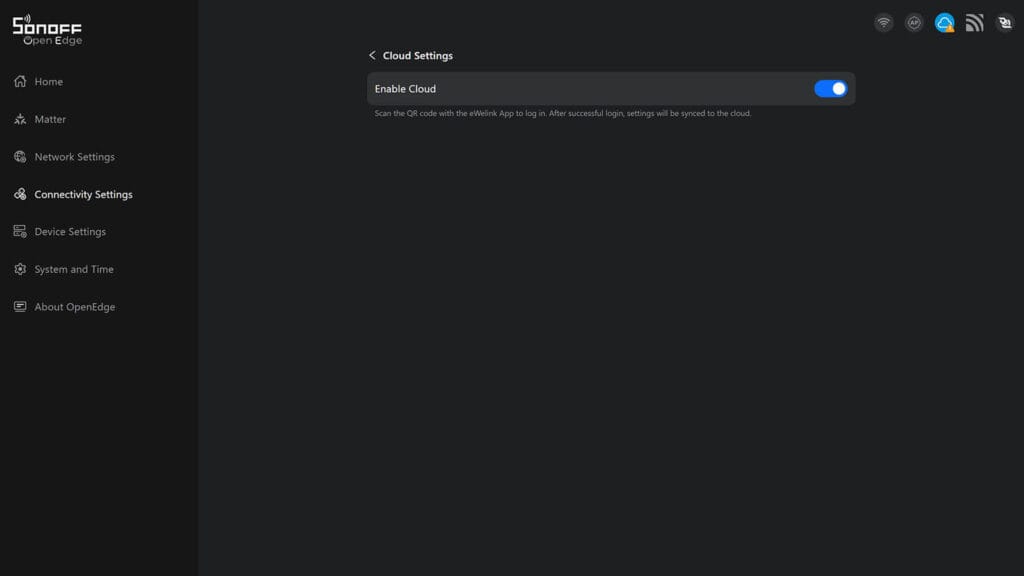
Finally, the Cloud toggle completely blocks the sensor from communicating with Sonoff’s servers. Cloud access is enabled by default if you paired the device with the eWeLink app, so it is handy to have a local switch to shut it off. For good measure, you can also give the sensor a static IP address and block its internet access in your firewall.
Detection Performance Testing
I mounted the SNWF-06P24 on top of my PC case, facing the rest of my office, which is the same spot I use for every mmWave presence sensor I test. The room has no ceiling fans, curtains or other moving objects that could interfere with the radar. I ran the spatial learning calibration with the room empty anyway, then followed every result live in the OpenEdge console.
Range and Detection Zones
To check zone masking, I turned off zones 4, 5 and 6, which cover the 2 to 3.5 m range, and sat still about 2.5 m from the sensor. The zone bar in the console confirmed the masked area, and the sensor stayed clear the whole time with no false triggers.
When I turned those zones back on, detection worked normally again. However, the sensor only picked me up after I stepped out of the area and walked back in, so keep that in mind when you test zone changes.
Stationary Presence Detection
Stationary detection is very reliable up to about 3.5 m. With sensitivity set to Higher in the console, I sat still at 2 m and then at 2.5 m, and the sensor never dropped to clear. At 3 to 3.5 m it still held the occupied state consistently, even with a 15 second timeout.
Beyond 3.5 m, detection becomes less consistent. Sitting completely still at 4 m caused occasional false clears, and I saw the same result from two different mounting positions. One position caused it more often than the other. Since there are no interference sources in the room it overlooks, I put that down to the tilt of the sensor head.
Raising the sensitivity helps at this distance, but remember that spatial learning is tuned to the sensitivity level that was active when it ran, so run the calibration again after any sensitivity change. In practice, about 3.5 m is the limit for reliable detection of a completely still person.
Trigger and Occupancy Clearing Time
The sensor runs on USB power and is always on, so there is no sleep cycle to wait through. Waving a hand or walking into the room switches it to occupied in about half a second. The clearing time is just as precise. I set the timeout to 15, 30 and 60 seconds in the OpenEdge console, and each time the state cleared at exactly the set interval.
Sonoff SNWF-06P24 vs SNZB-06P24
The SNWF-06P24 and the SNZB-06P24 are the same sensor in two versions. They share the housing, the MoreSense 2412S32 radar module, the 7 detection zones and spatial learning. The real difference is the main chip and the protocol it runs, which changes how each one connects to Home Assistant.
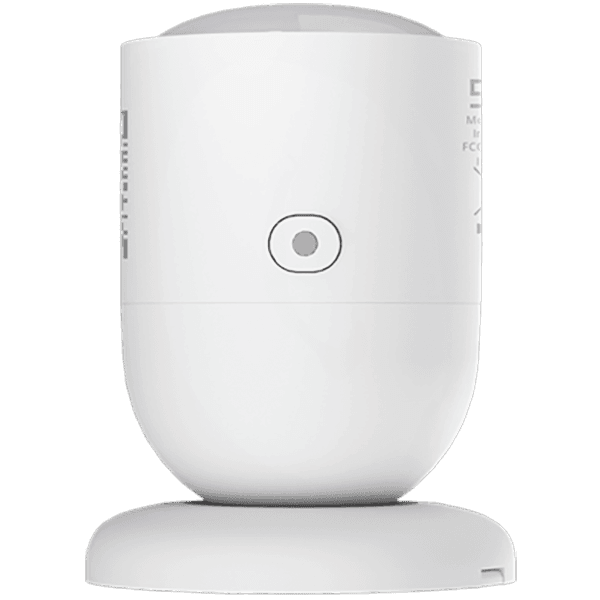 SNWF-06P24 | 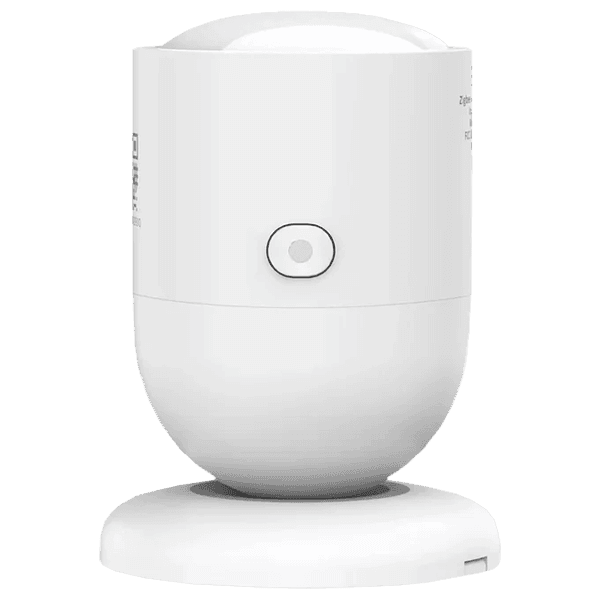 SNZB-06P24 | |
|---|---|---|
| Protocol | Matter over Wi-Fi | Zigbee 3.0 |
| MCU | ESP32-C6 | Telink TLSR8656 |
| Radar module | MoreSense 2412S32 | MoreSense 2412S32 |
| Radar frequency | 24GHz | 24GHz |
| Detection range | 4 m | 4 m |
| Detection zones | 7 | 7 |
| Sensitivity | -6 to +6 (MQTT) | -6 to +6 |
| Spatial learning | Yes | Yes |
| Ambient light | Lux | Lux |
| Power input | 5V/1A, USB-C | 5V/0.5A, USB-C |
| Mesh role | None | Zigbee router |
| Home Assistant | Matter, MQTT | Zigbee2MQTT, ZHA |
| Dimensions | 44.2 x 44.2 x 59 mm | 44.2 x 44.2 x 59 mm |
| Weight | 34.5 g | 34.5 g |
| Price | $24.90 | $24.90 |
The Zigbee SNZB-06P24 runs on a Telink TLSR8656 and pairs with Zigbee2MQTT or ZHA, although ZHA needs a custom quirk for the advanced settings. It also acts as a Zigbee router, so it strengthens your mesh network. On the other hand, the SNWF-06P24 runs on an ESP32-C6 and joins Home Assistant over Matter, while MQTT and the OpenEdge console cover everything Matter leaves out.
Both sensors cost $24.90, so the choice comes down to your network and integration preference. If you already run a Zigbee coordinator, the SNZB-06P24 is the simpler pick and keeps the traffic off your Wi-Fi. If you do not use Zigbee, or you want local MQTT control without a hub, the SNWF-06P24 is the better option.
Verdict
The Sonoff SNWF-06P24 is basically the same device as the SNZB-06P24, with Matter over Wi-Fi in place of Zigbee. It handles presence detection quite well, and the 7 detection zones and spatial learning are handy features that make it easy to tune the sensor for your room.
The real highlight is the OpenEdge web console, which is an excellent addition. It runs locally on the sensor and covers the gap Matter leaves, so you can calibrate detection, update the firmware, set up MQTT and block the cloud without ever opening the eWeLink app. As a result, you can do much more with this sensor than Matter alone allows. Honestly, I would like to see more Matter devices ship with something like it, at least until Matter catches up.
If you prefer Matter, the SNWF-06P24 is a great pick. If you are a Zigbee user like me, the SNZB-06P24 is just as good and works perfectly with Zigbee2MQTT, and with ZHA once you apply the custom quirk. For a broader look at the options across protocols and price points, check out my best and worst presence sensors for Home Assistant article. Here’s where you can get both: