
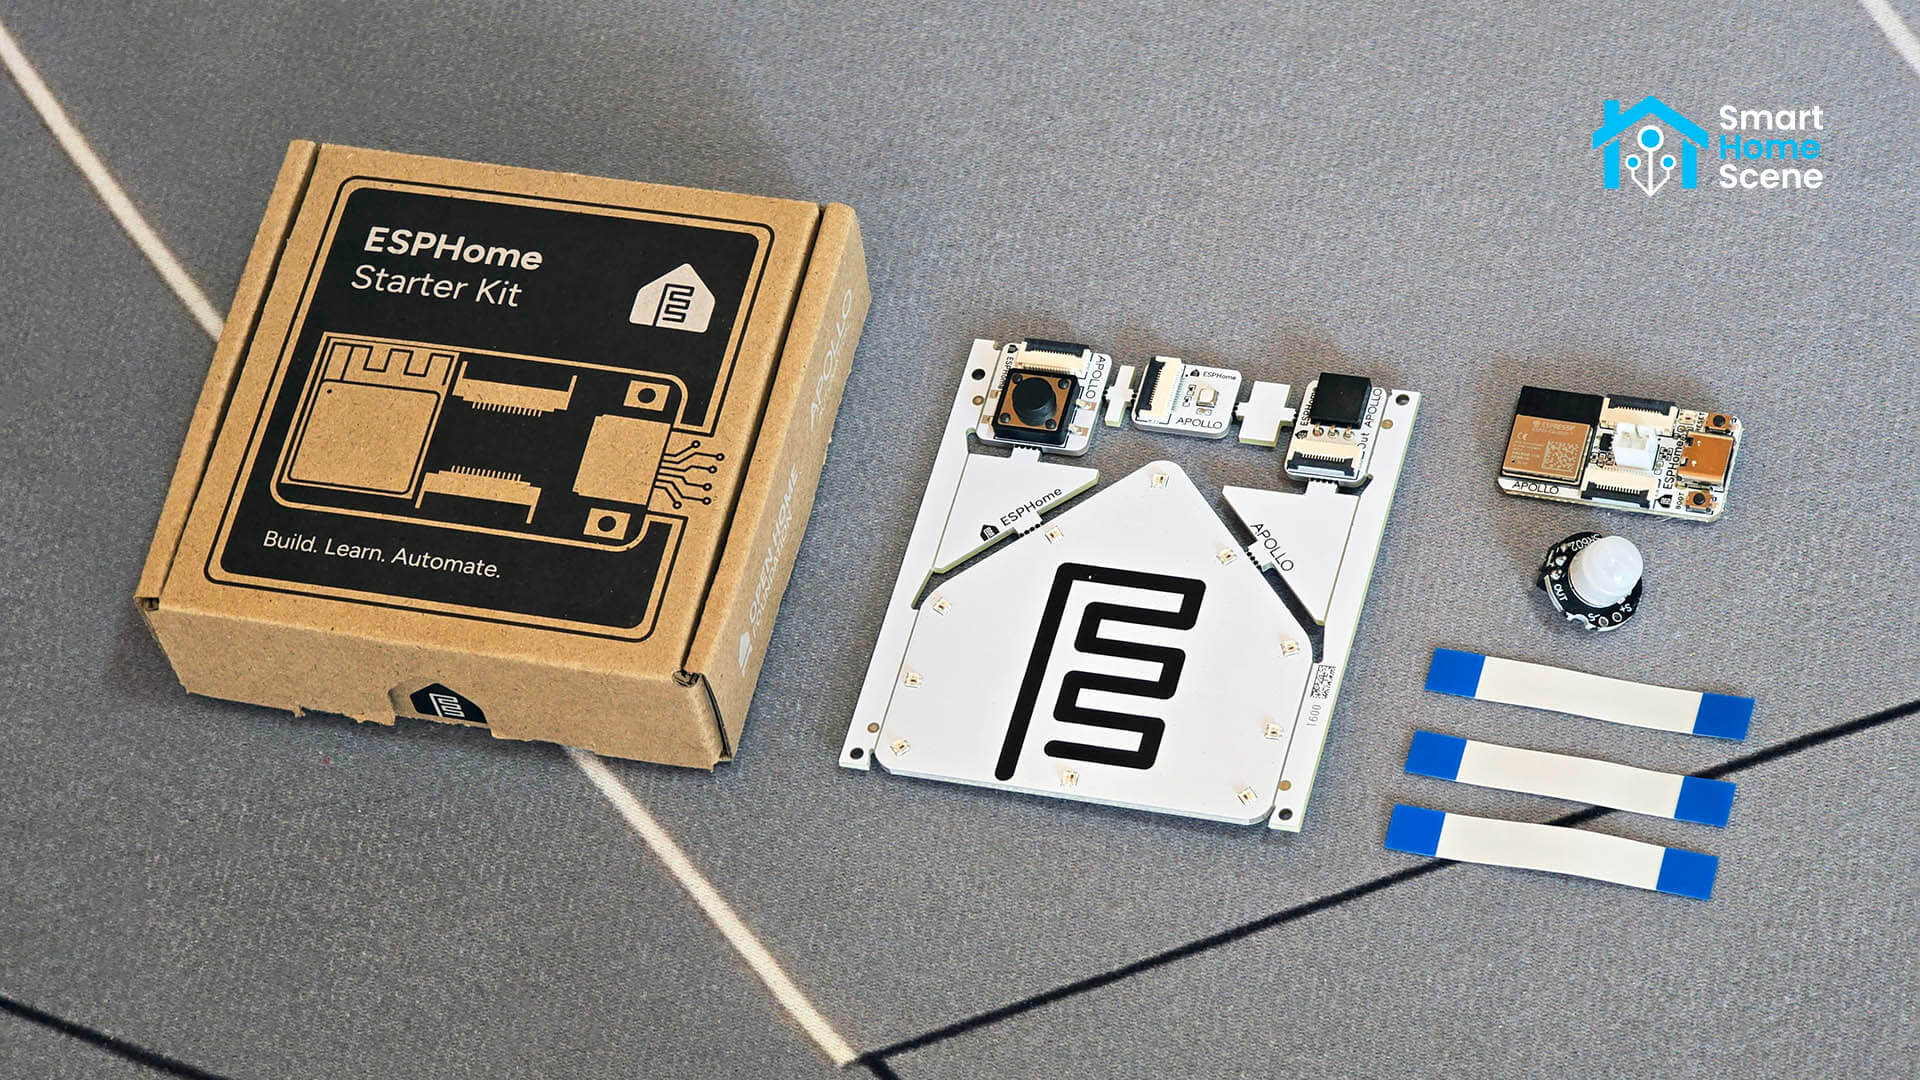
Apollo Automation just announced their new ESPHome Starter Kit, and I have one sitting on my desk right now. It is a DIY package built for one purpose. It teaches you ESPHome by letting you build custom ESP32 devices without a soldering iron or a breadboard.
I have covered a lot of Apollo devices on this site, from the powerful R PRO-1 Multisensor to the AIR-1 air quality monitor. This kit is a different kind of product. It is not trying to be the best sensor for a specific job. It was made to get people started with ESPHome itself, and I think that is worth talking about on its own.
What Is the Apollo ESPHome Starter Kit
The Apollo Automation ESPHome Starter Kit is a small ecosystem built around the ESP32-C6-MINI-1. That chip supports Wi-Fi, Bluetooth Low Energy, Thread, and Zigbee, for people who want to dig into that later. It is the first Apollo product I have seen built on the C6 rather than the C3 or S3 chips used in most of their other devices.
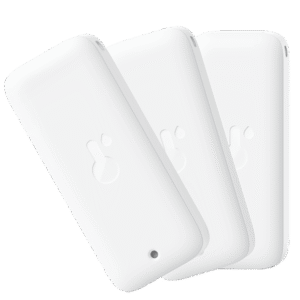
Four small modules plug into that main board using a ribbon cable. No pins to line up, no wires to strip, no risk of frying anything by connecting something backward. You plug in a module, open the ESPHome Device Builder desktop app, and set it up in a visual editor. No YAML required to get started, though the option is always there once you want it.
Apollo built this kit as an entry point into ESPHome and Home Assistant as a whole. The kit works completely standalone if you just want to mess around with it, or it connects to Home Assistant for deeper automations and testing. Everything runs locally. No cloud, no account, no subscriptions.
Who Is the Apollo ESPHome Starter Kit For
This is not a kit for someone who already has a drawer full of ESP32 boards and jumper wires. If you have built your own devices before, like a presence sensor with an LD2410 and an ESP32, you already know most of what this kit teaches. It is for the person who wants to get into ESPHome but has been putting it off because soldering feels intimidating and because YAML looks like a wall of text that scares them away.
I often get comments from readers on my DIY projects who say they wish they knew how to solder. And because of that, I have always gone the extra mile of using Dupont or JST connectors wherever possible, just to skip the soldering part. I get it, soldering is not for everybody. This kit answers that question directly. You do not need to know what a GPIO pin is, and you do not need a soldering iron. You plug in a module, follow the visual editor, and you have a working device in minutes.
It is also a good option if you are new to Home Assistant altogether. A lot of people jump straight into buying sensors and switches without ever touching the software side of things. Building something small with this kit teaches you how entities, automations, and integrations actually work, before you start spending real money on a full Zigbee or Z-Wave setup.
What’s in the Box and What Can You Build
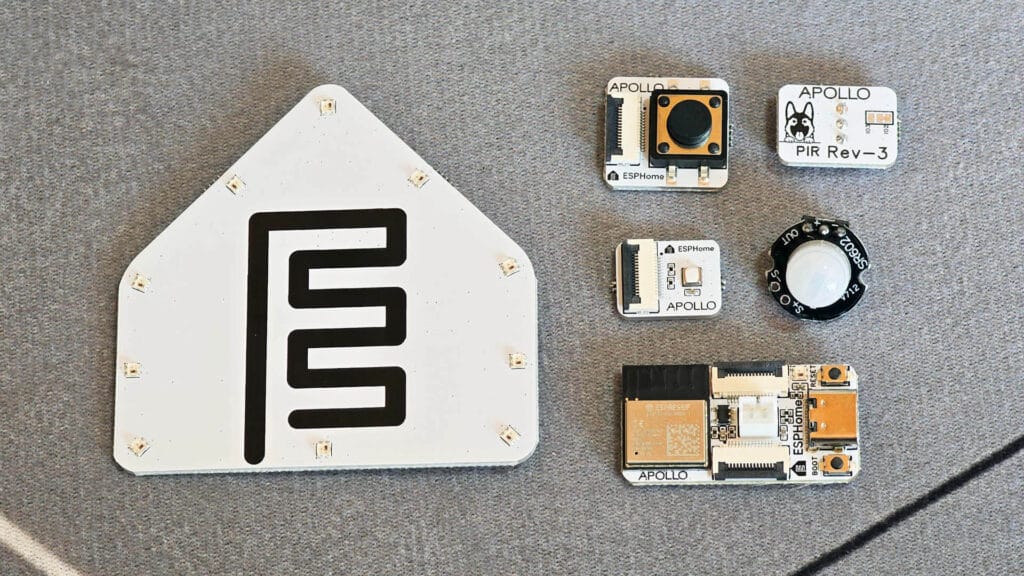
The base kit includes the ESPHome C6 Board, the module board that holds the button, temperature and humidity, and Casita modules, a separate PIR module, three FPC ribbon cables, and a stand for the Casita module. That covers everything needed to get all four modules running out of the box. If you do not have a spare USB-C cable lying around, you can also grab one from Apollo directly at checkout, along with a wall charger if you need one.
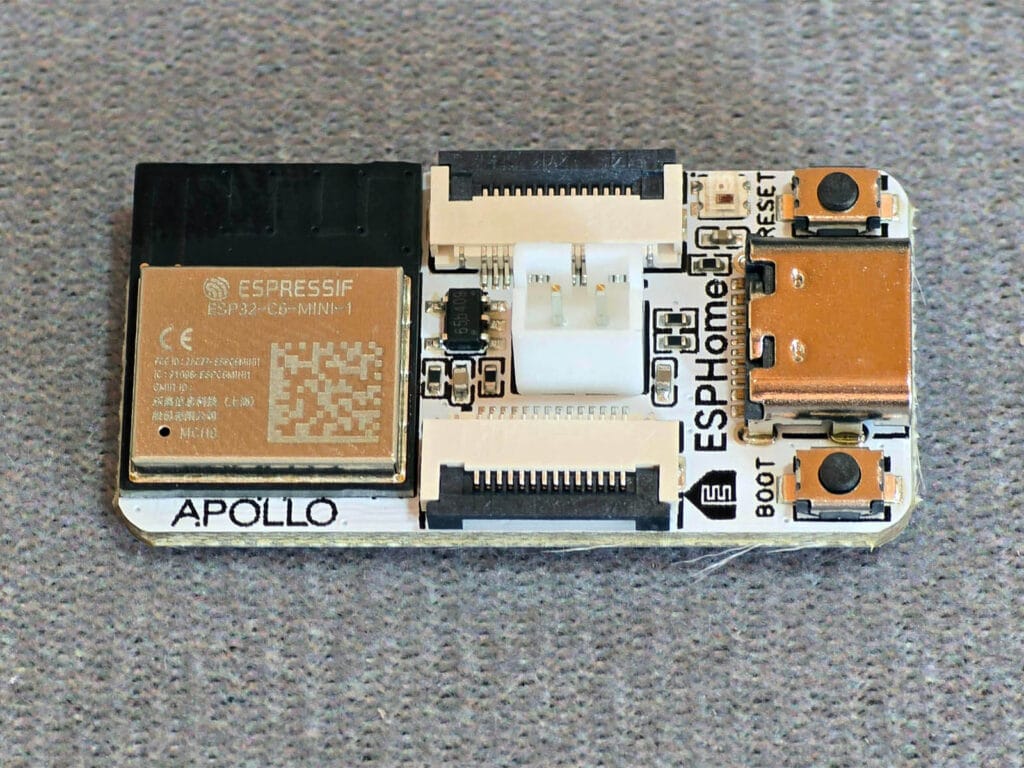
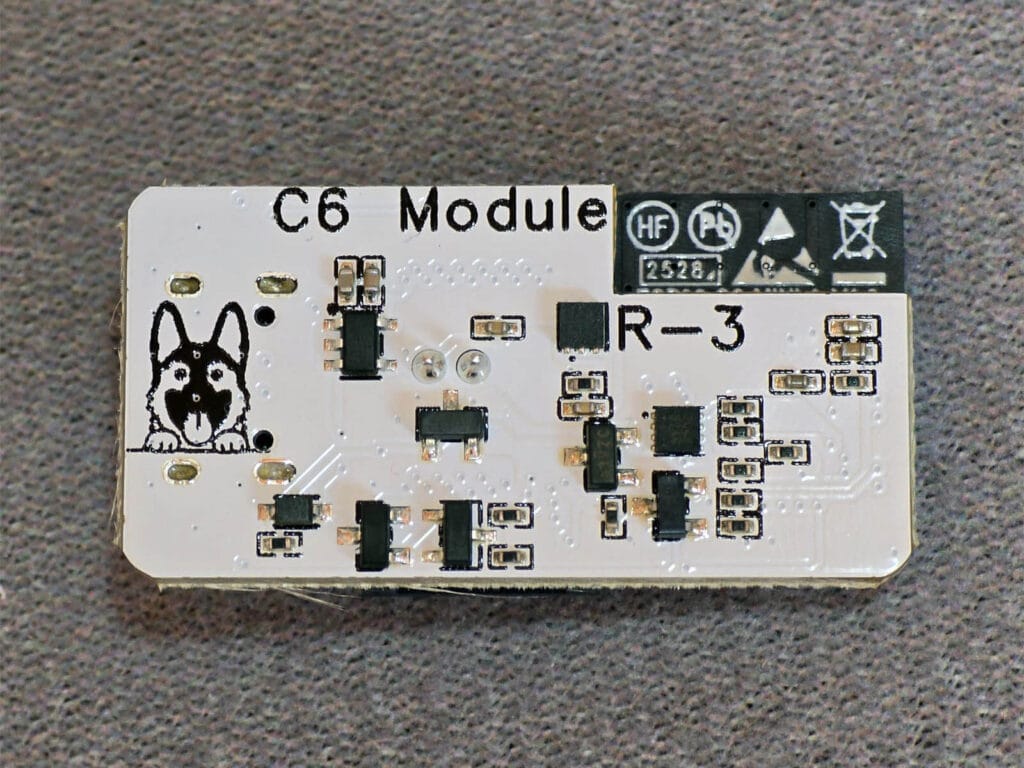
Where it gets more interesting is the Breakout Module. It exposes the main board’s pins and allows you to turn the kit from a closed box of four modules into an actual prototyping device. Once you have it, you can add a Dallas temperature probe or Apollo’s SEN65 air quality module, which covers PM1, PM2.5, PM4, PM10, temperature, humidity, VOC Index, and NOx Index in one device. Apollo also sells a second ESPHome C6 Board on its own, in case you want to keep one device built and start a second one without taking the first apart.
Here is what each of the four included modules does and what you can build with it.
- PIR motion module. Built around the MH-SR602, detecting motion up to 5 meters. This is the simplest way in the kit to trigger a light or a notification when someone walks into a room.
- Temperature and humidity module. Uses the AHT20F, the same sensor Apollo uses in their PLT-1 plant sensor and TEMP-1 probe sensor. Accurate to about a third of a degree Celsius and two percent relative humidity, which is plenty for tracking a bedroom or a closet.
- ESPHome Casita module. This one is Apollo’s own design, with ten RGB LEDs and a piezo buzzer. If you have read any of my other Apollo reviews, you already know this buzzer. I have used the same kind of piezo speaker to play the Mission Impossible theme from my MSR-2 to remind myself to stand up and stretch during the work day. On the Casita module, the LEDs and buzzer work together for status colors, chimes, or reminders.
- Button module. A single button you can wire into any Home Assistant automation. Press it to fire a scene, start a playlist, or trigger your coffee maker. Apollo’s own documentation covers a button controlled LED automation as a starting example.
Apollo also mentions you can run two modules on the main board at the same time, which turns the kit into a basic multisensor. It is a nice touch that hints at where the rest of their lineup goes. Their R PRO-1 takes that multisensor idea much further, stacking dual mmWave radar modules, CO2 monitoring, and PoE support into a single device.
Why ESPHome Instead of Off-the-Shelf Smart Home Gear
The short answer is full, local control. A Wi-Fi smart sensor from a random brand runs firmware you cannot see or change. ESPHome devices run open-source firmware that you can read, modify, and reflash whenever you want. Nothing calls home to a server somewhere and nothing stops working because a company decided to shut down.
ESPHome itself is a project under the Open Home Foundation, the same organization behind Home Assistant. Apollo Automation became a commercial partner of the foundation, and the majority of the profit from each Starter Kit goes toward funding ESPHome, Home Assistant, and the wider pool of open source projects the foundation supports. Apollo was also one of the first ESPHome brands to earn the Works with Home Assistant certification, which says something about how seriously they take the integration side of things.
There is also the learning curve angle. Once you understand how a simple PIR sensor talks to Home Assistant through ESPHome, a much bigger world opens up. You start looking at making your own presence sensor or capacitive soil moisture sensor, or building a wall mounted e-paper dashboard with Waveshare. None of that is intimidating anymore once you have gone through the basics with a kit like this one.
Getting Started
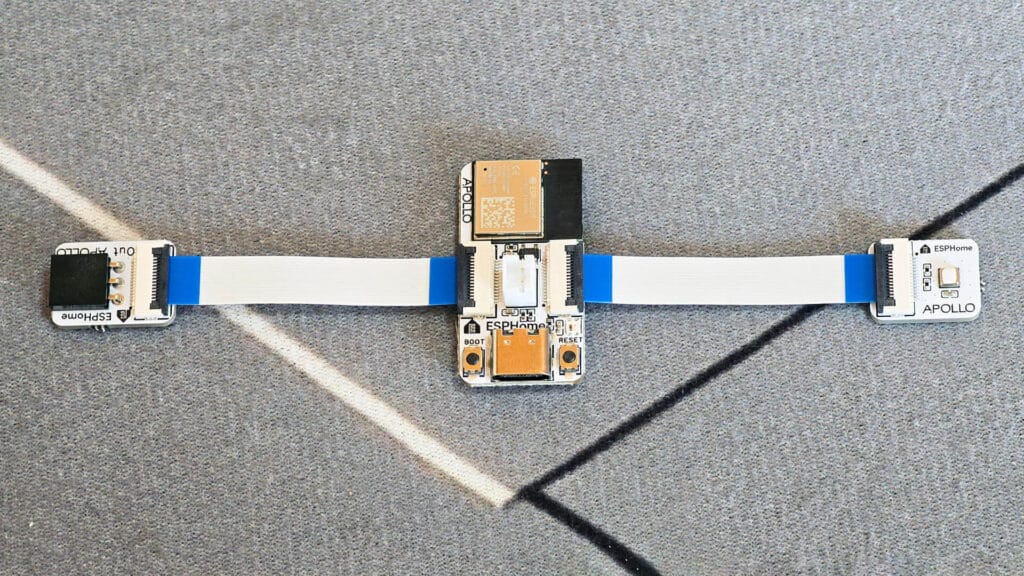
Setup starts with picking a module and connecting it to the main board with one of the included FPC cables. From there, the ESPHome Device Builder walks you through configuration in a visual interface. Apollo’s own first steps guide covers this in more detail if you want to follow along step by step.
Once a module is configured, it shows up in Home Assistant like any other ESPHome device. The kit works fine on its own too, which is a nice option if you just want to tinker and test things before settling on a configuration.
By the time you have gone through all four modules, you will have built a motion sensor, an environment monitor, a notification light, and a button trigger. That is four working automations and a decent foundation in ESPHome, all from one box.
You can get the Apollo Automation ESPHome Starter Kit on their website for $40.
Apollo Automation Devices Highlight
If the Starter Kit gets you interested in what else Apollo makes, I have covered most of their lineup here. On the presence sensing side, the MSR-2 is still my daily driver in the office, and I wrote a separate piece on automating my whole work day around it.
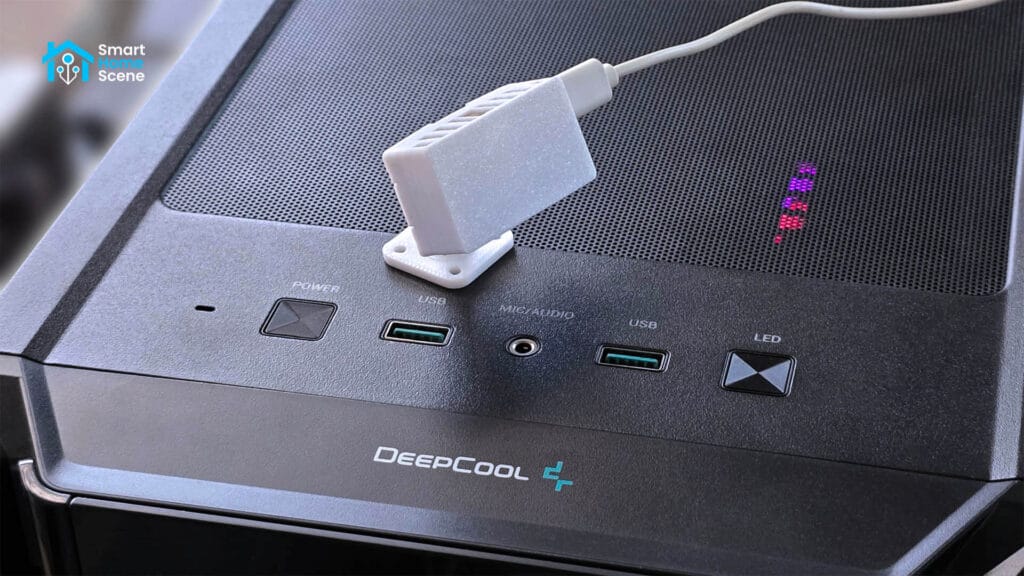
The MTR-1 tracks multiple people across detection zones, and the R PRO-1 combines both mmWave radar types into one PoE powered device. It uses the LD2450 for tracking targets across three zones and the LD2412 for reliable static presence, so it covers both jobs a single radar usually has to compromise on. It also throws in CO2, UV, and light sensors, two RGB LEDs, and a piezo buzzer, and it can run over Ethernet with PoE instead of just USB-C, which matters if you want to mount it in a ceiling or a gang box without running a power cable separately. The R PRO-1 is among the best presence sensors out there, all things considered.
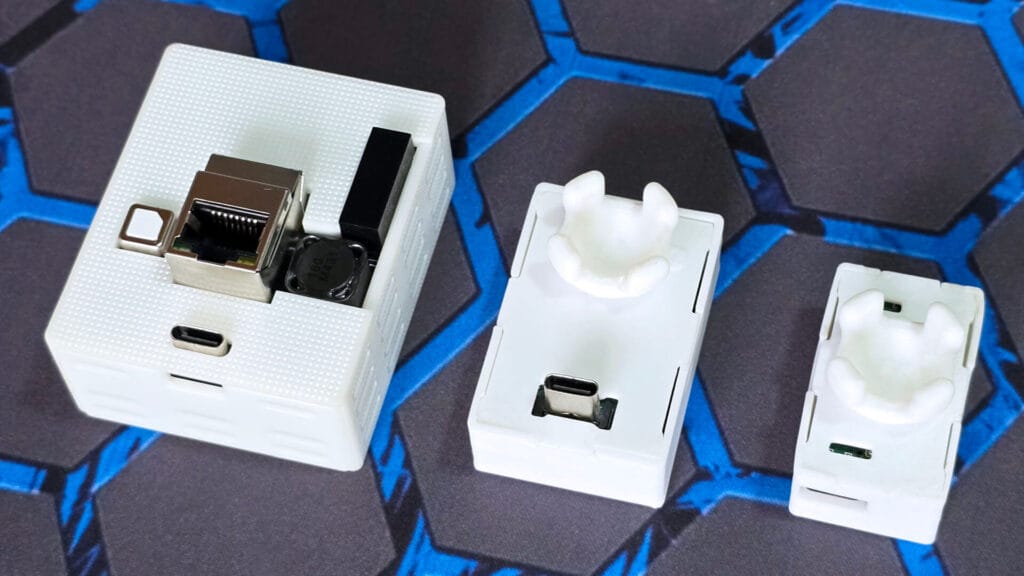
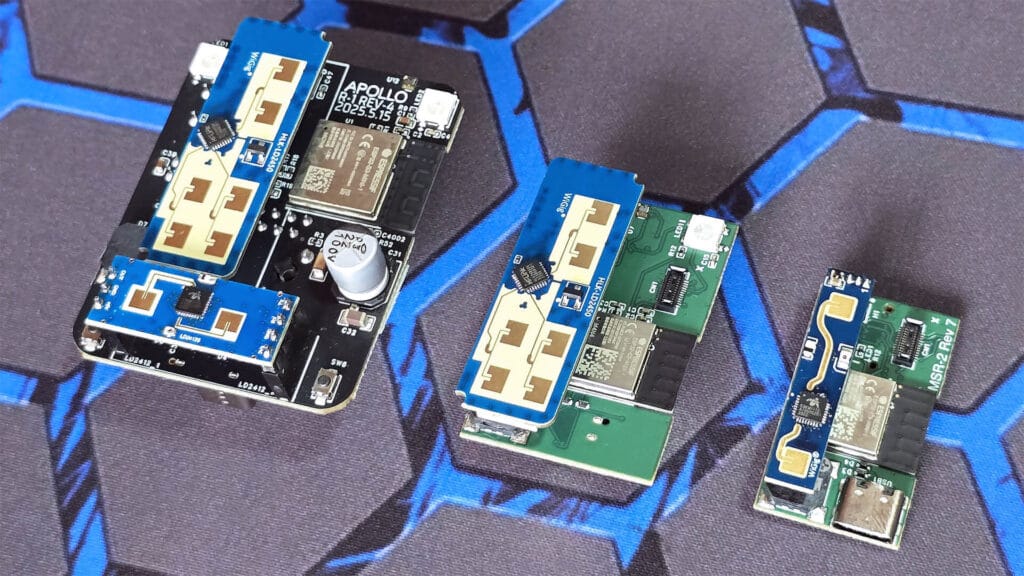
Outside of presence, the AIR-1 covers CO2, particulate matter, and gas monitoring in one small case. The TEMP-1 handles probe based temperature monitoring for anything from a fridge to a fish tank, and the PLT-1 keeps track of soil moisture for your plants. If you want something more interactive, the BTN-1 macro deck takes the idea of a button module and turns it into a full four button controller with swappable keycaps and expansion ports.

I will keep testing the Starter Kit over the coming weeks and will likely follow up with a deeper look at each module. For now, if you want to actually learn ESPHome instead of just using devices that run it, this is about as approachable as it gets.